We know we’re a few months late, but we want to wish all of our readers a happy new year! And to kick off the new year (even if we are a bit late) heres our first post of 2020!
We’ve all been rather busy in our personal and professional lives of late, and as such the updates haven’t been as regular as we would have liked. We’re hoping to get quite a few days of work in this year, and we promise we’ll update you all as much as possible!
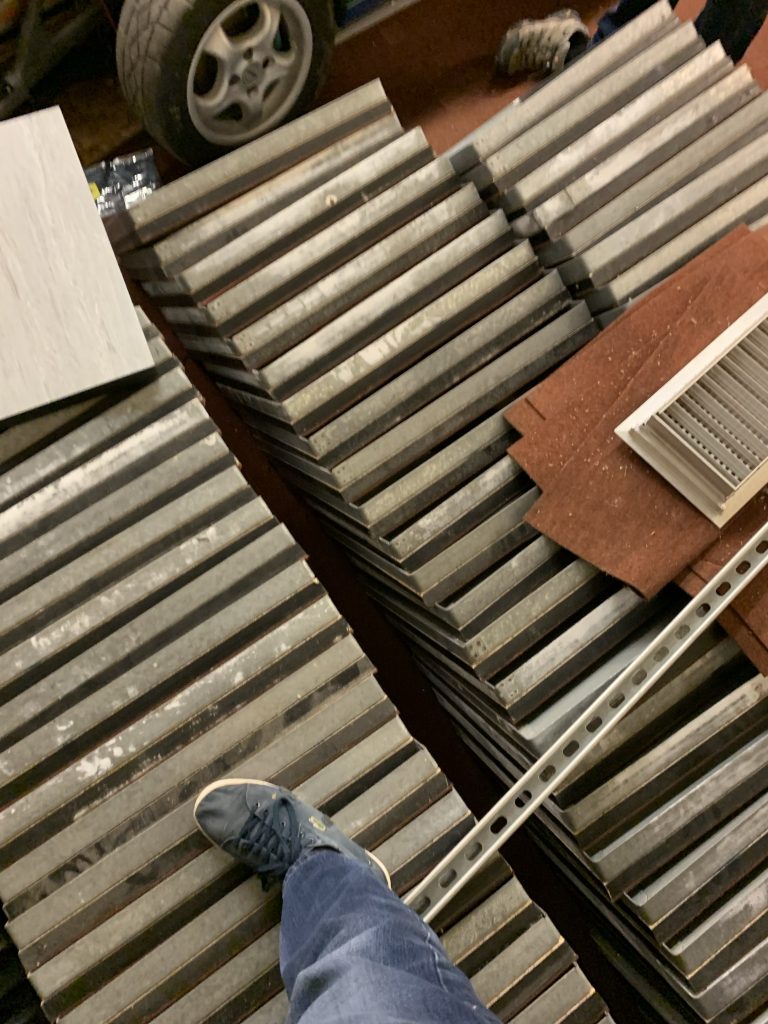
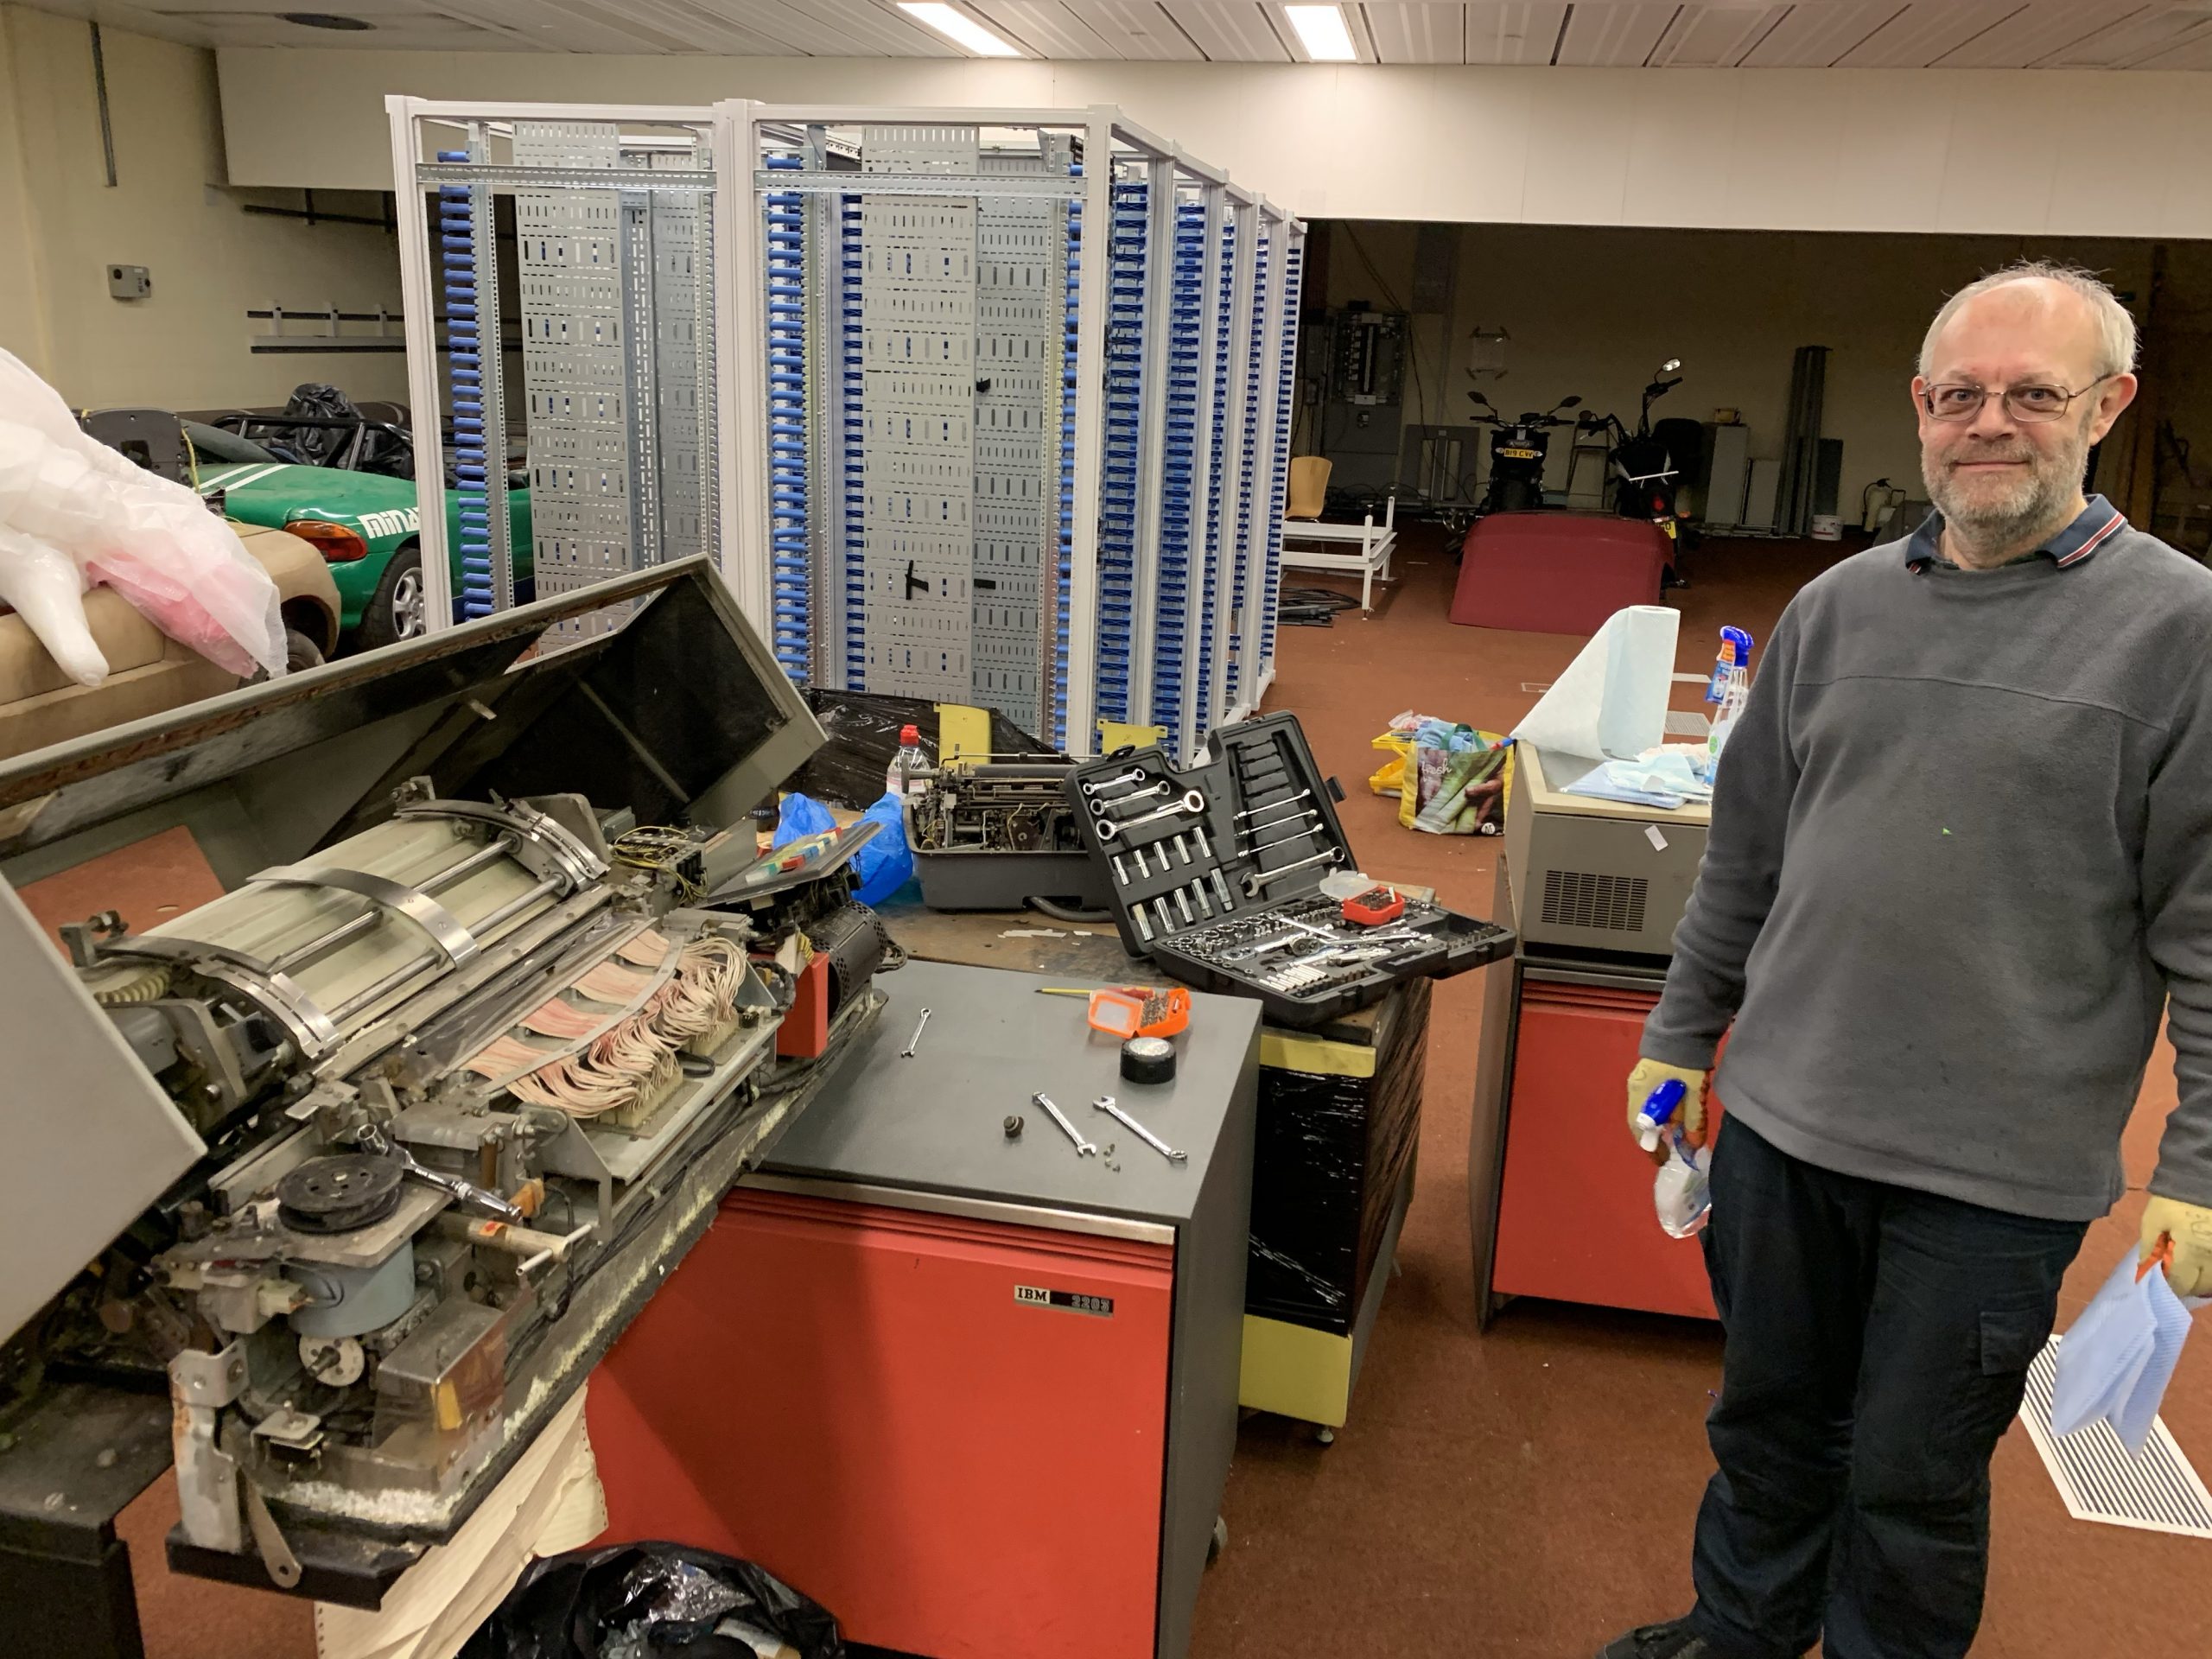
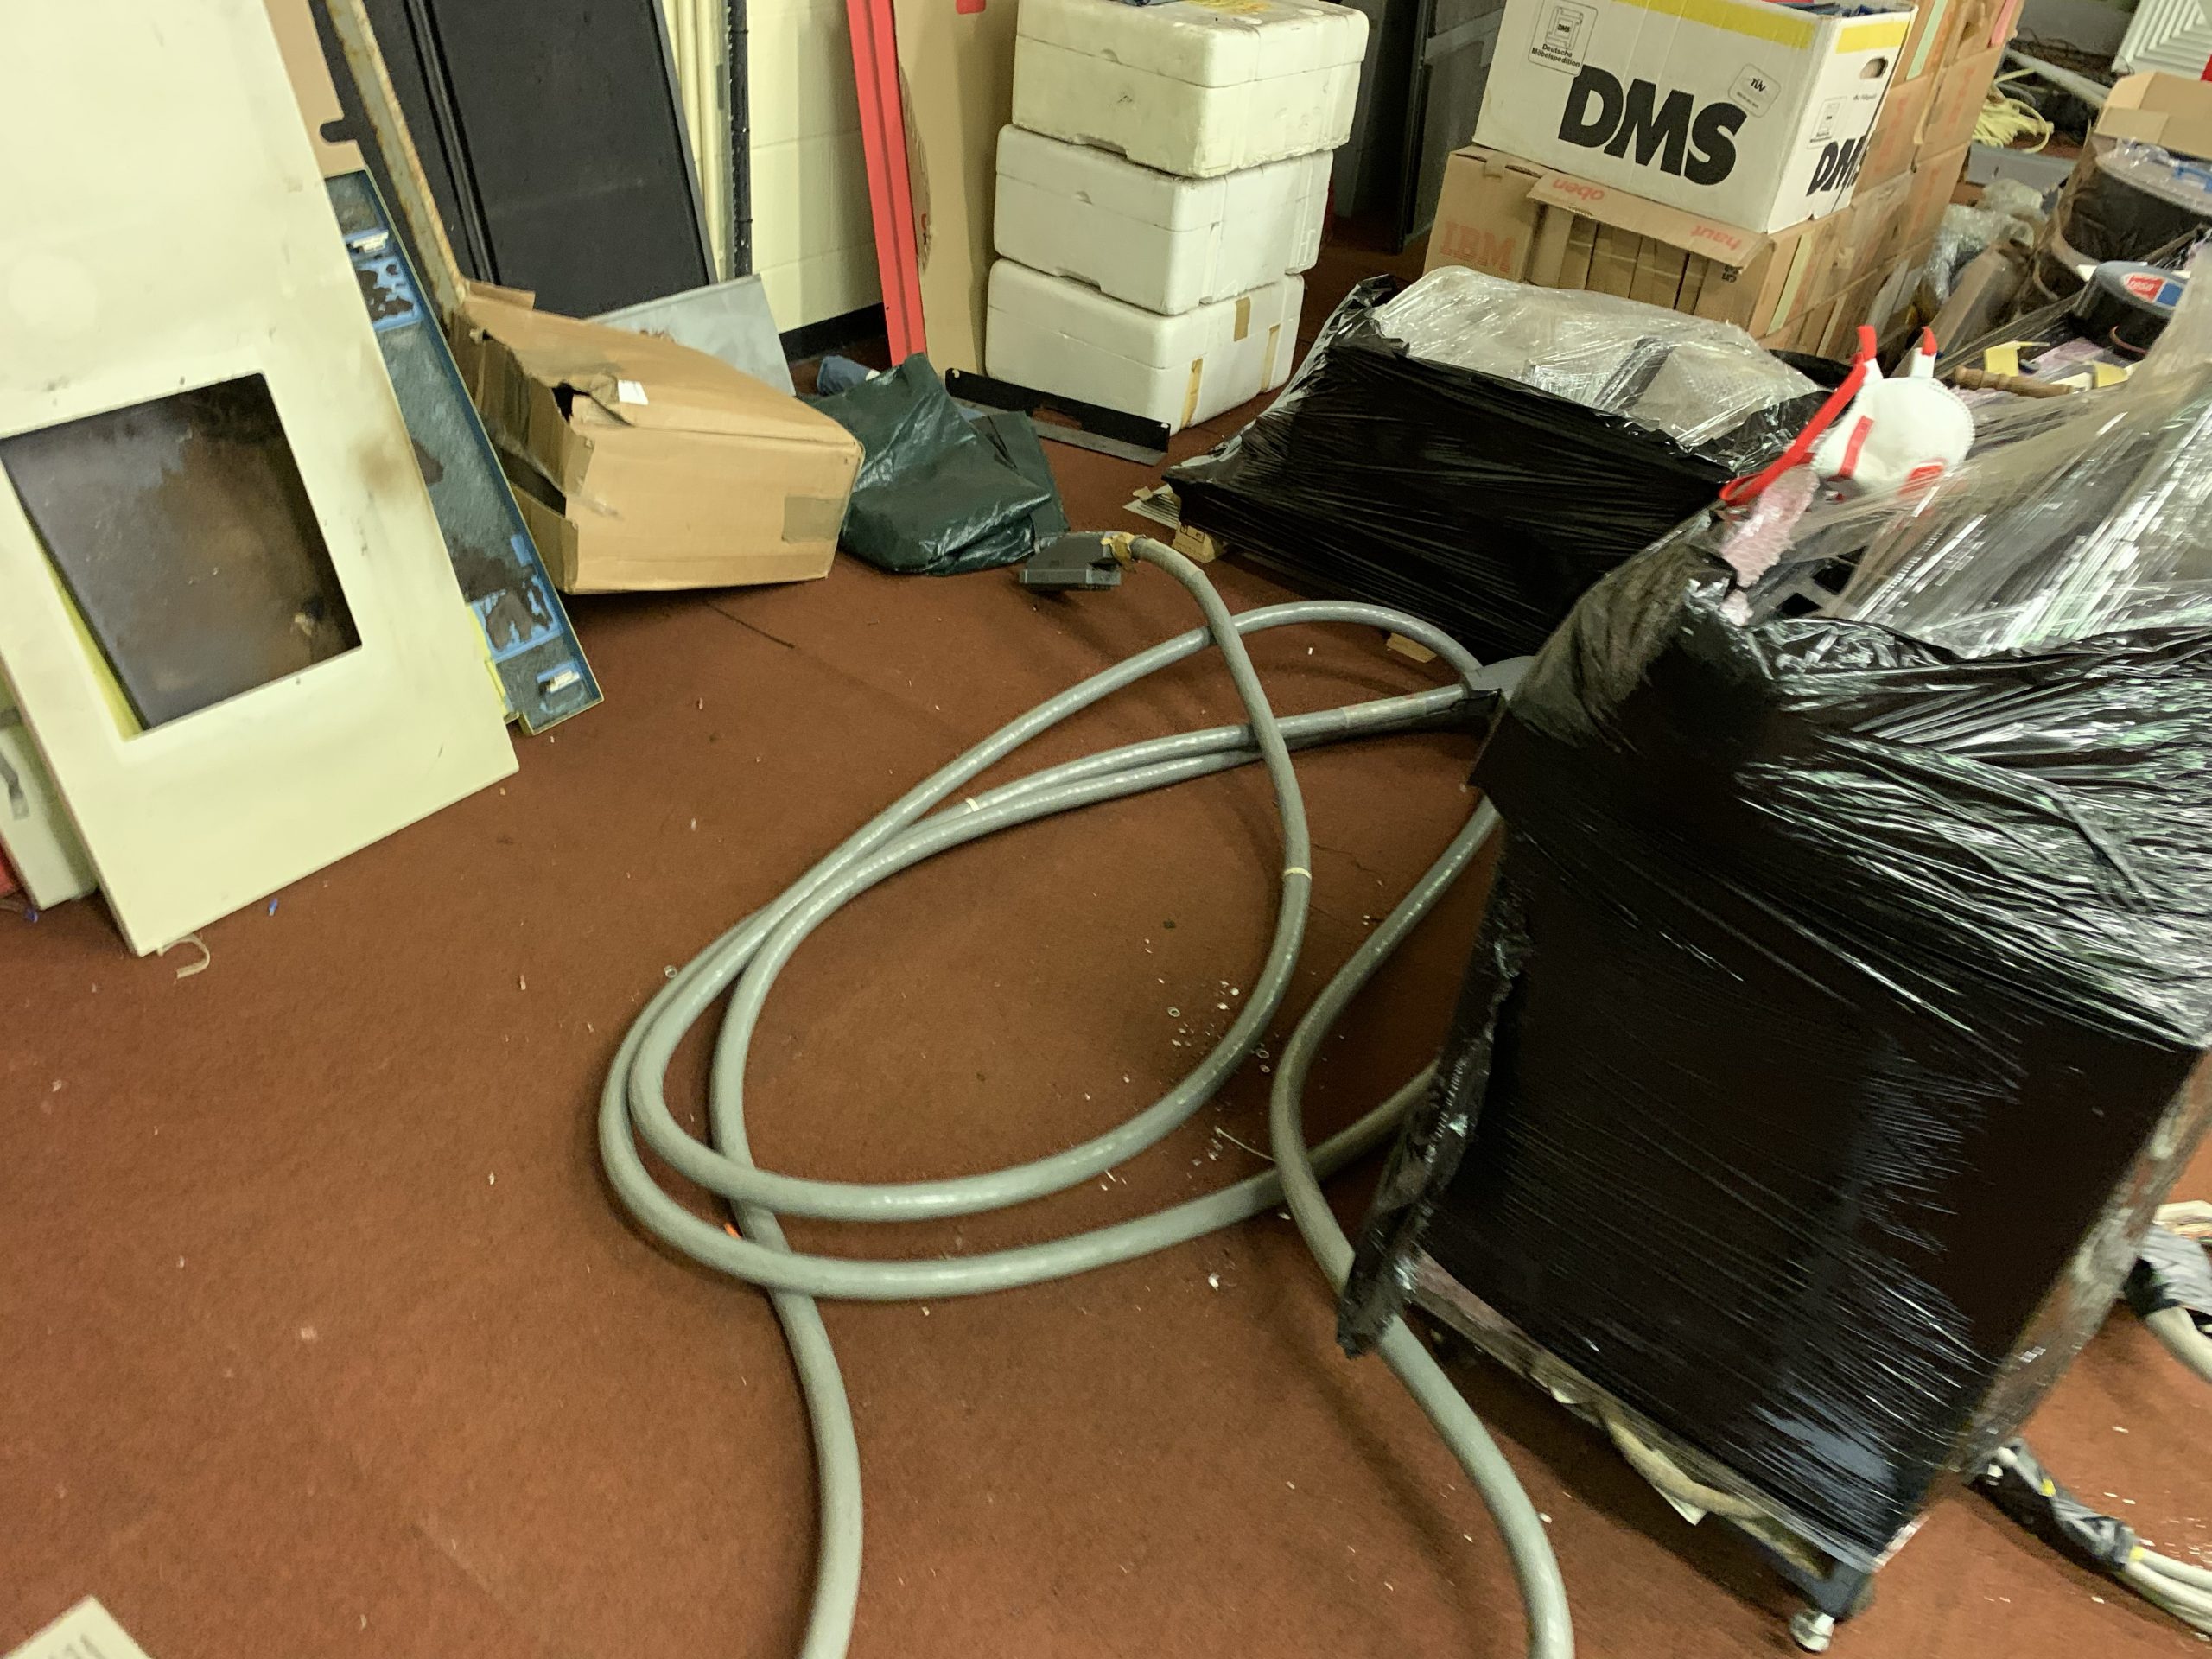
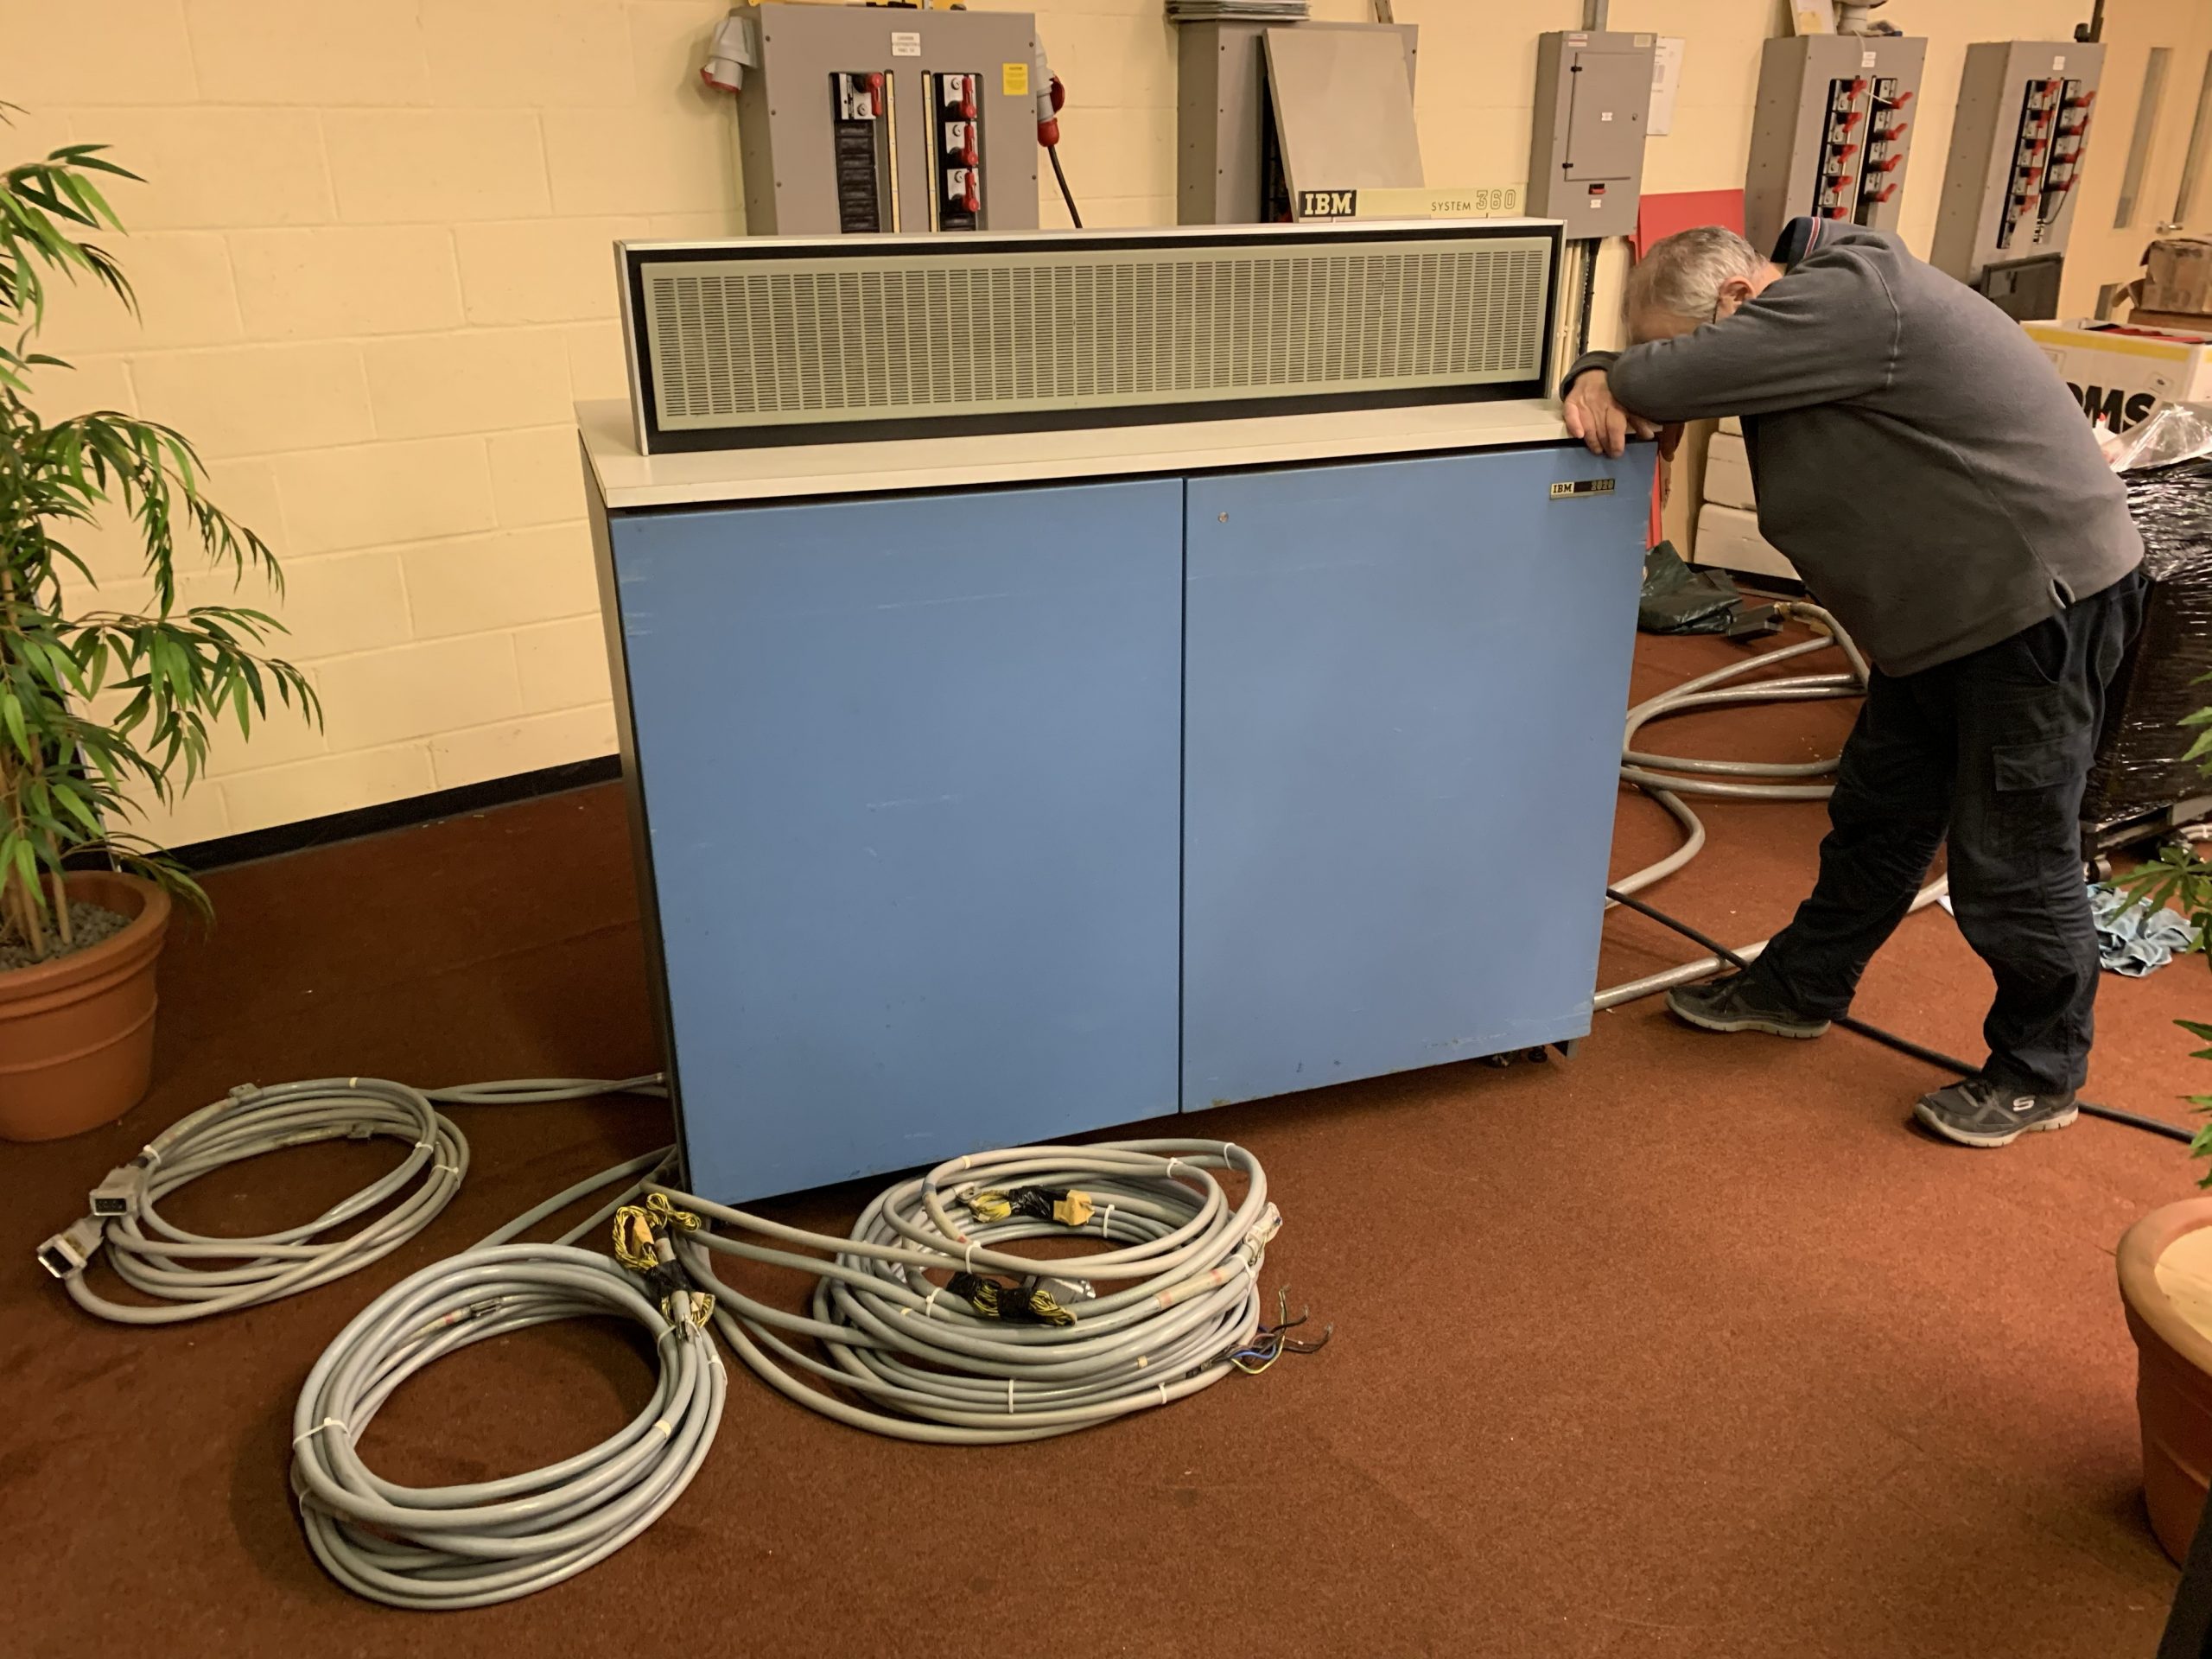
We all agreed to meet on Sunday the 1st of March to resume work on the machine. We didn’t really have any set goals for the day, except to continue cleaning the machine, and have another go at removing those stuck disk packs from the drives. I arrived first, around 11am, and Chris Blackburn arrived shortly thereafter. Helpfully over the last few months Chris Wilkie had somebody install 4x 3 phase 5 pin commando sockets for us on proper breakers so that we could run our new heaters. Chris Blackburn and I set about plugging them in and getting them tested, and save for a dodgy cable with one of the heaters, 3 of them were soon pumping out just enough heat to take the edge off of the cold in the room. I then make the big climb over the pile of spare raised floor tiles to find one with an appropriately sized hole in it to run the cables through:
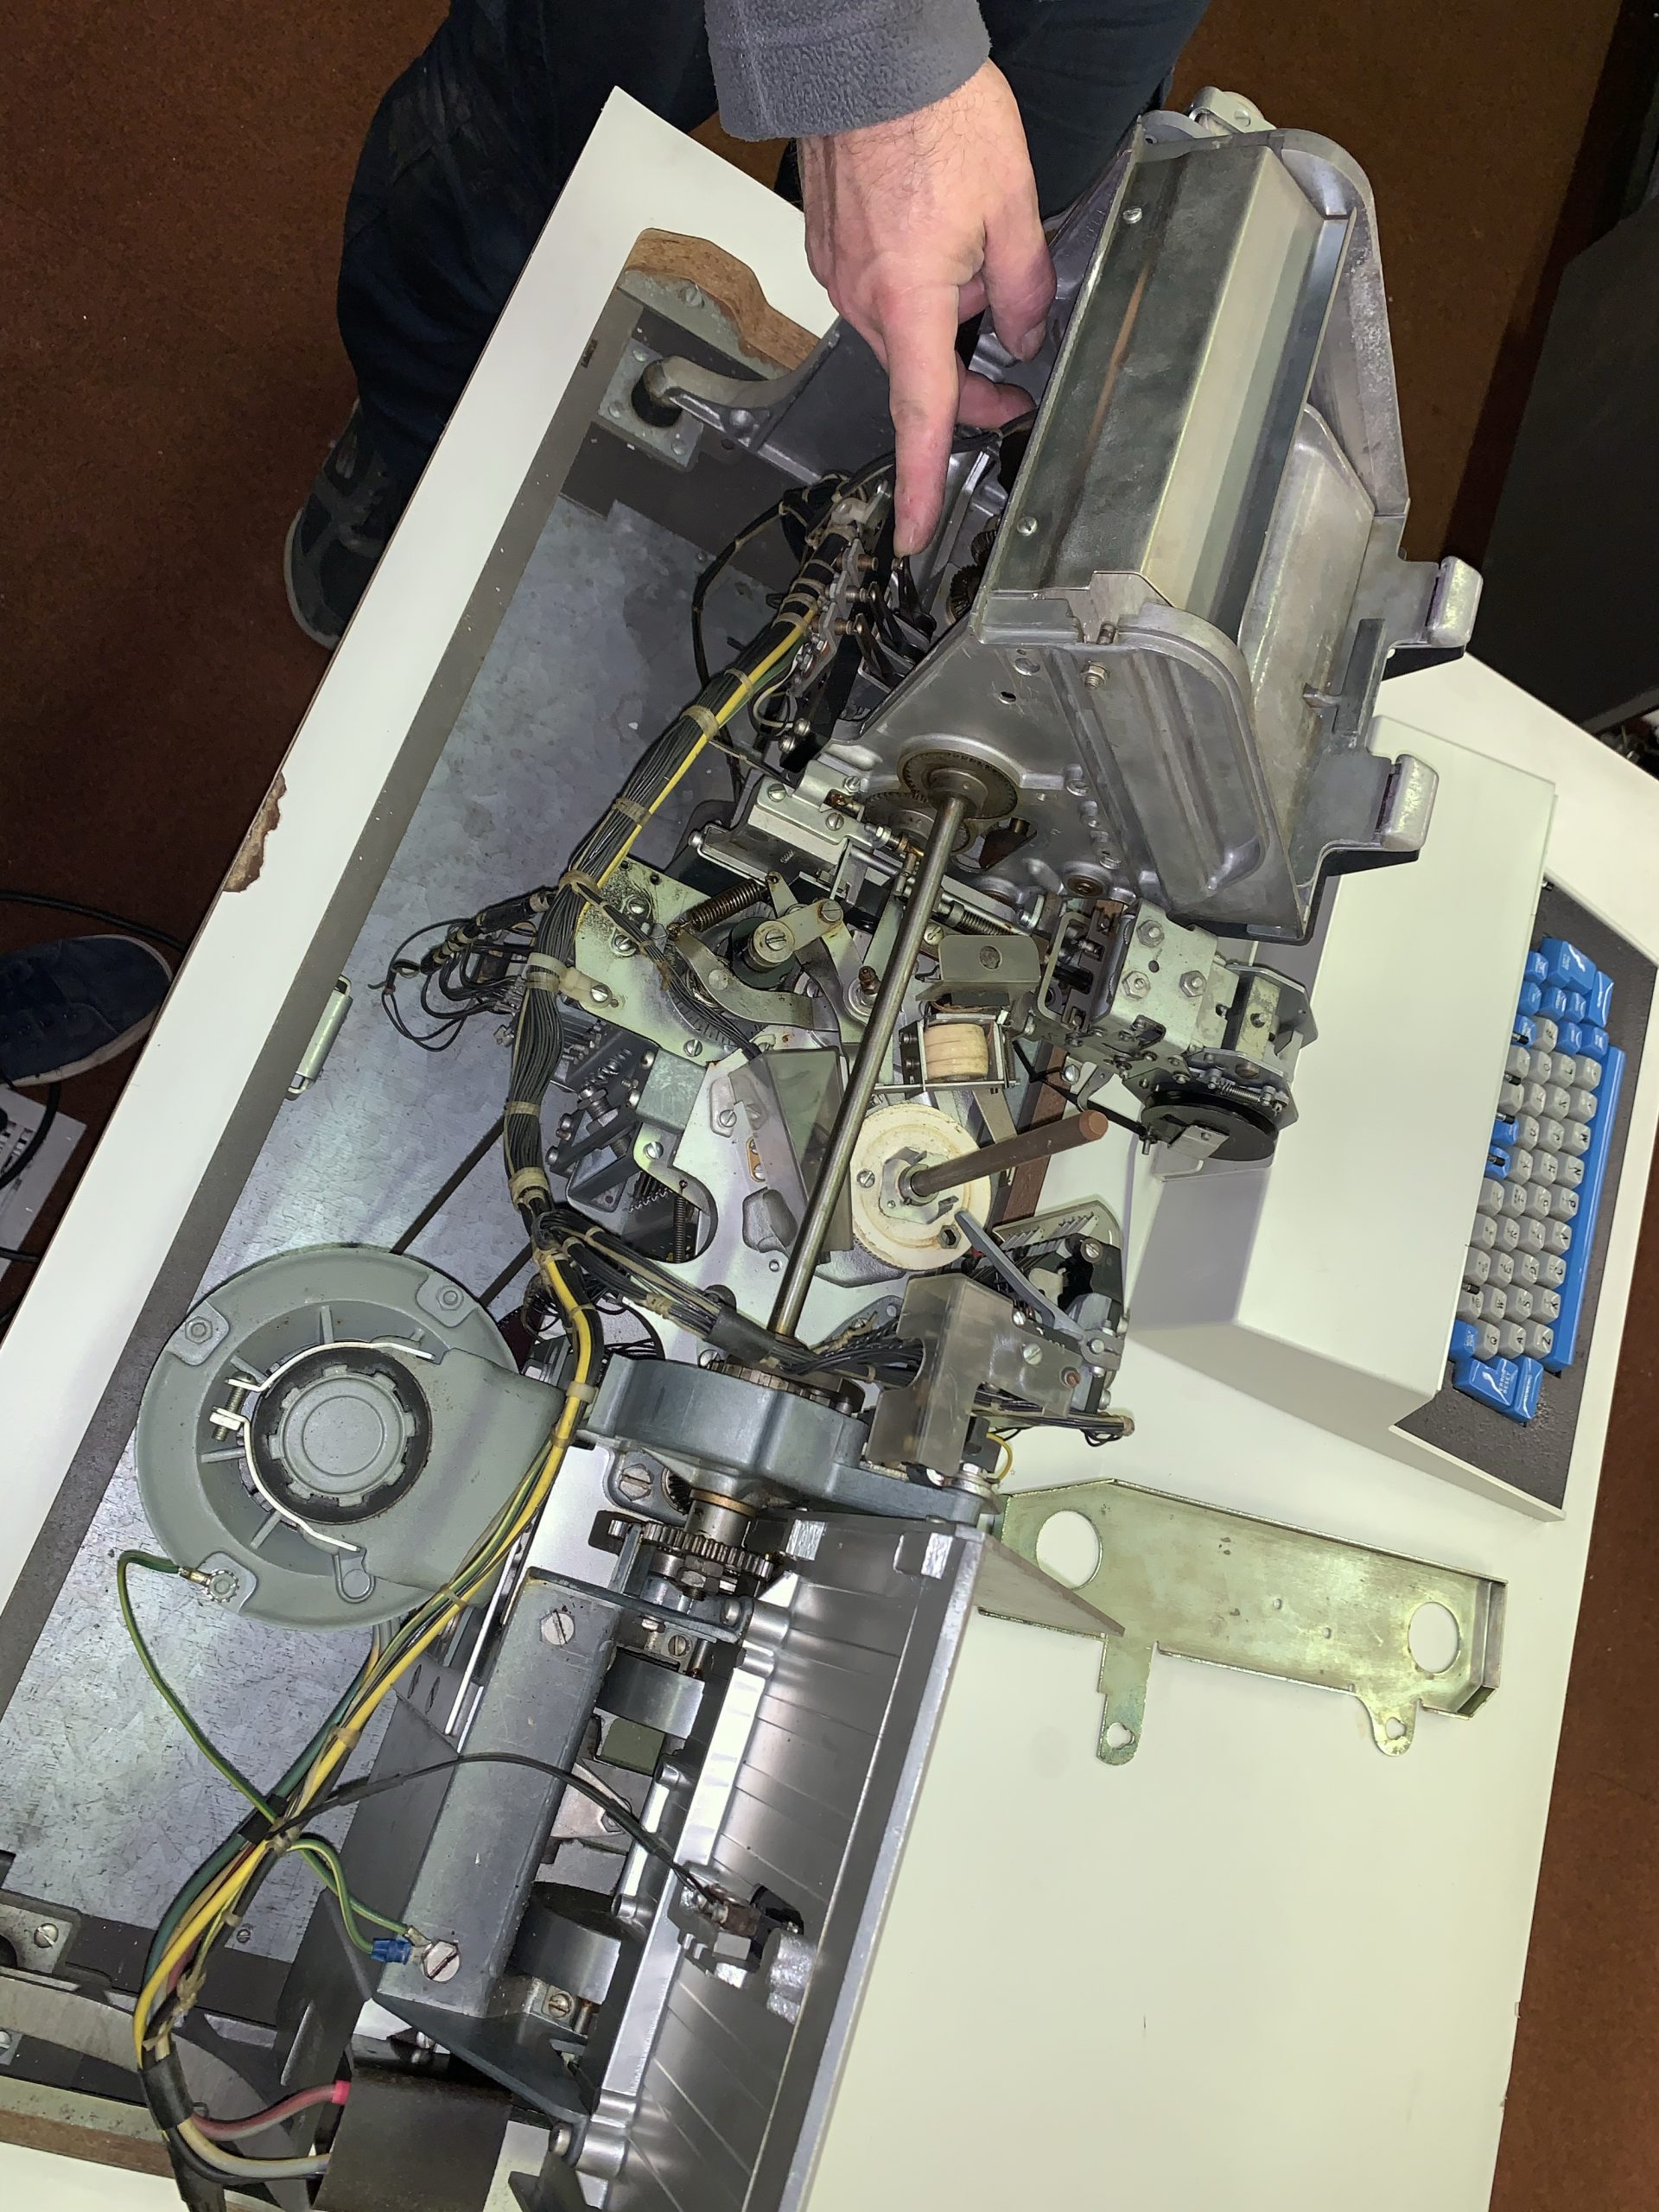
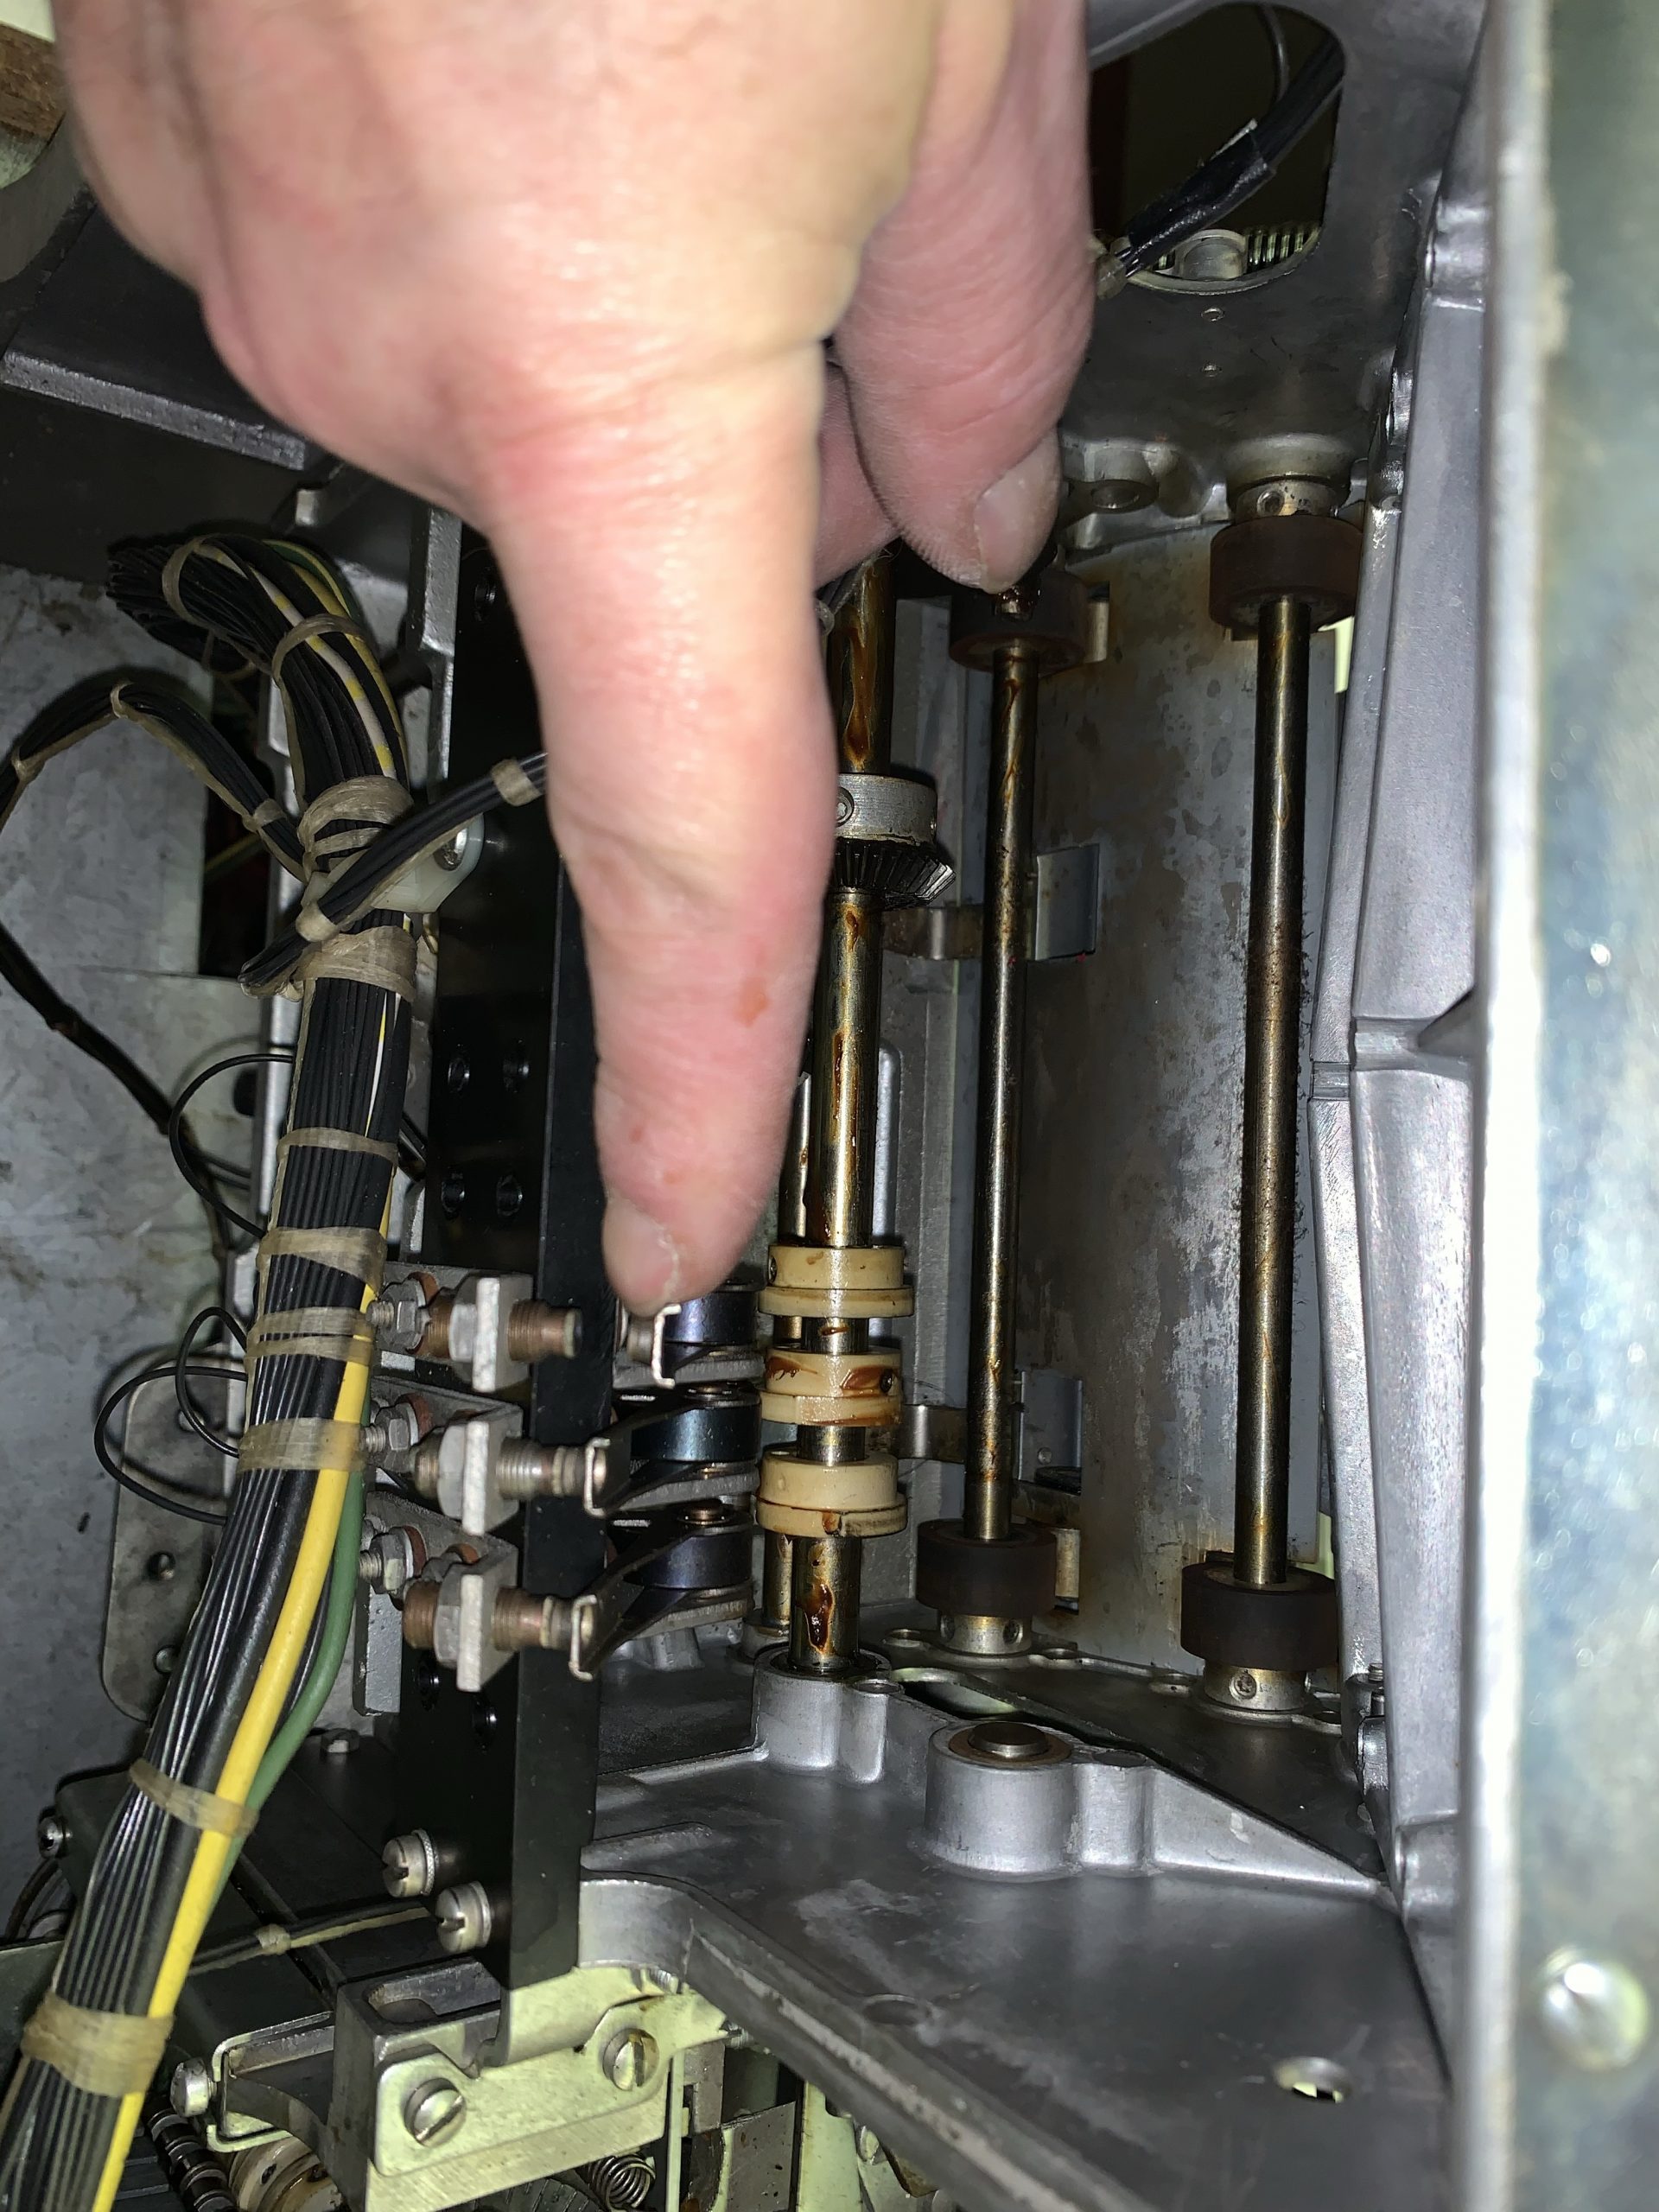
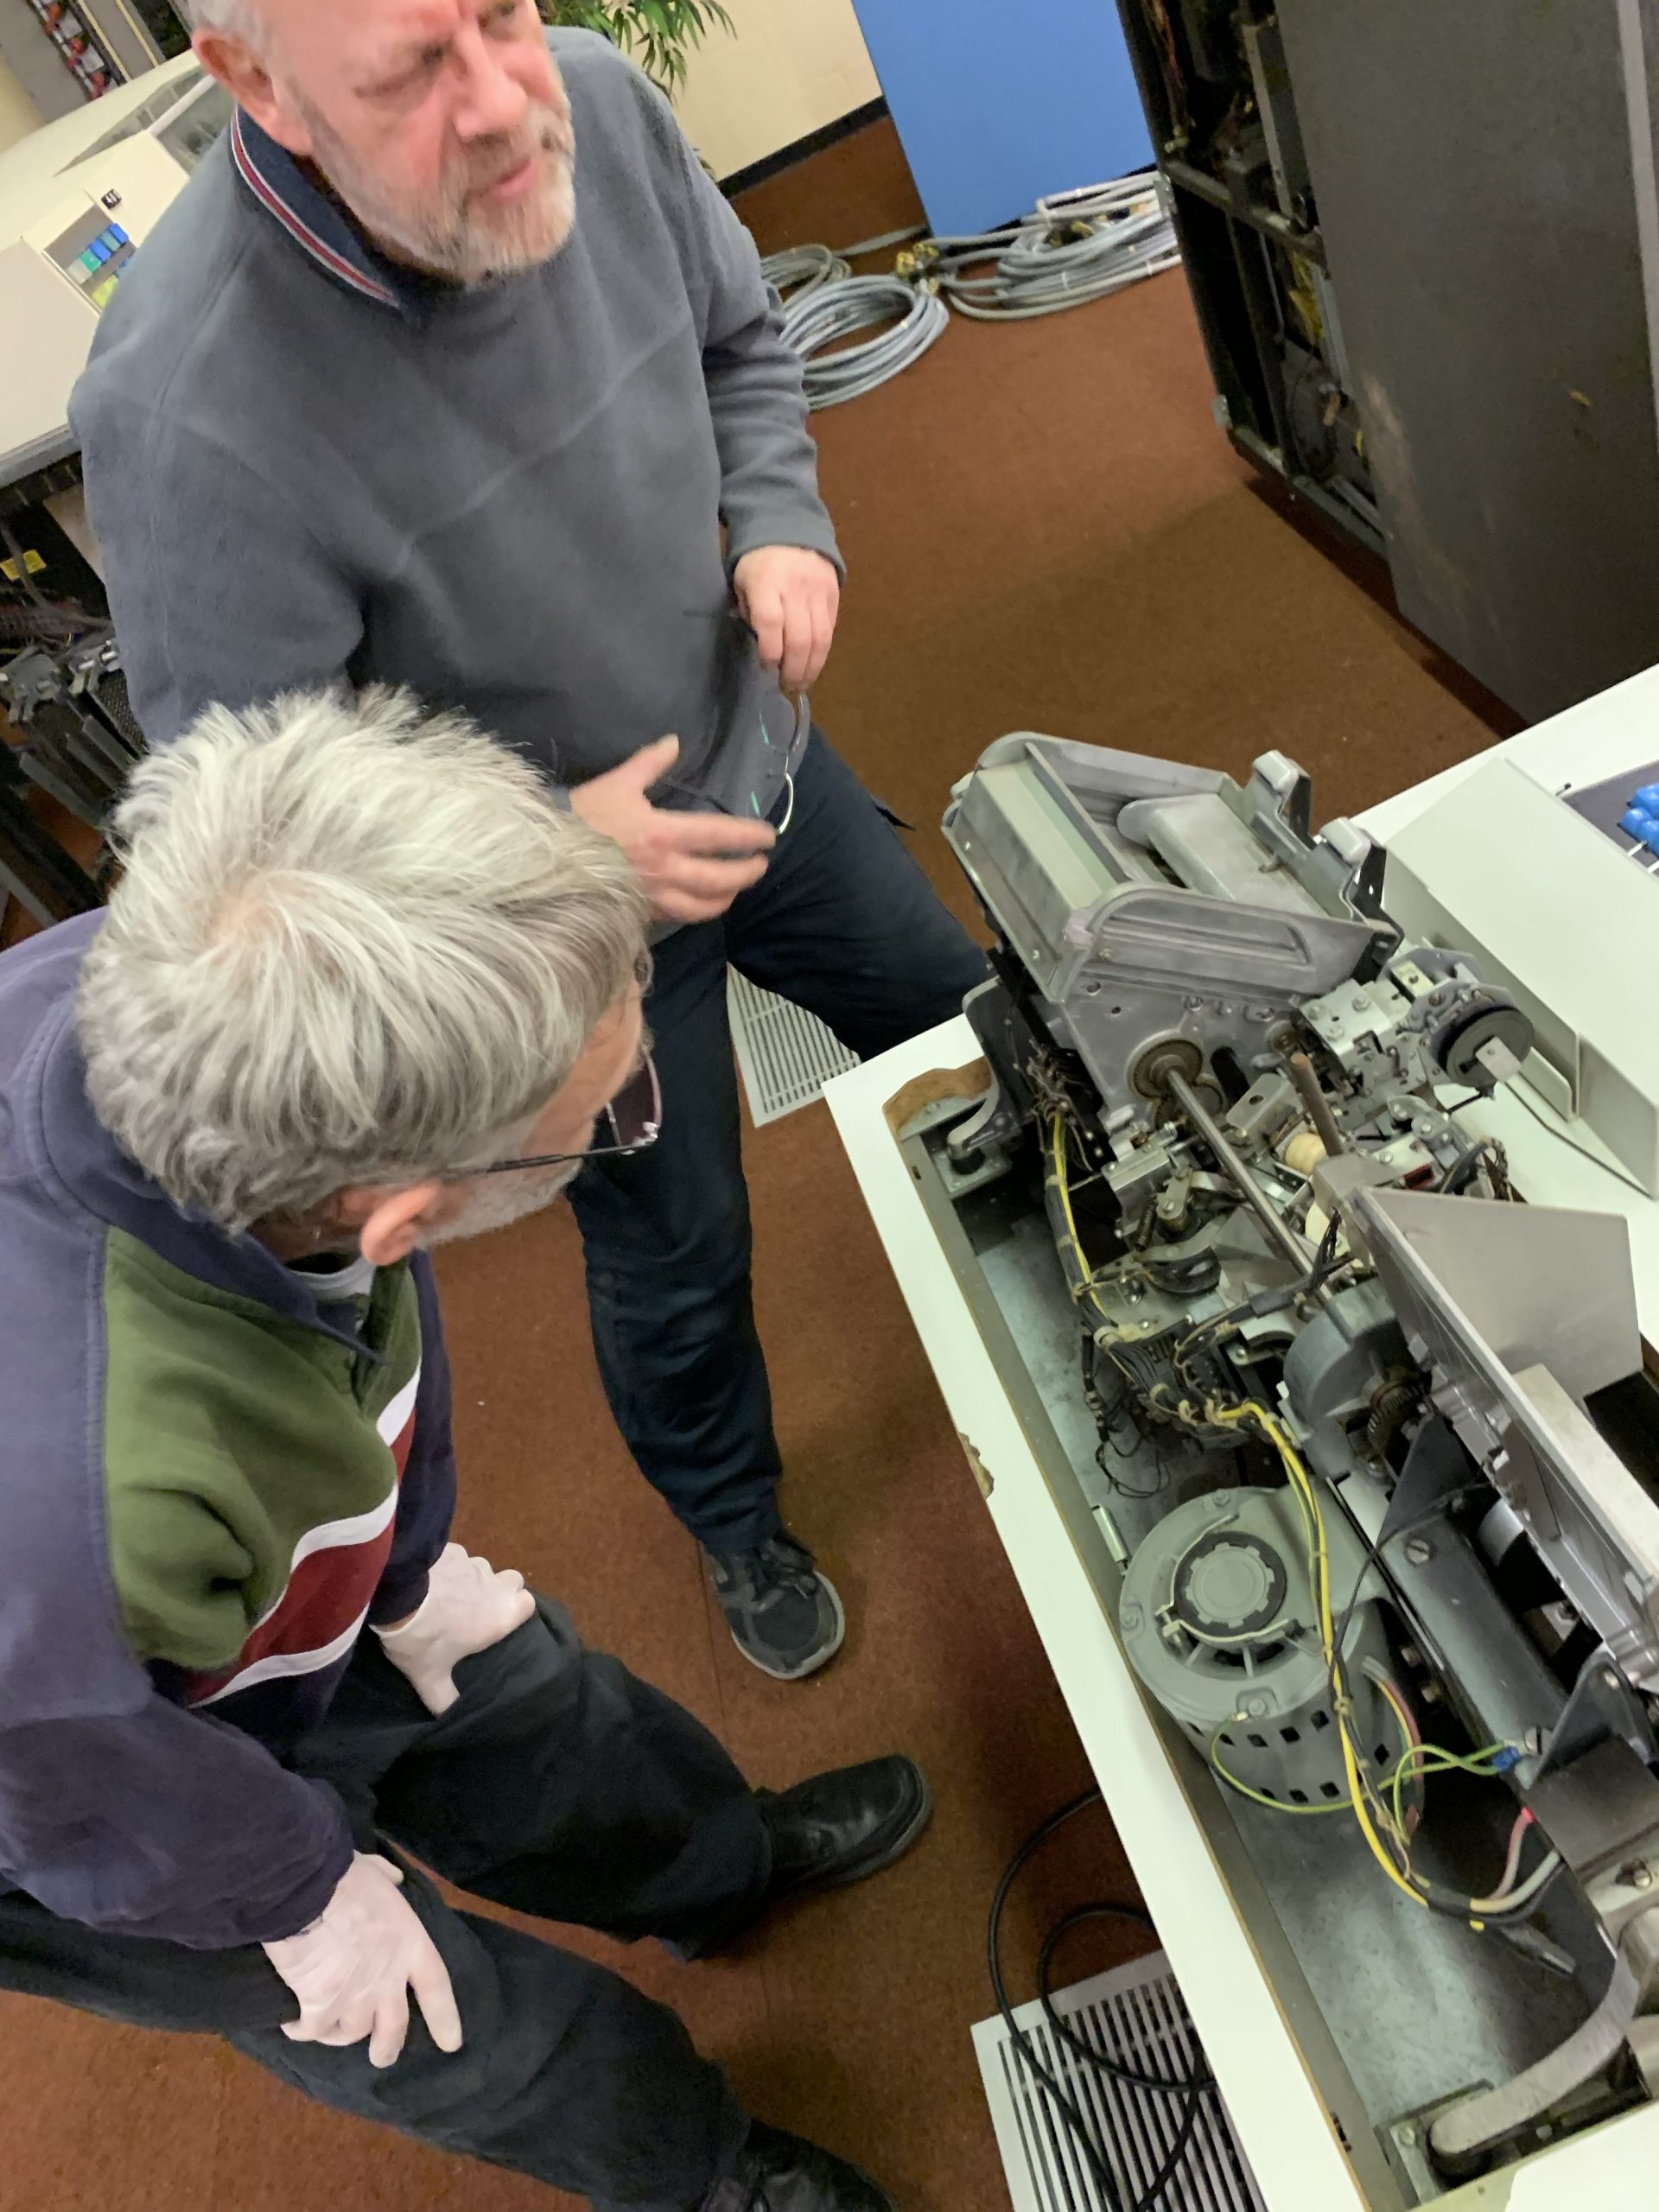
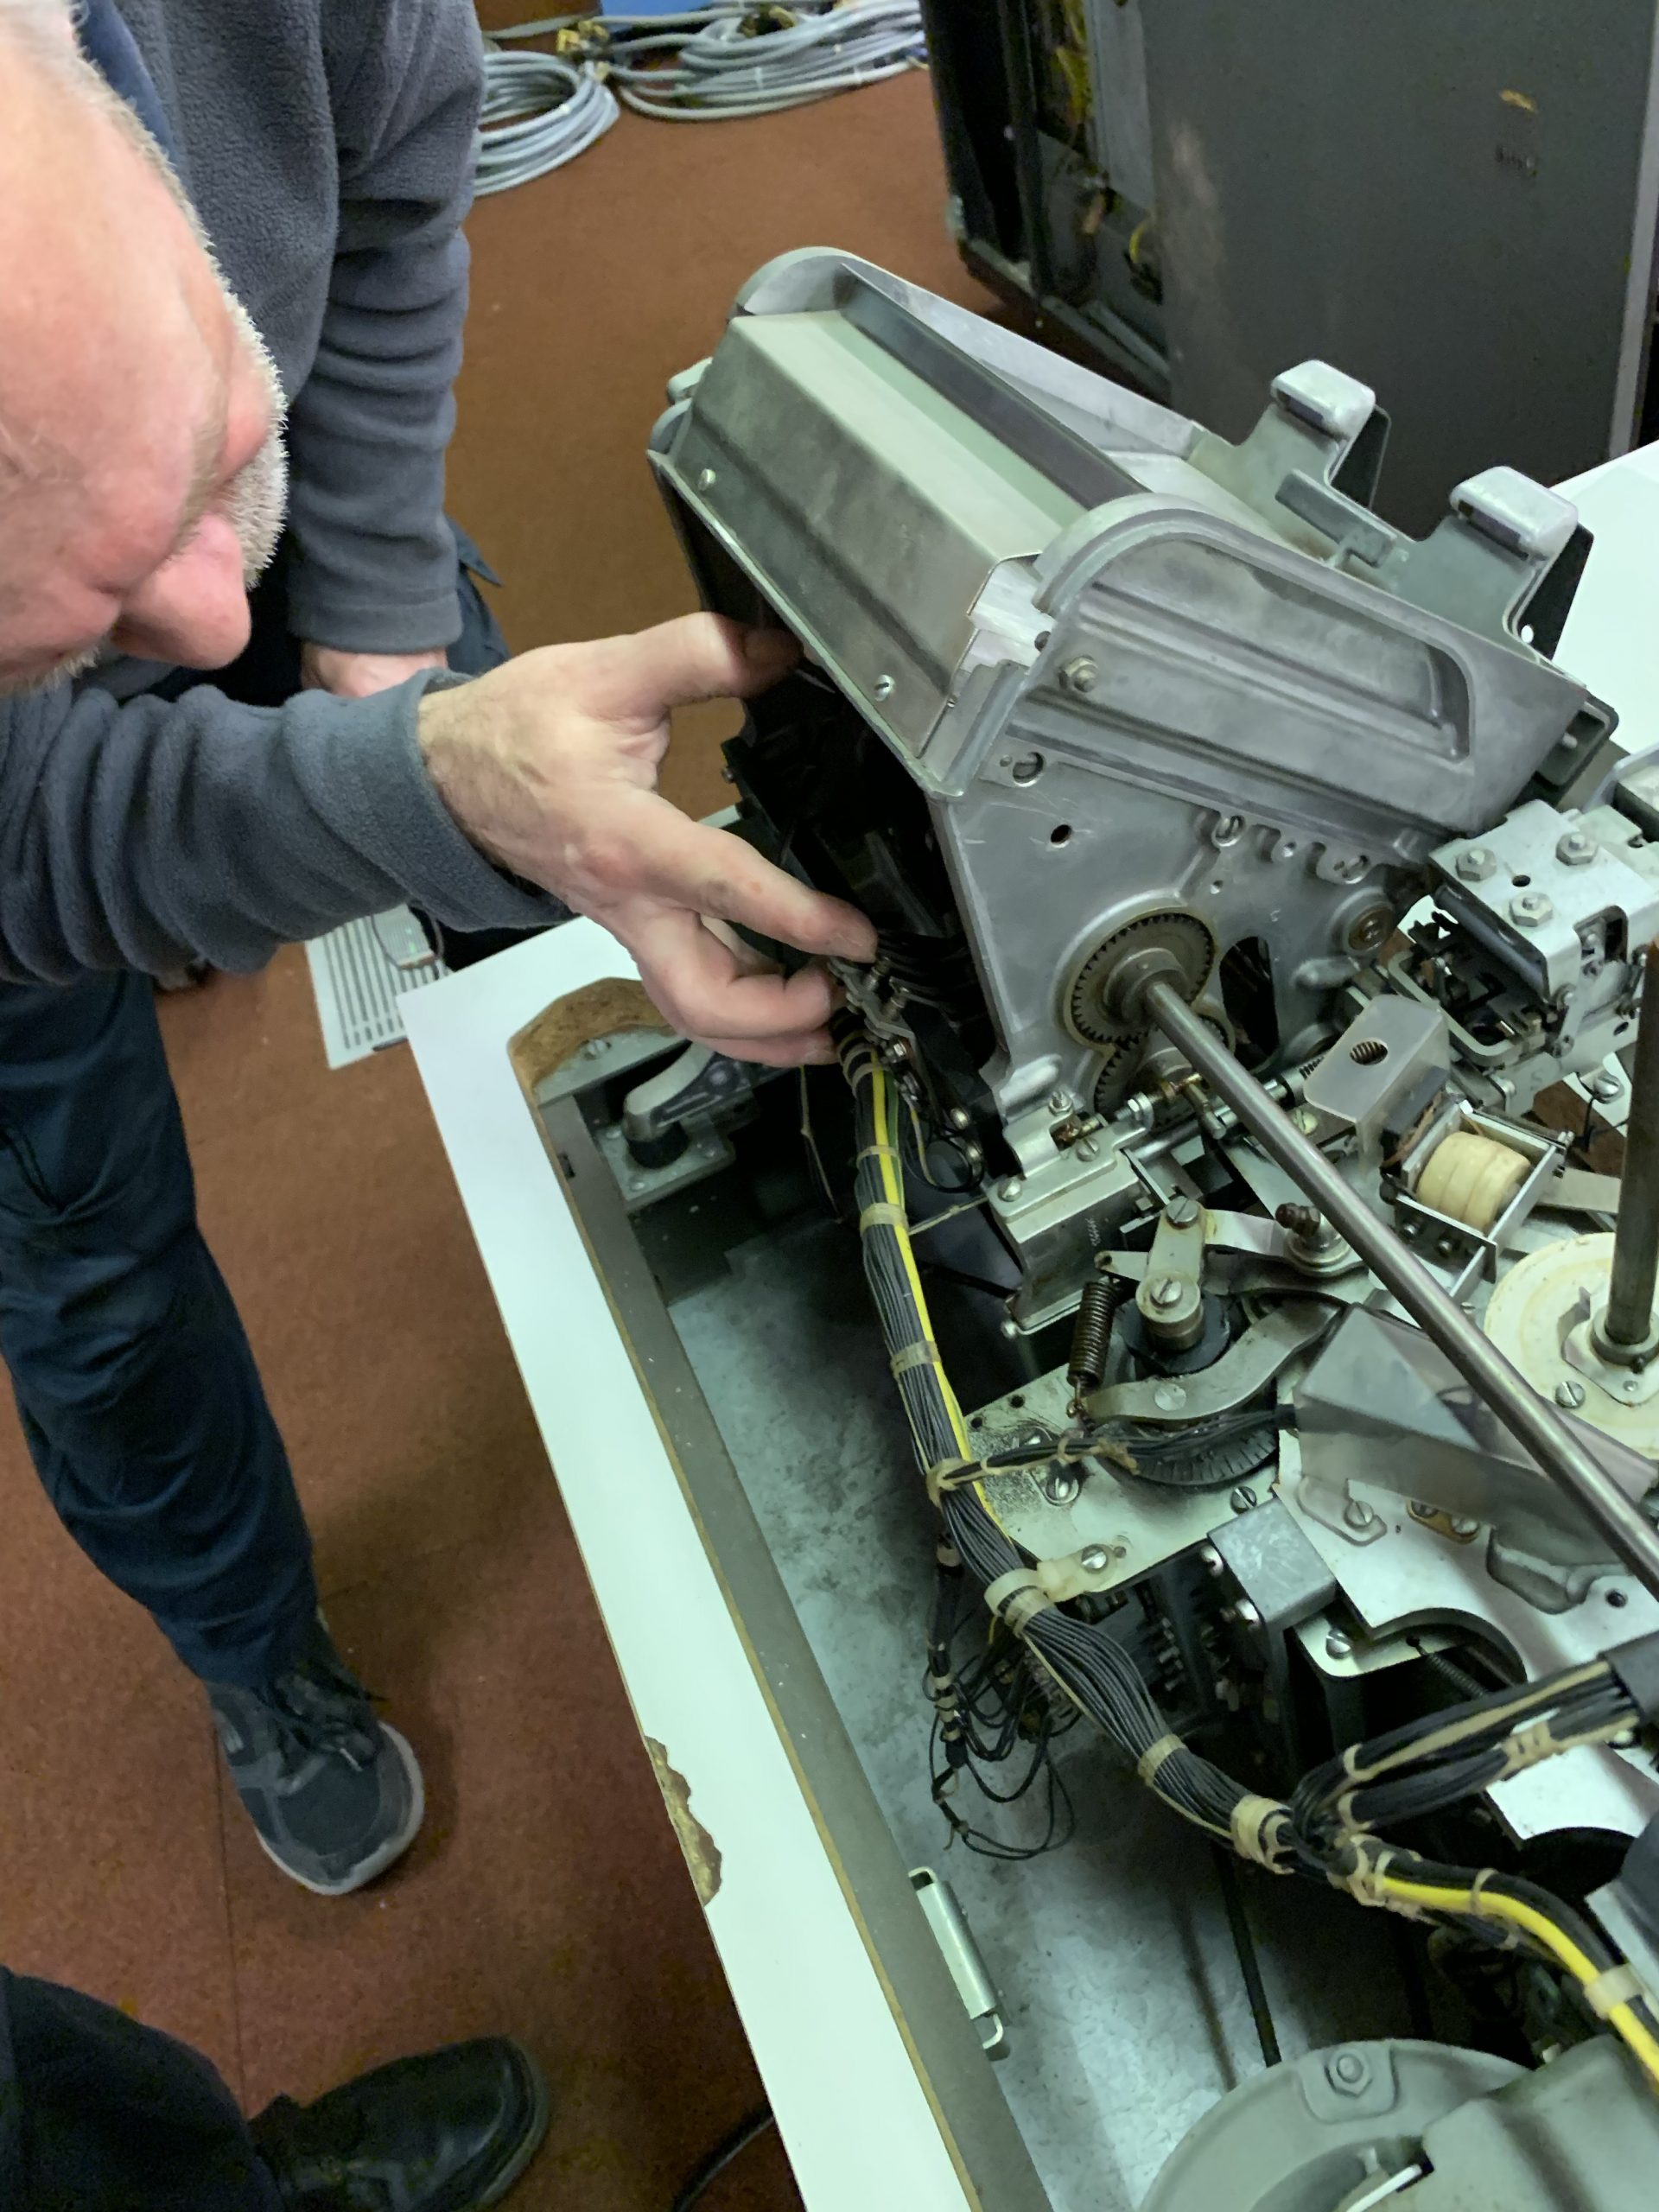
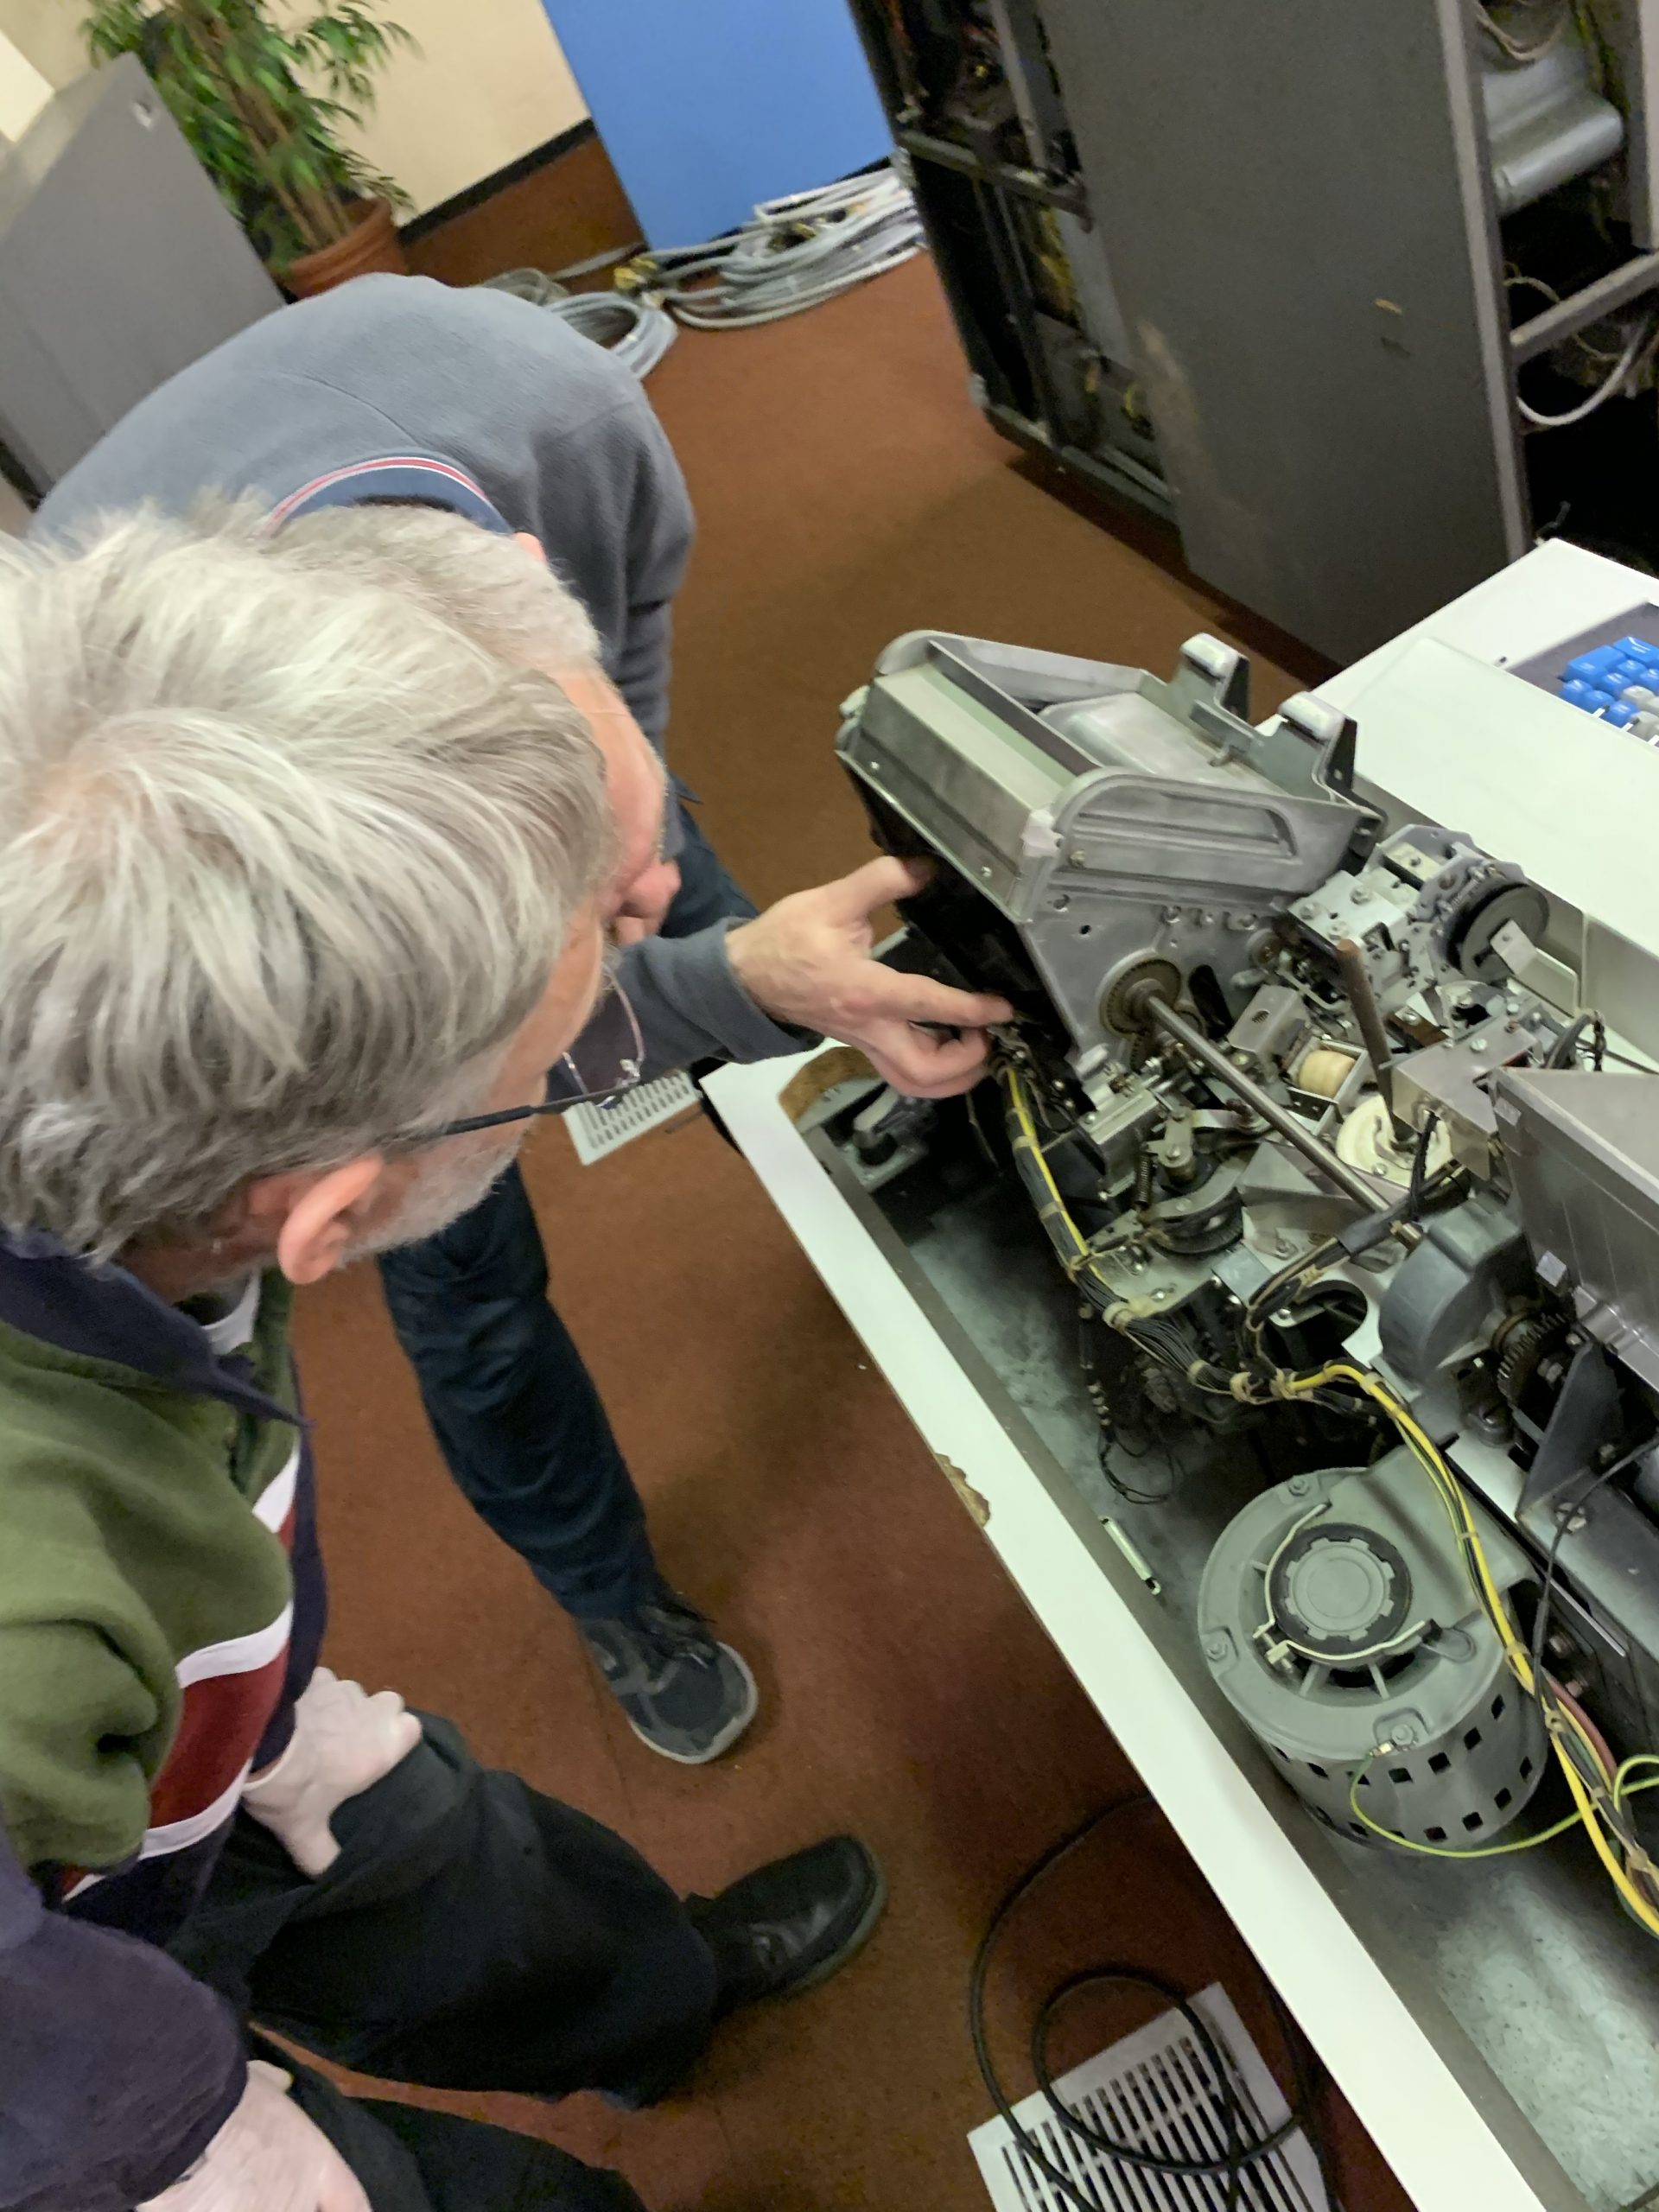
After that, we set about cleaning some bits and pieces like the top surfaces of one of the disk drives and the sides of one of the tape drives. Shortly thereafter, Peter Vaughan arrived and we set about trying to get into the front of the 2203 printer that we had discovered was seized last time. We originally thought that the limiting arms at the sides of the panel were what was impeding our ability to open it, however after loosing these off by quite some distance we were still unable to open the panel. I then realised that the bottom hinge of the panel was only mounted to the frame via 4x bolts tensioned against slots. I loosened these bolts, and we slid the front free of the machine. I then removed the control panel so as not to stress the wiring, and set the front panel down elsewhere:

Front panel free of the hinge 
Control panel wiring 
Control panel wiring 
Control panel wiring 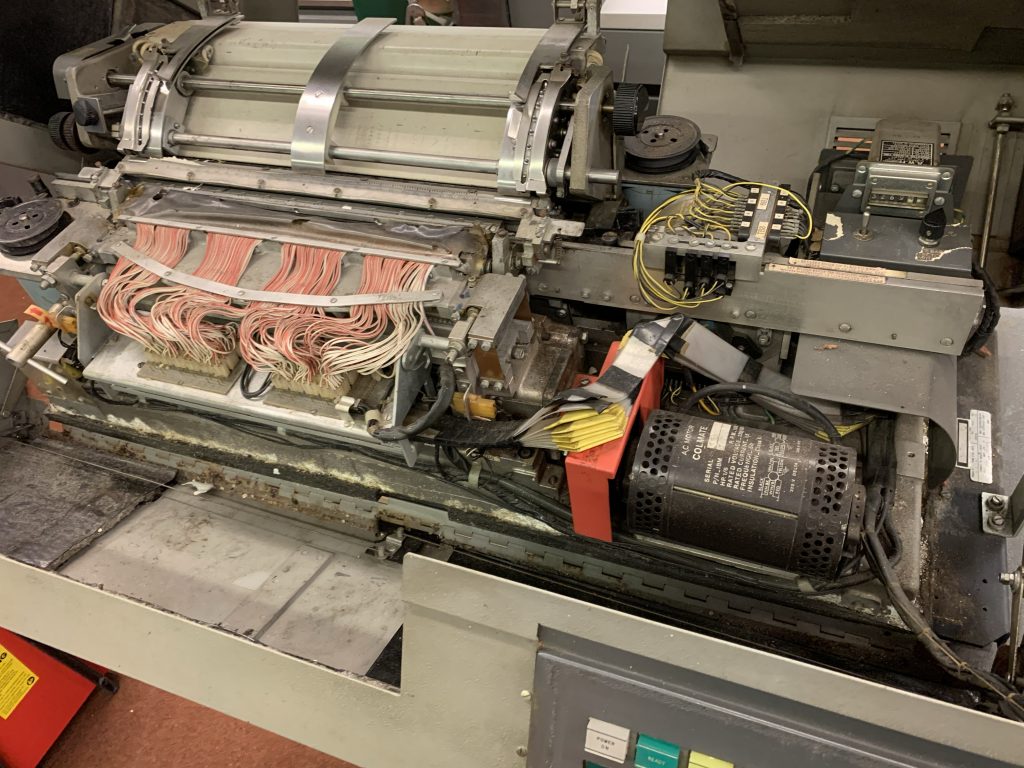
Close up prior to panel removal 
Panel removed 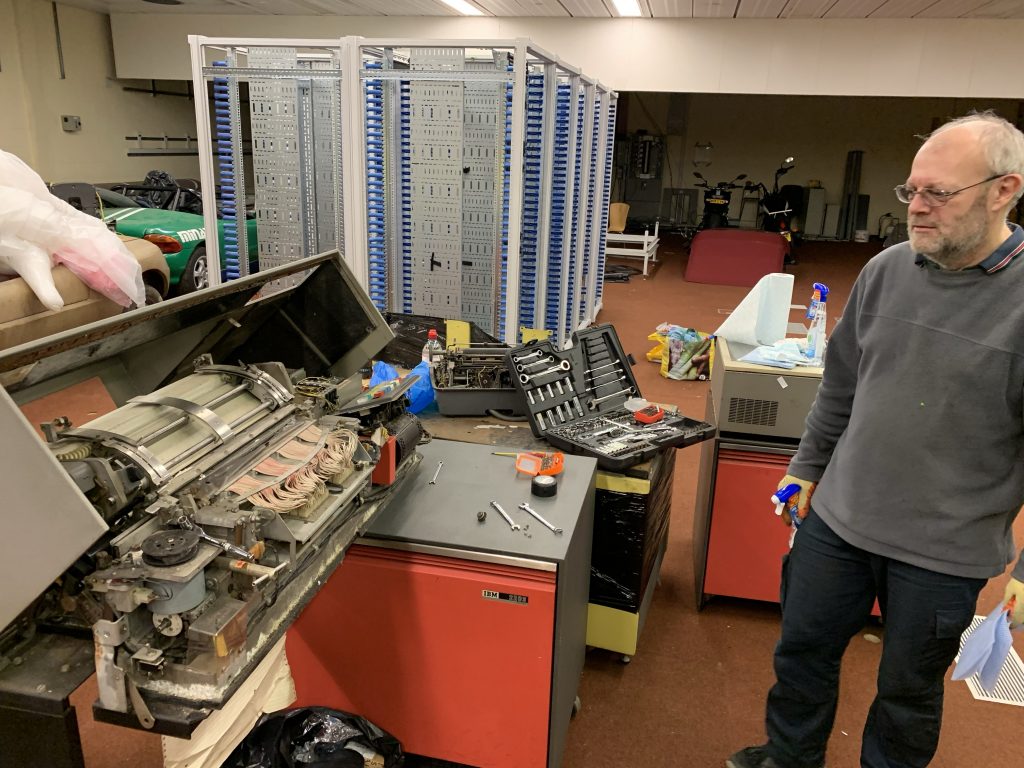
Panel removed 
Panel in front of the red CPU 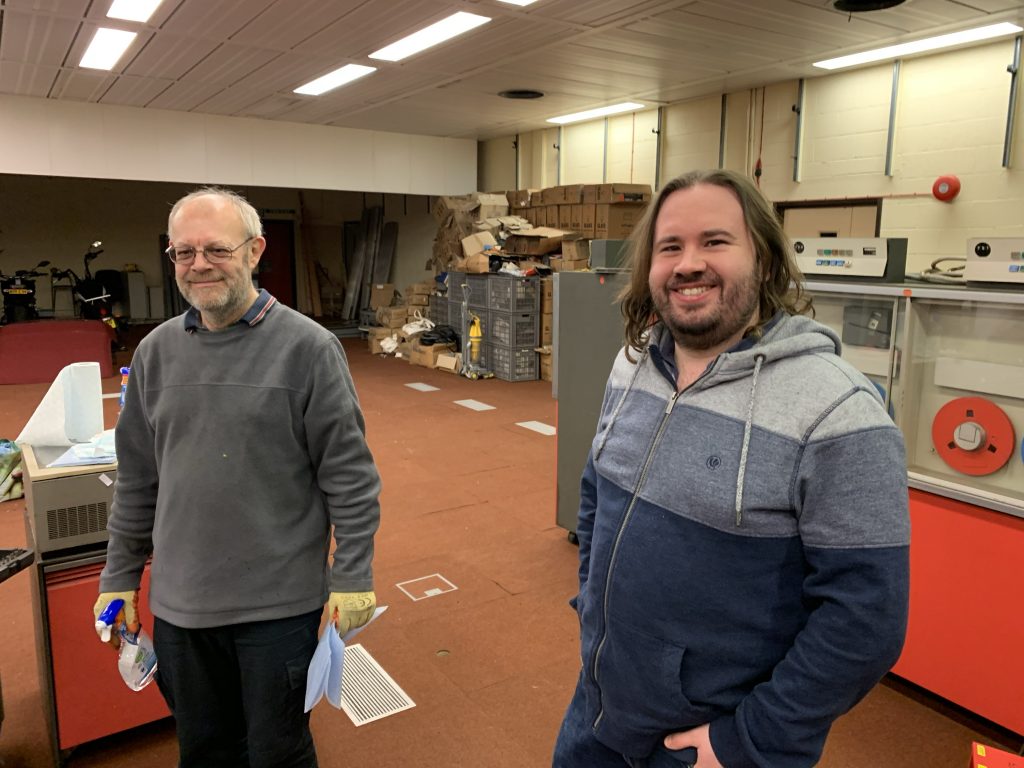
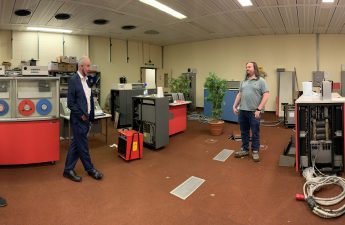
Peter and Chris looking pleased with the progress! 
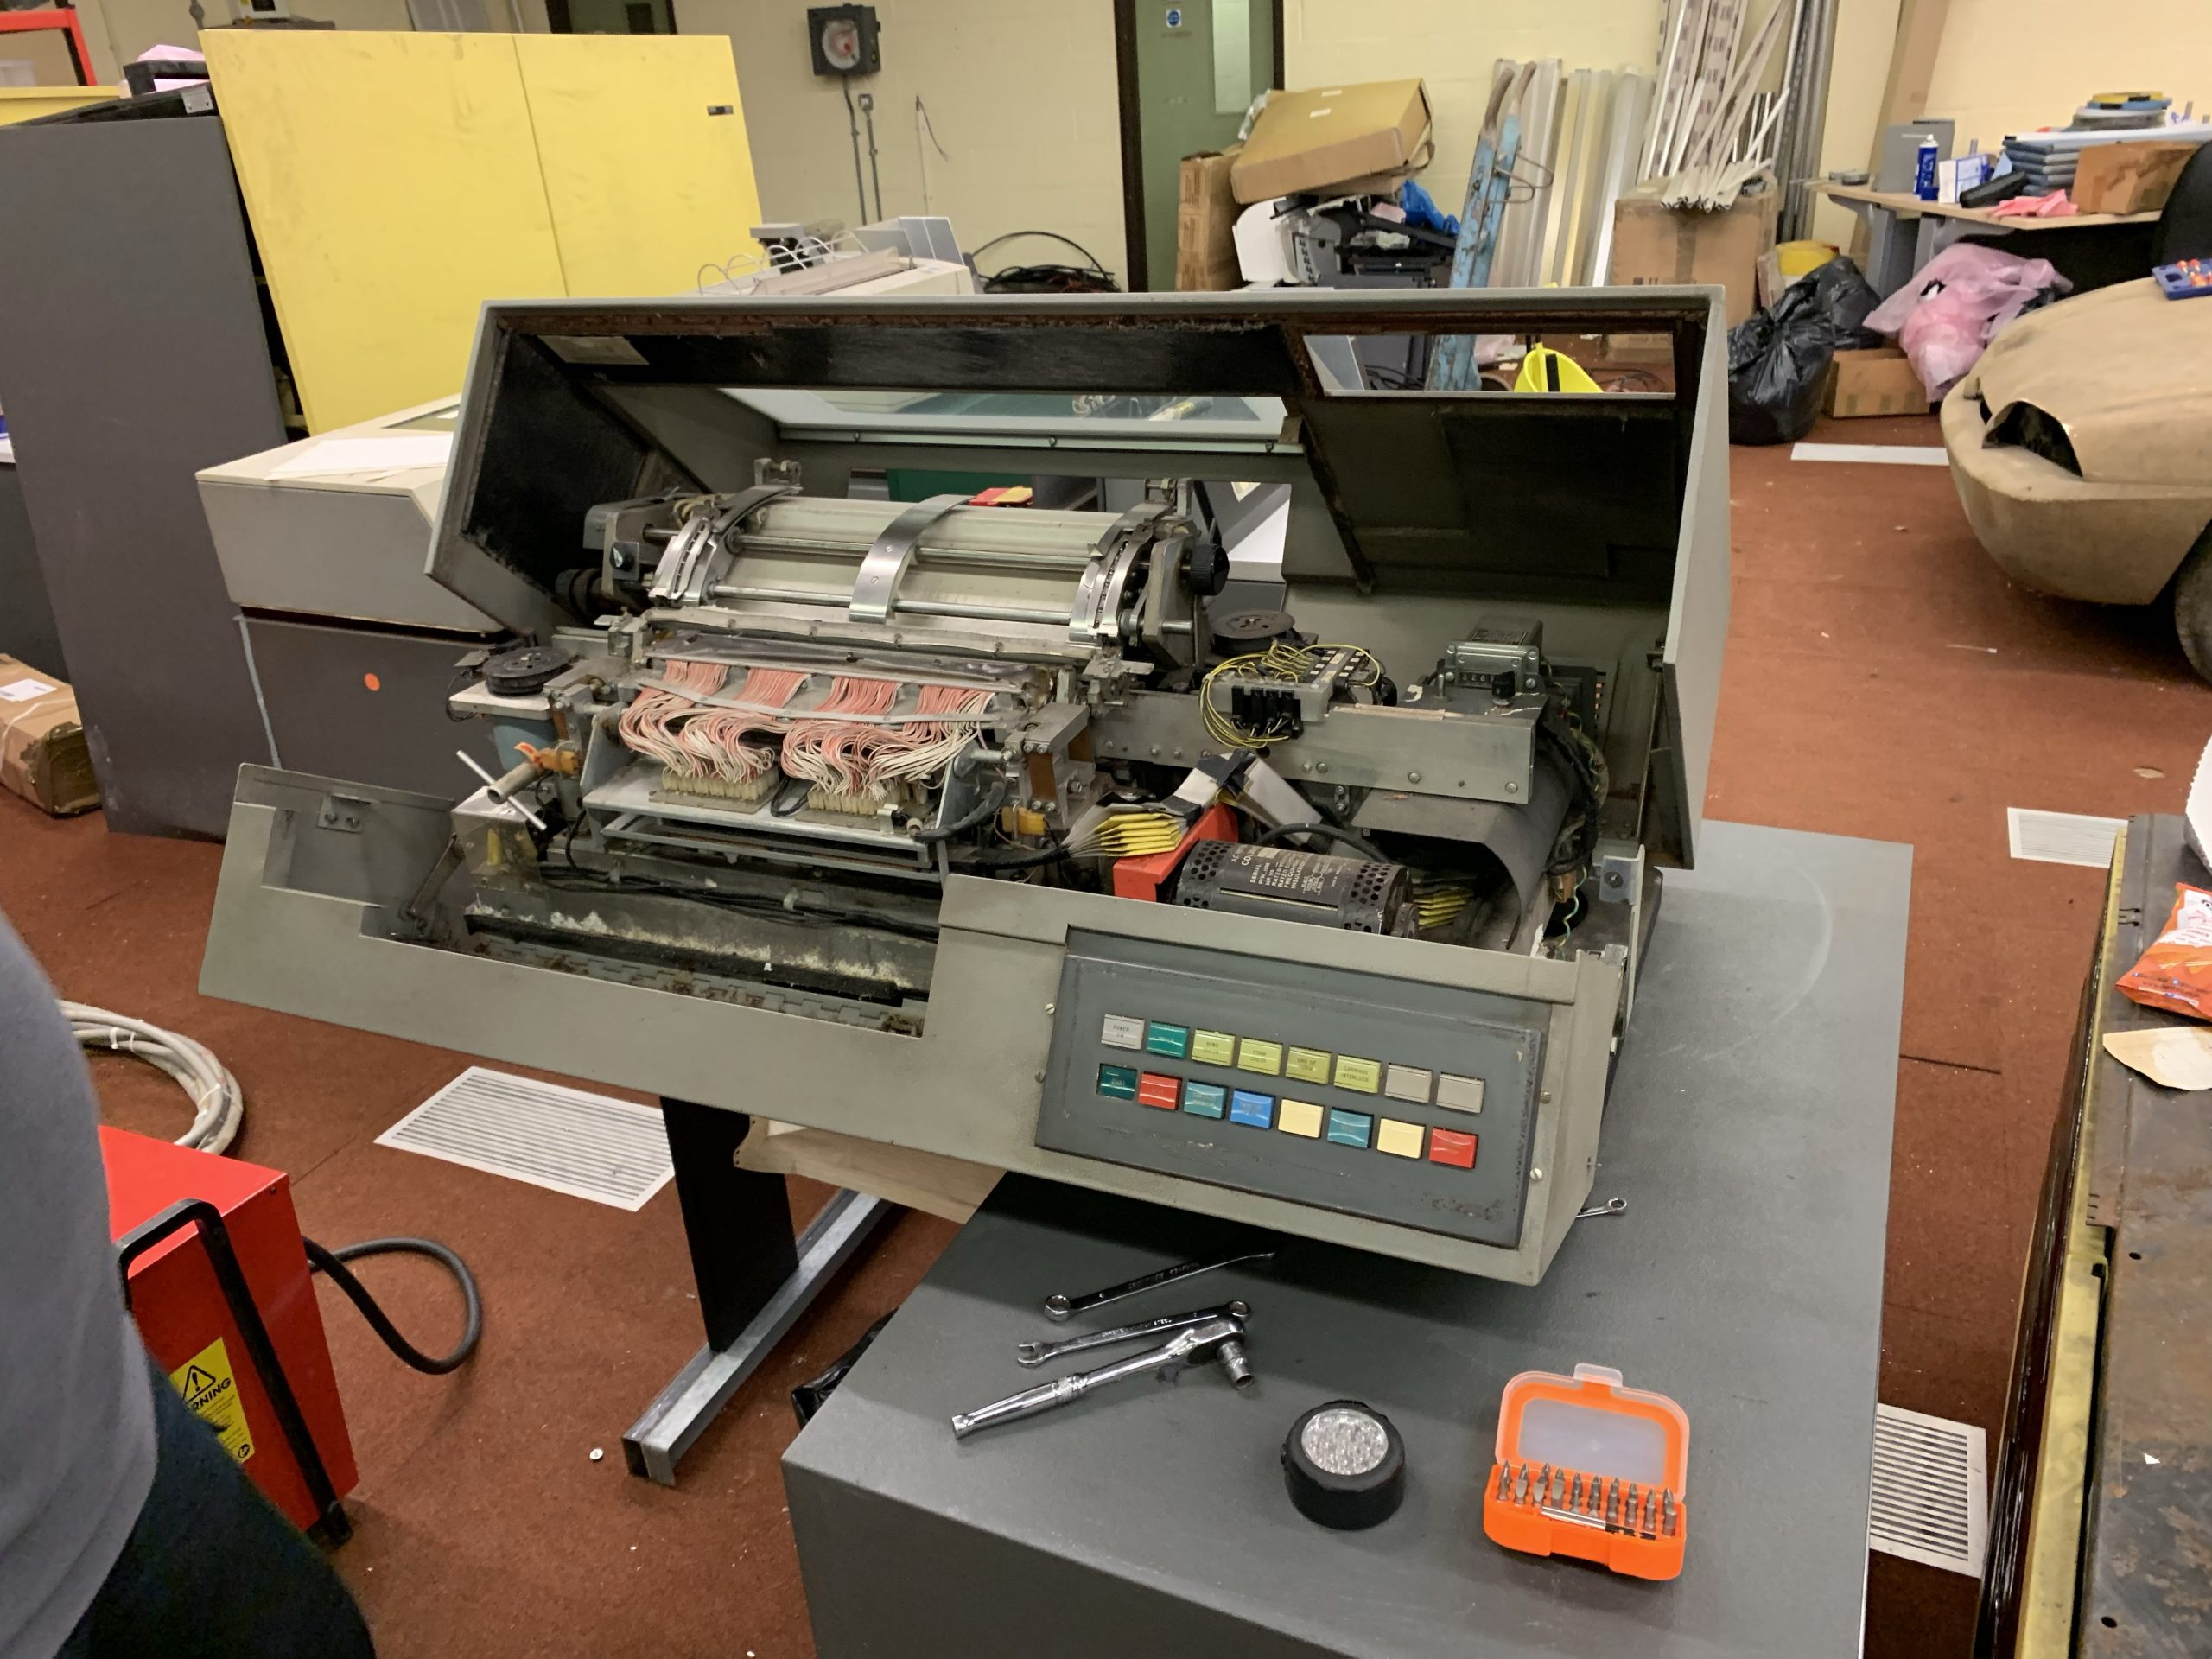
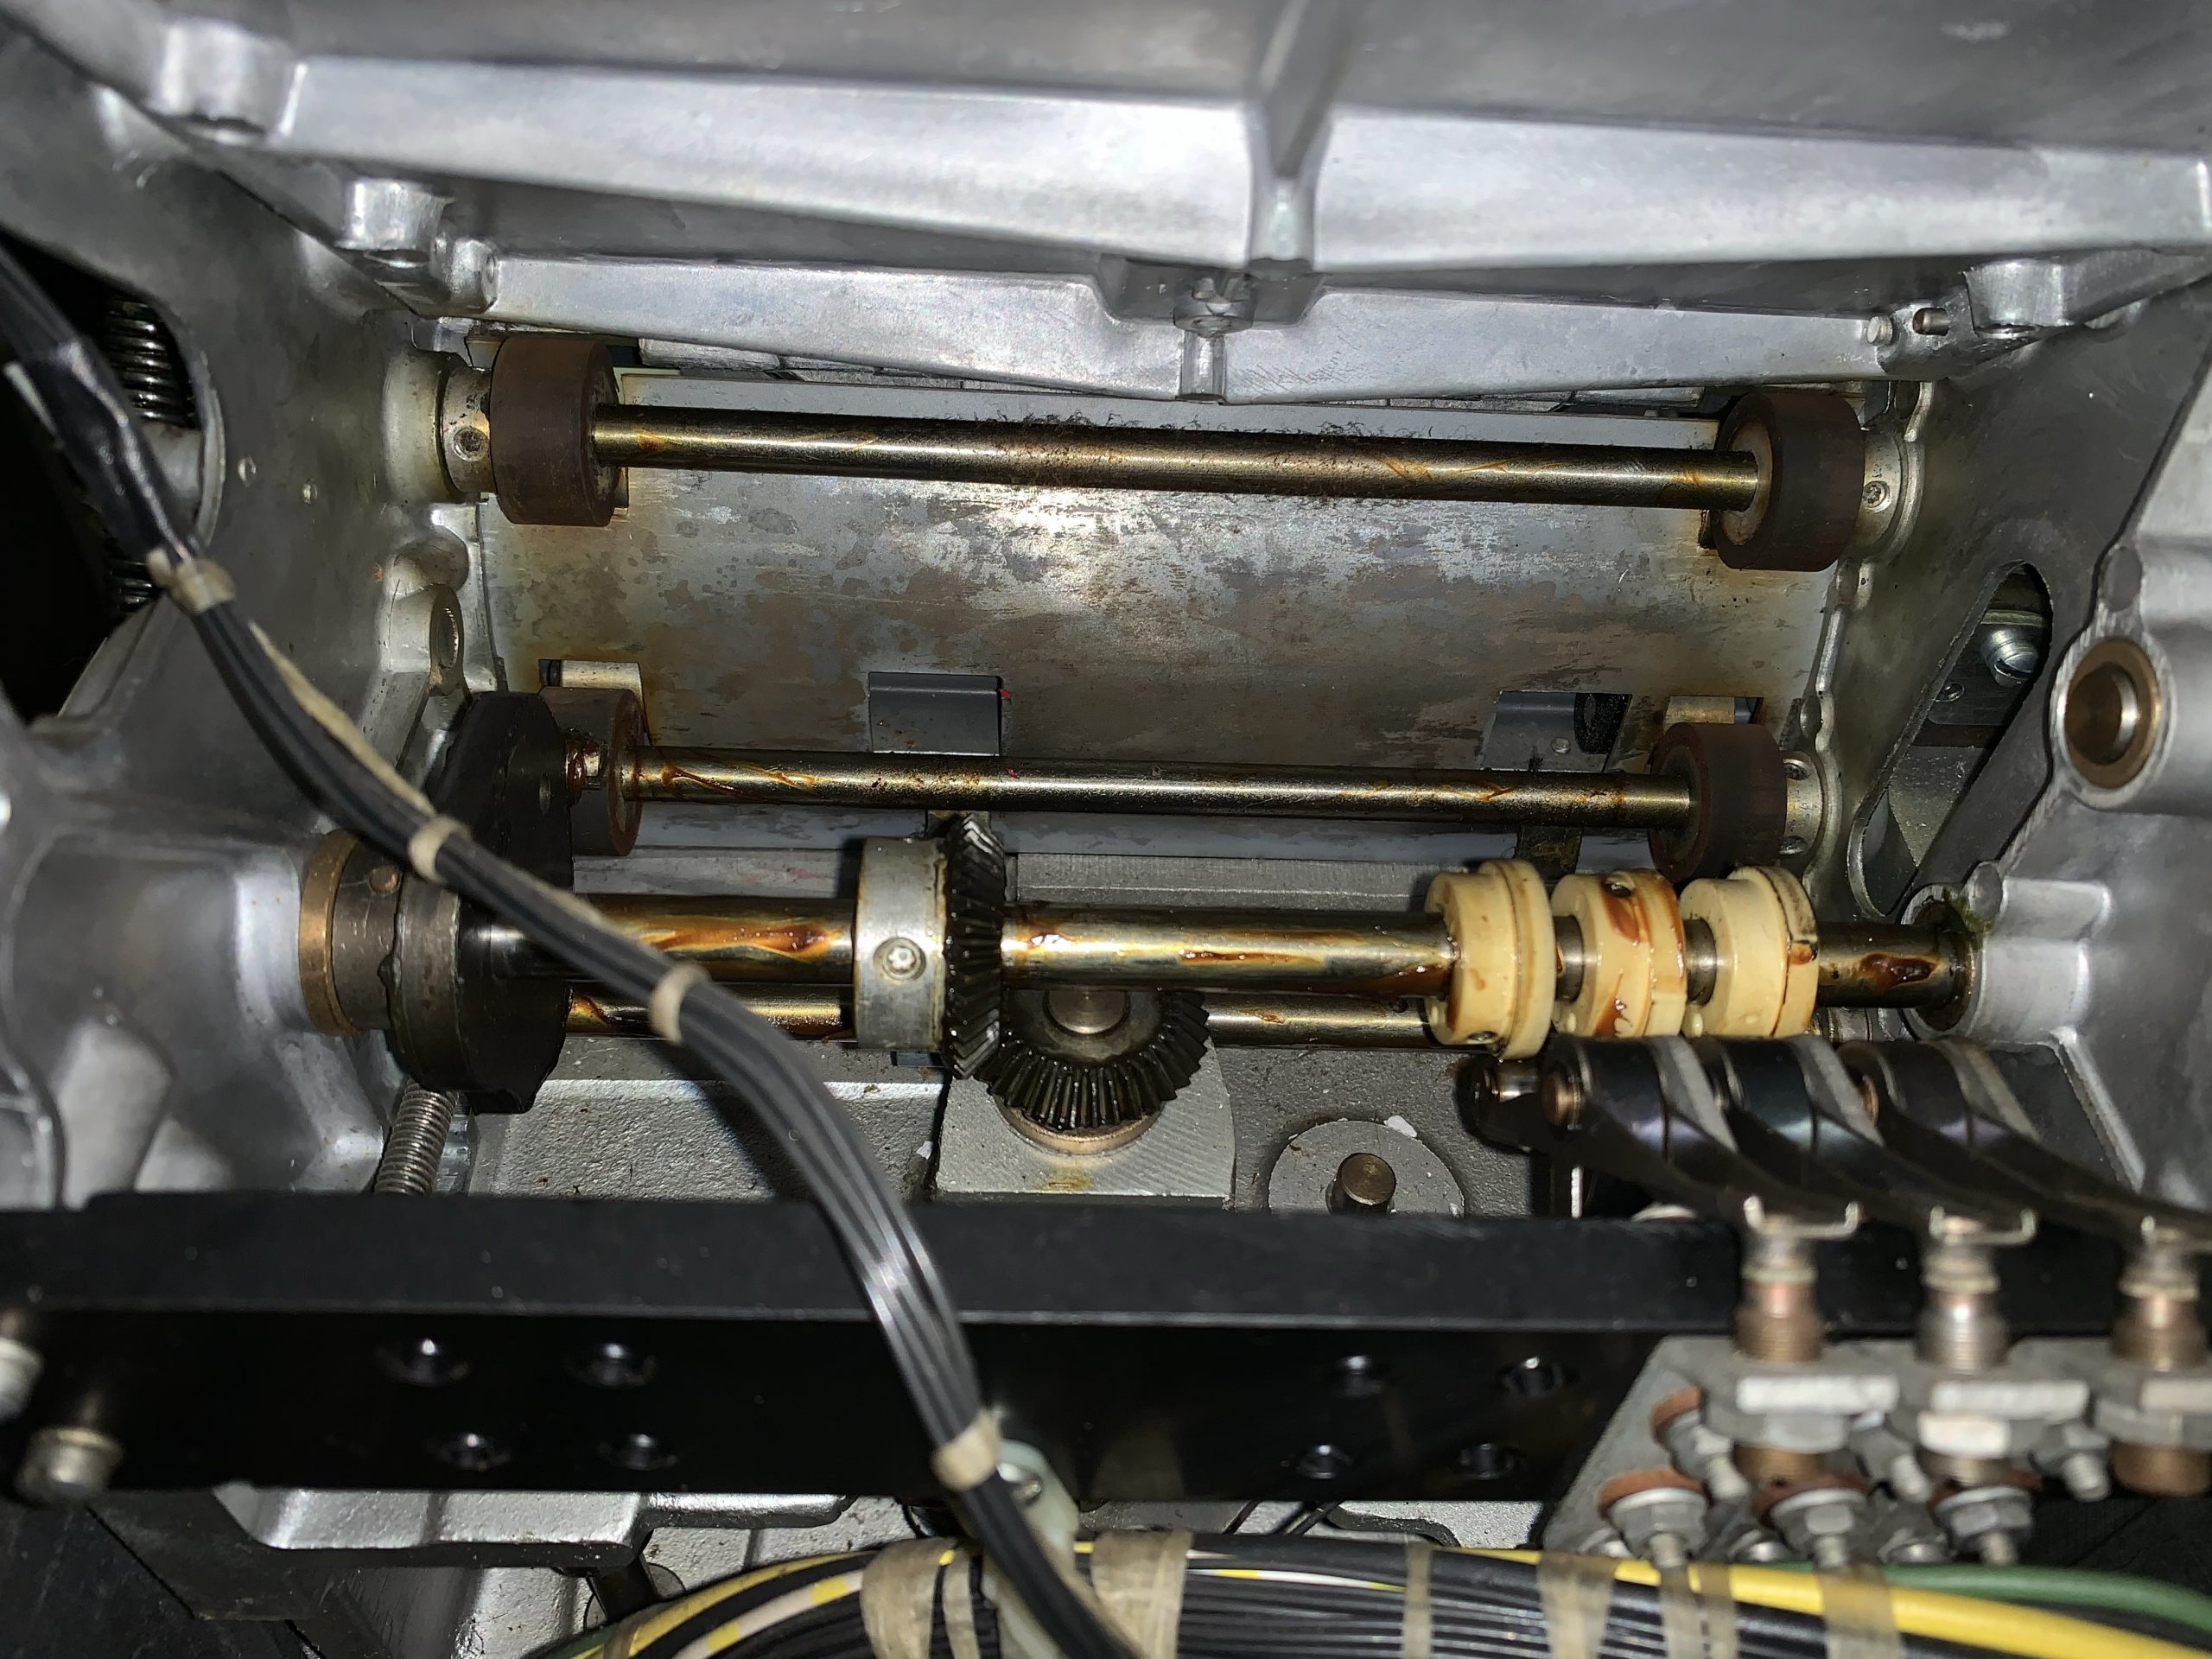
The (rather dirty!) printer minus it’s front panel


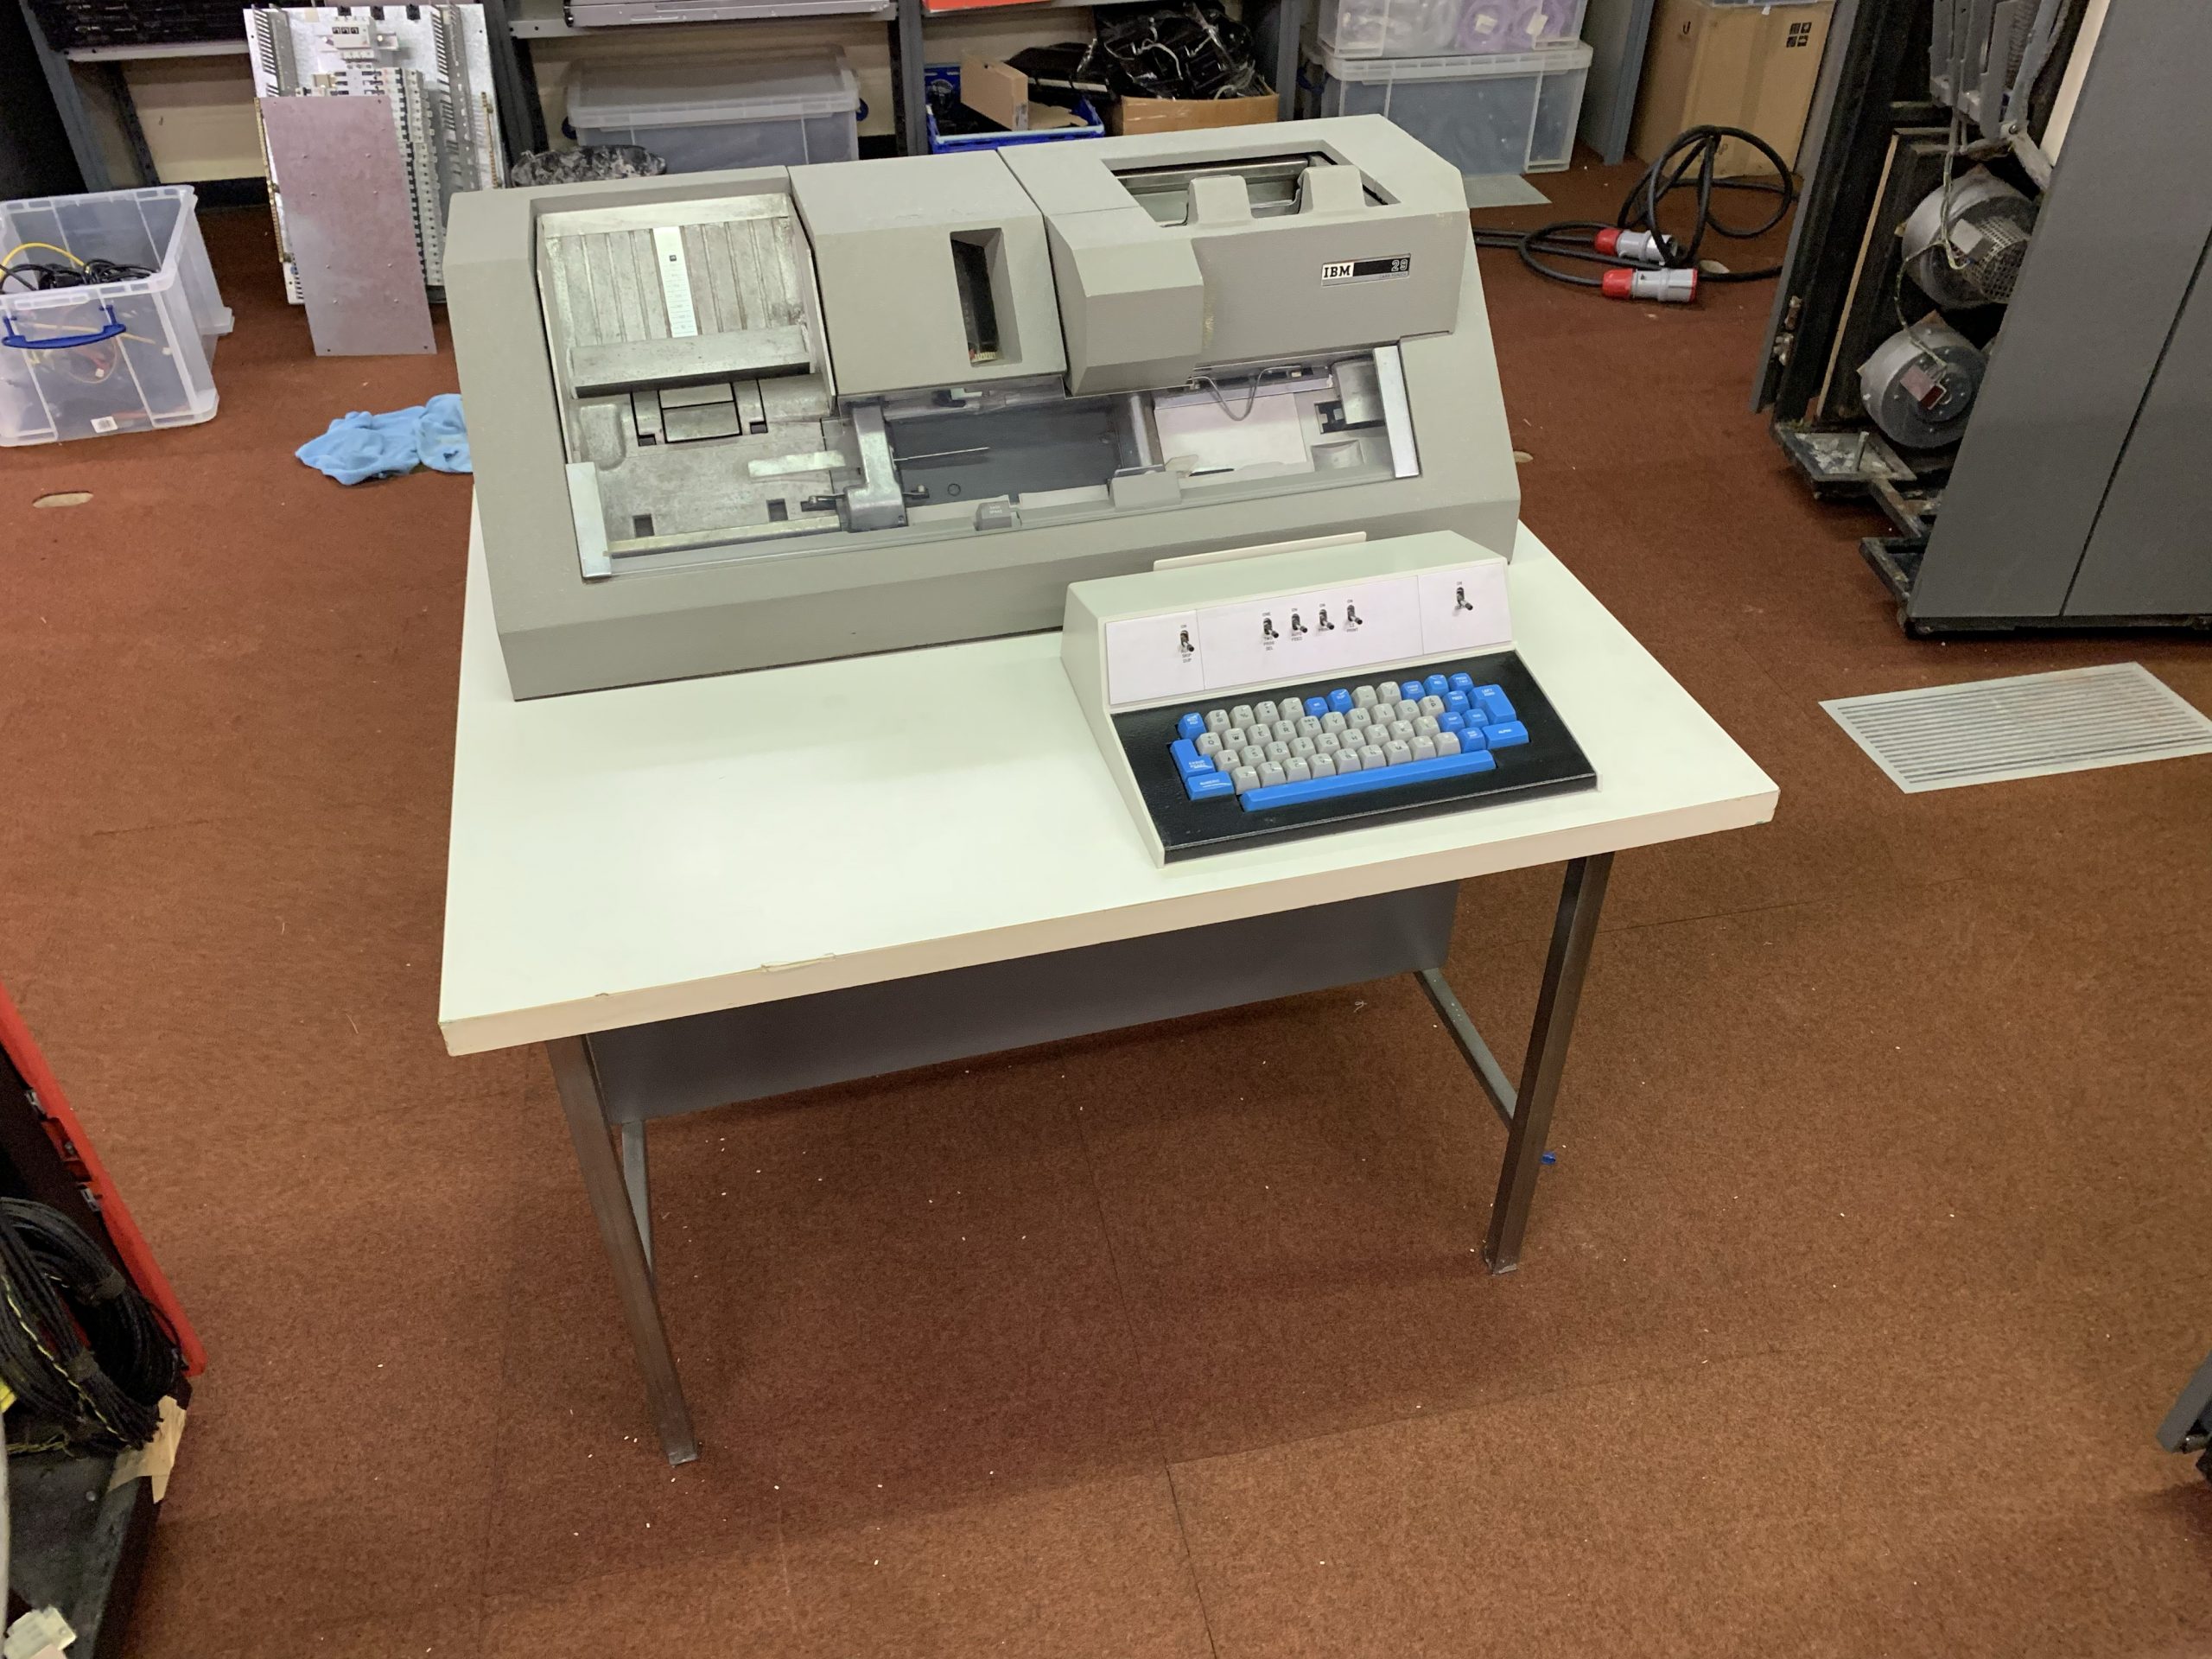
With that completed, Peter set about cleaning and tidying the cables from the Blue CPU much as he had previous done for the red one. About this time, Simon Van Winklen arrived and met Peter and Chris for the first time. He then got stuck in continuing cleaning the 29 card punch and re-assembling the casings onto it:

Inspecting the Model 29 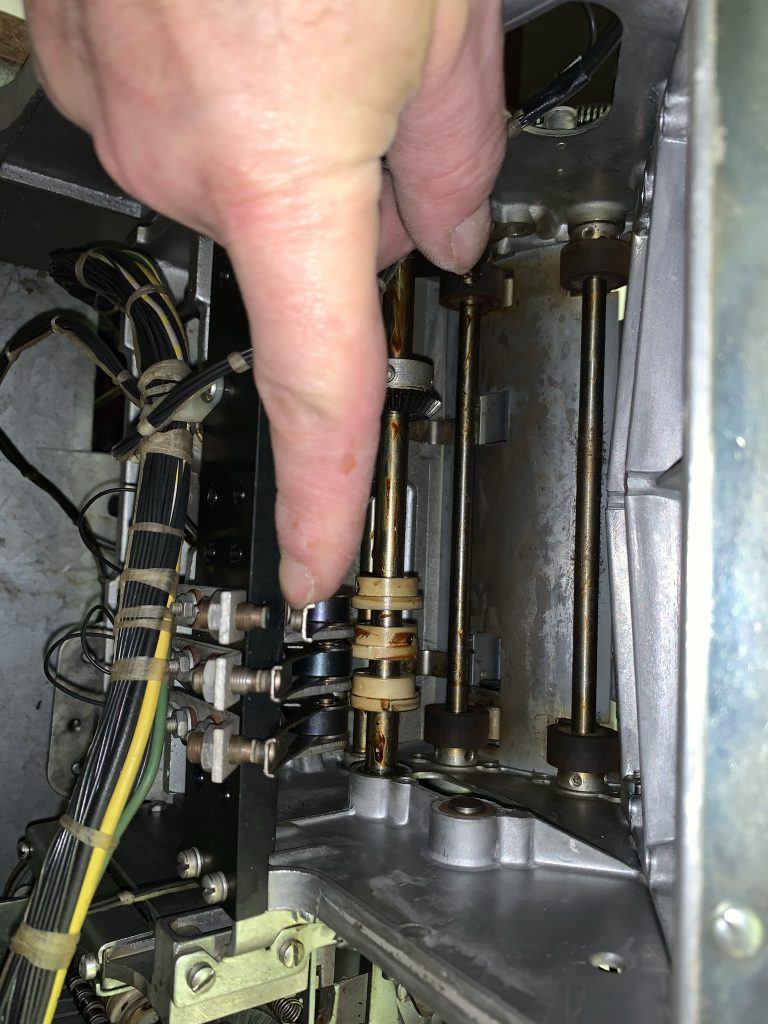
Inspecting the Model 29 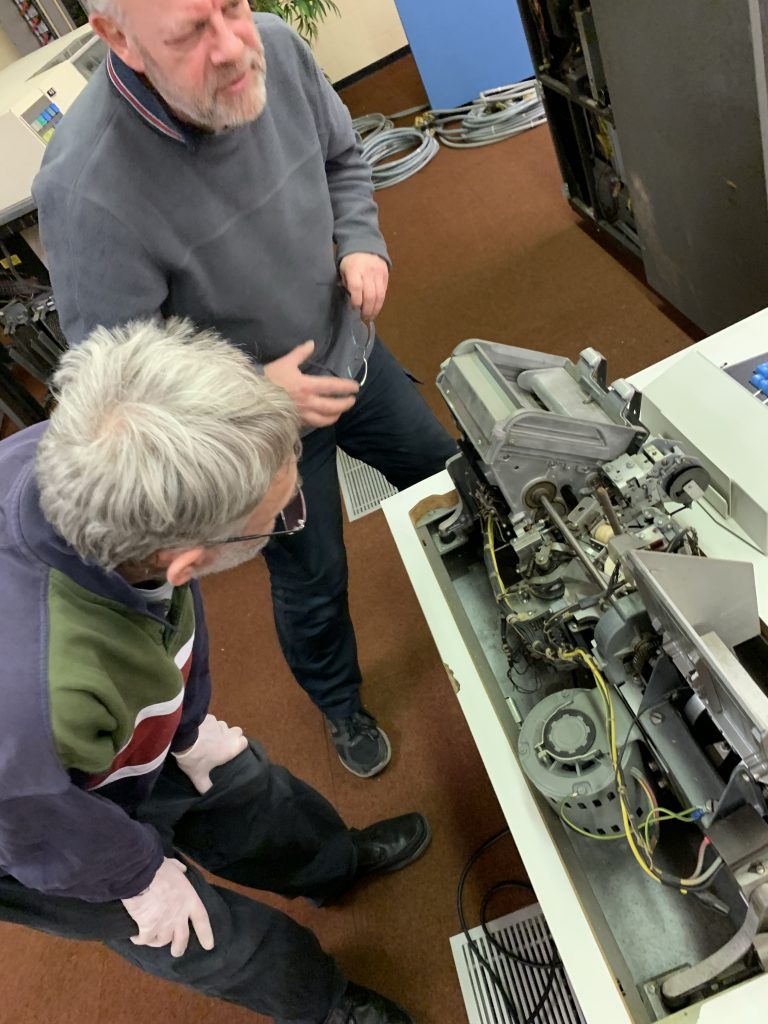
Inspecting the Model 29 
Inspecting the Model 29 
Inspecting the Model 29 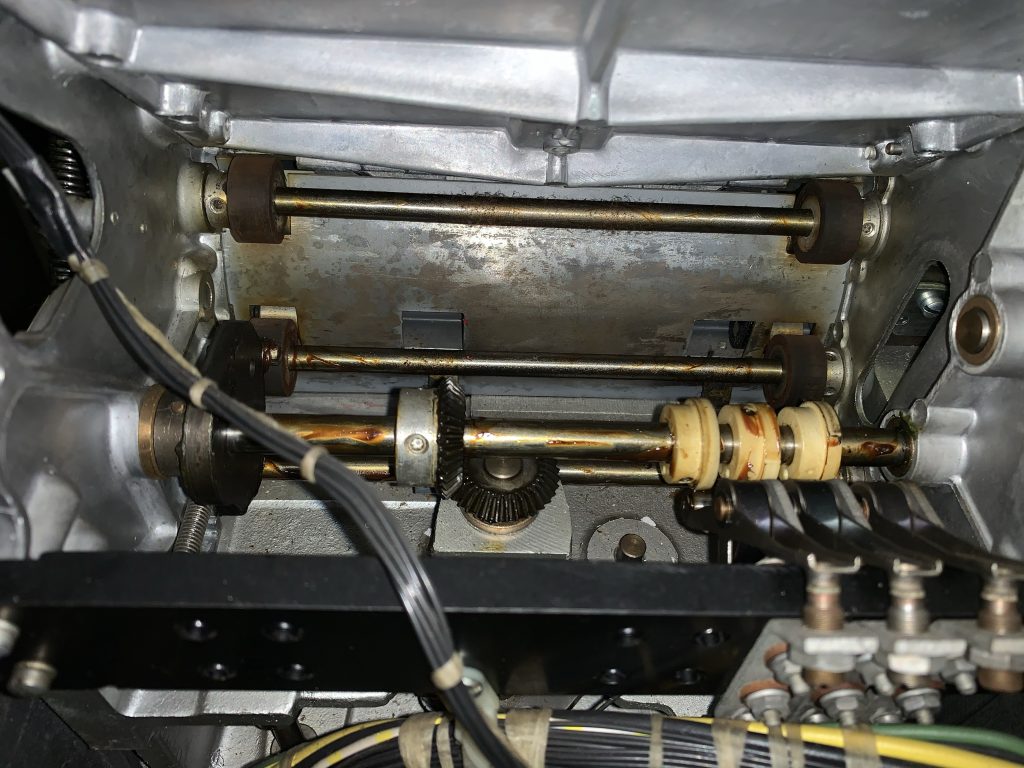
Inspecting the Model 29 
Inspecting the Model 29 
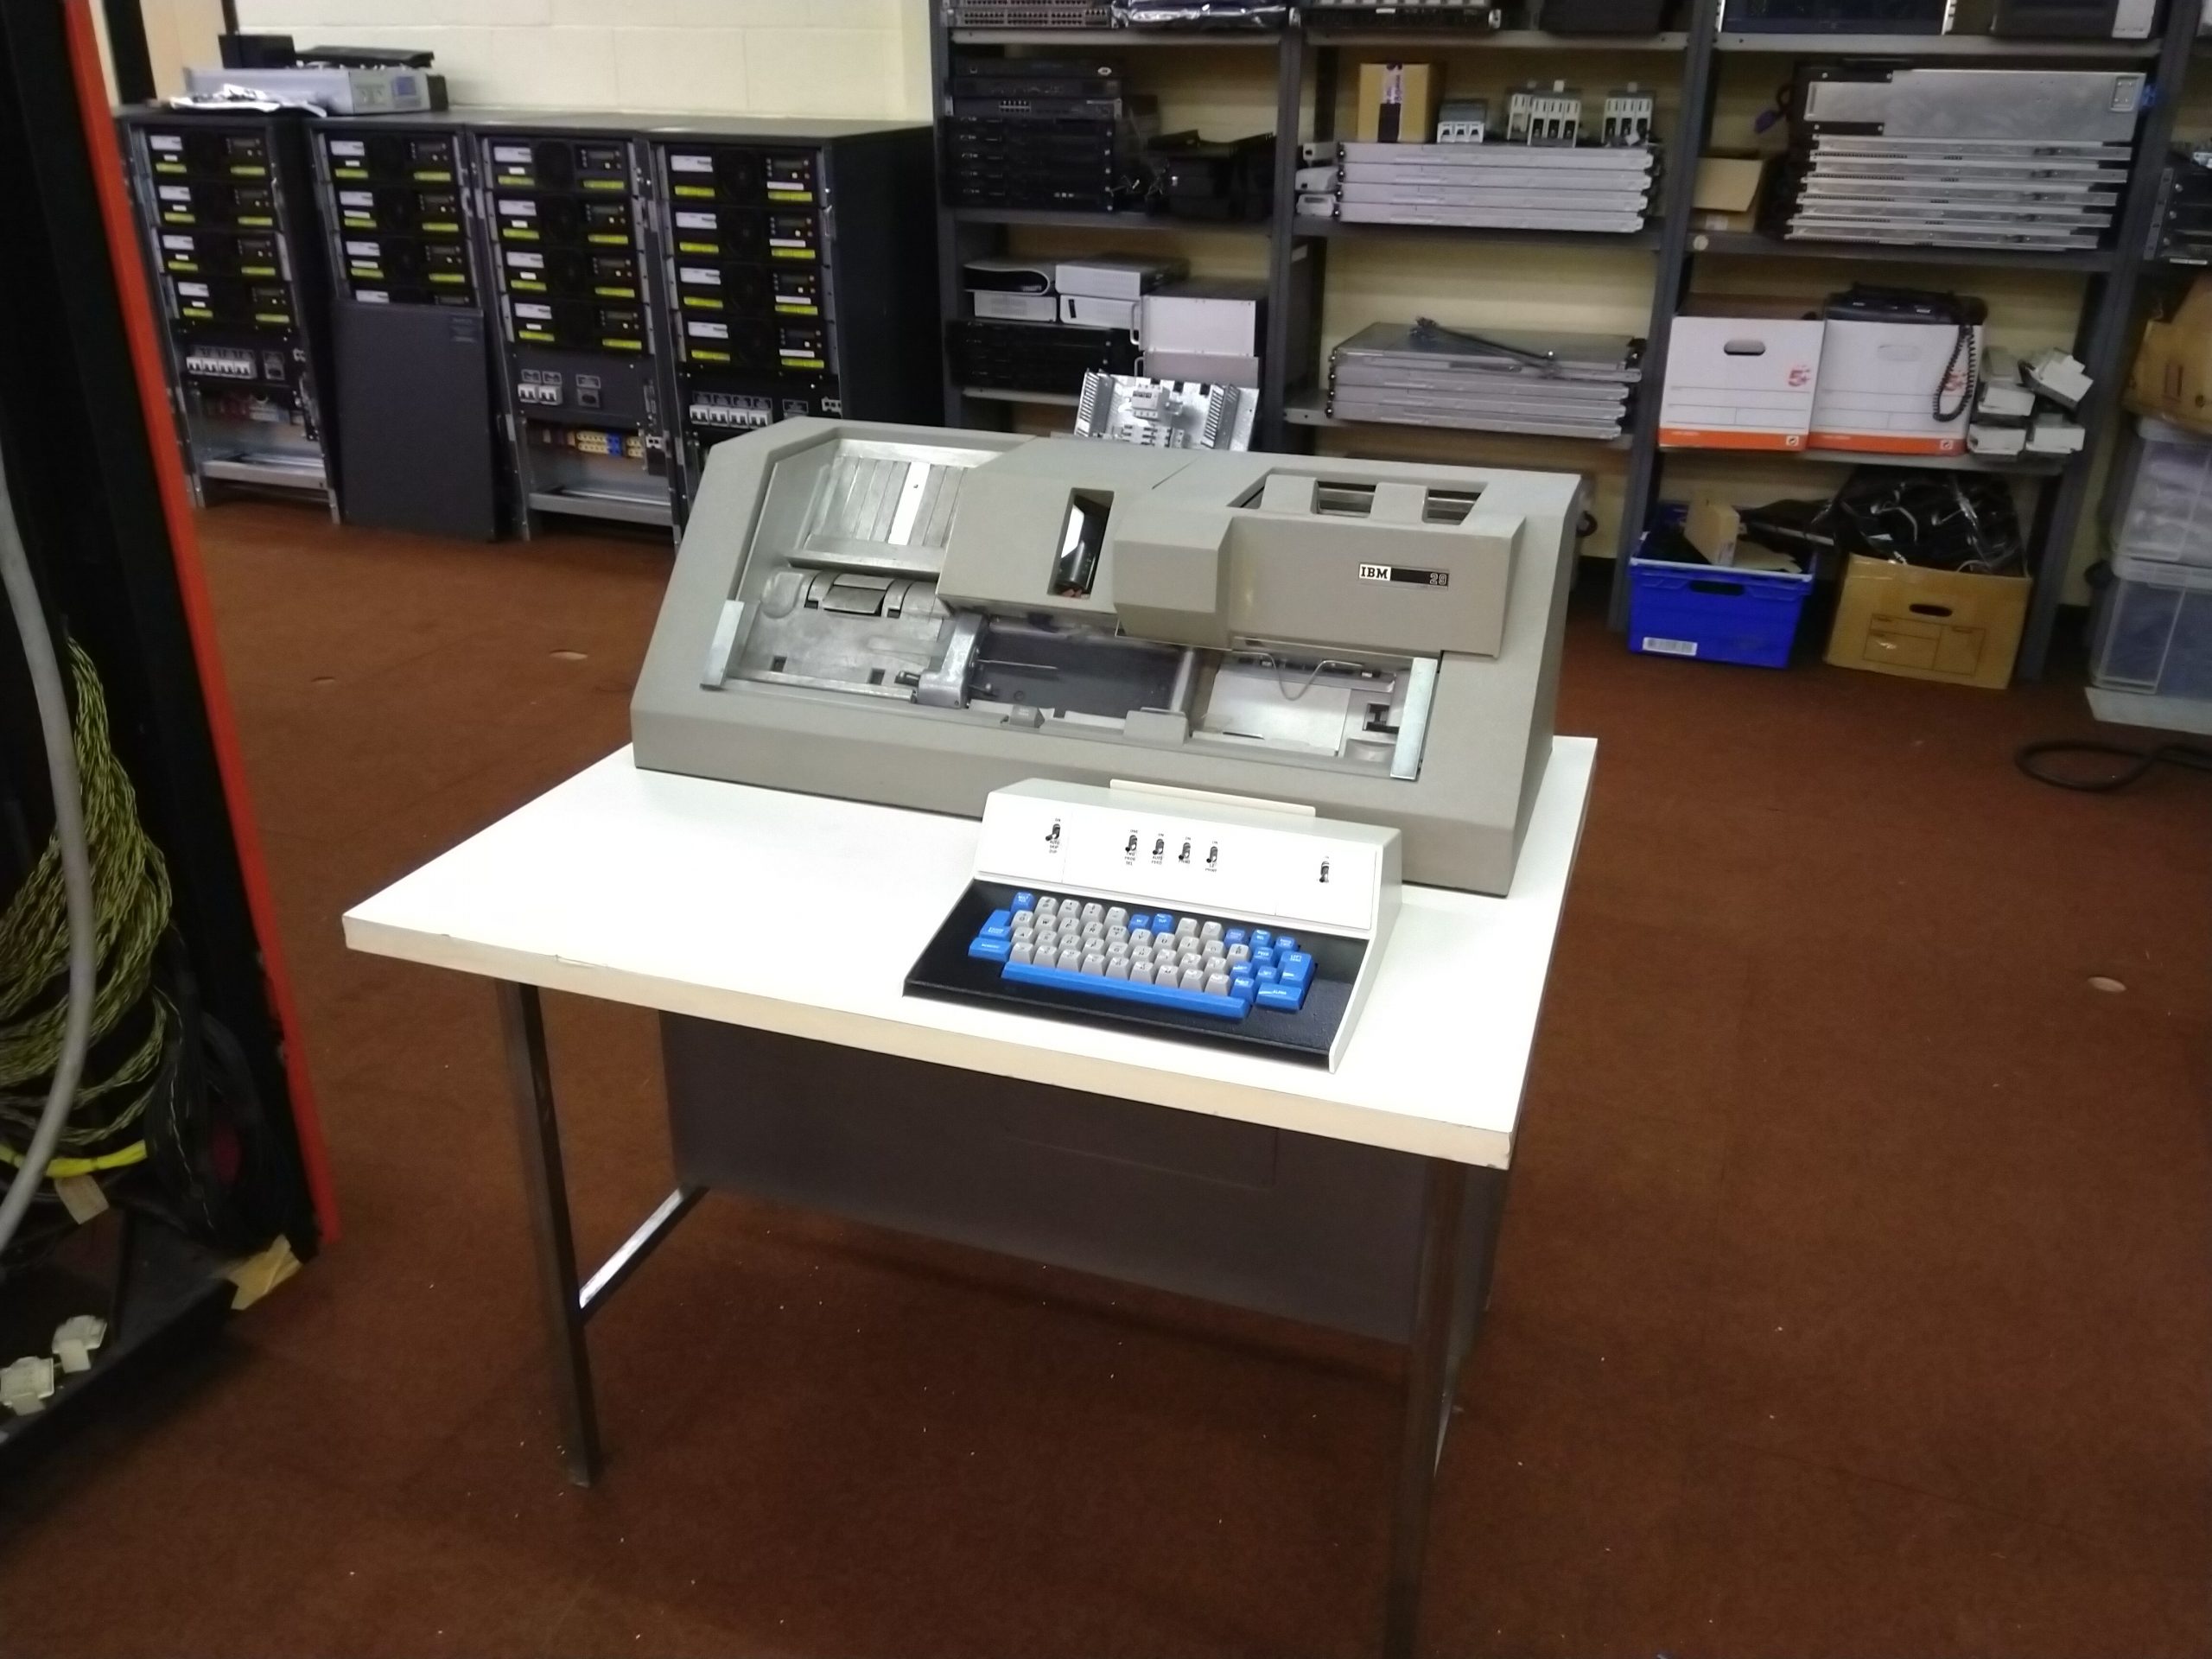
Re-assembled and cleaned Model 29 
Re-assembled and cleaned Model 29 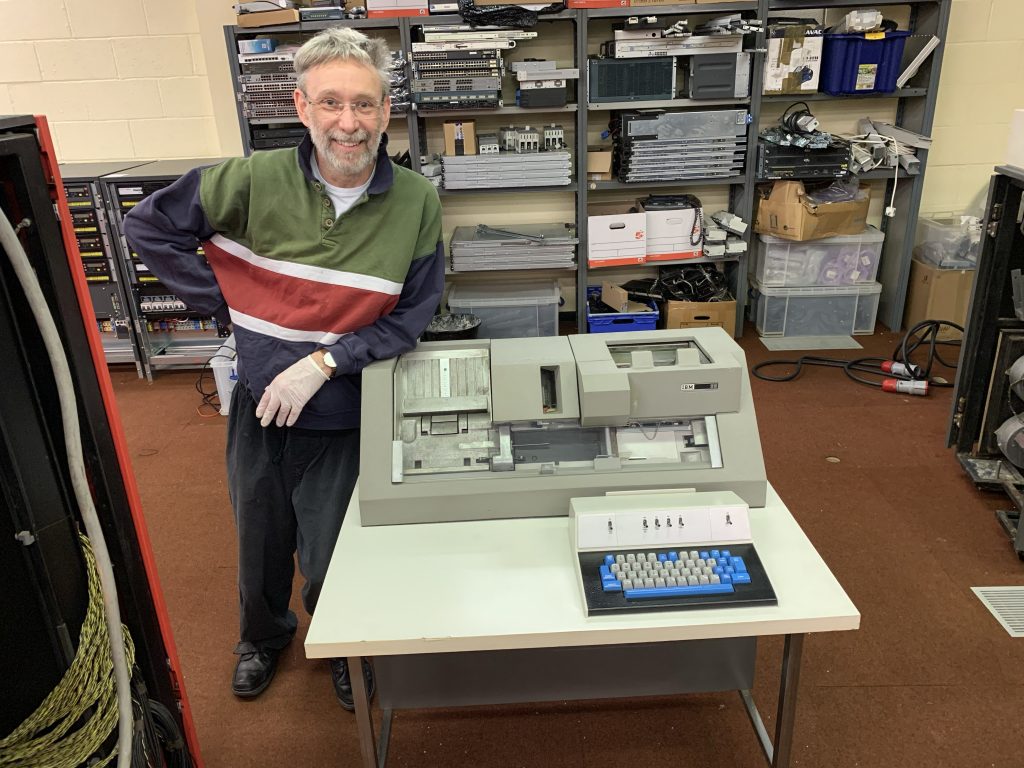
A proud Simon with his clean 29!

After we’d had a good look inside the 29 and inspected the condition of some of the internal parts, Peter continued cleaning the blue Model 20 CPU’s cables, and I must say how very clean they look now!
Evidently this process had tired out poor Peter though:
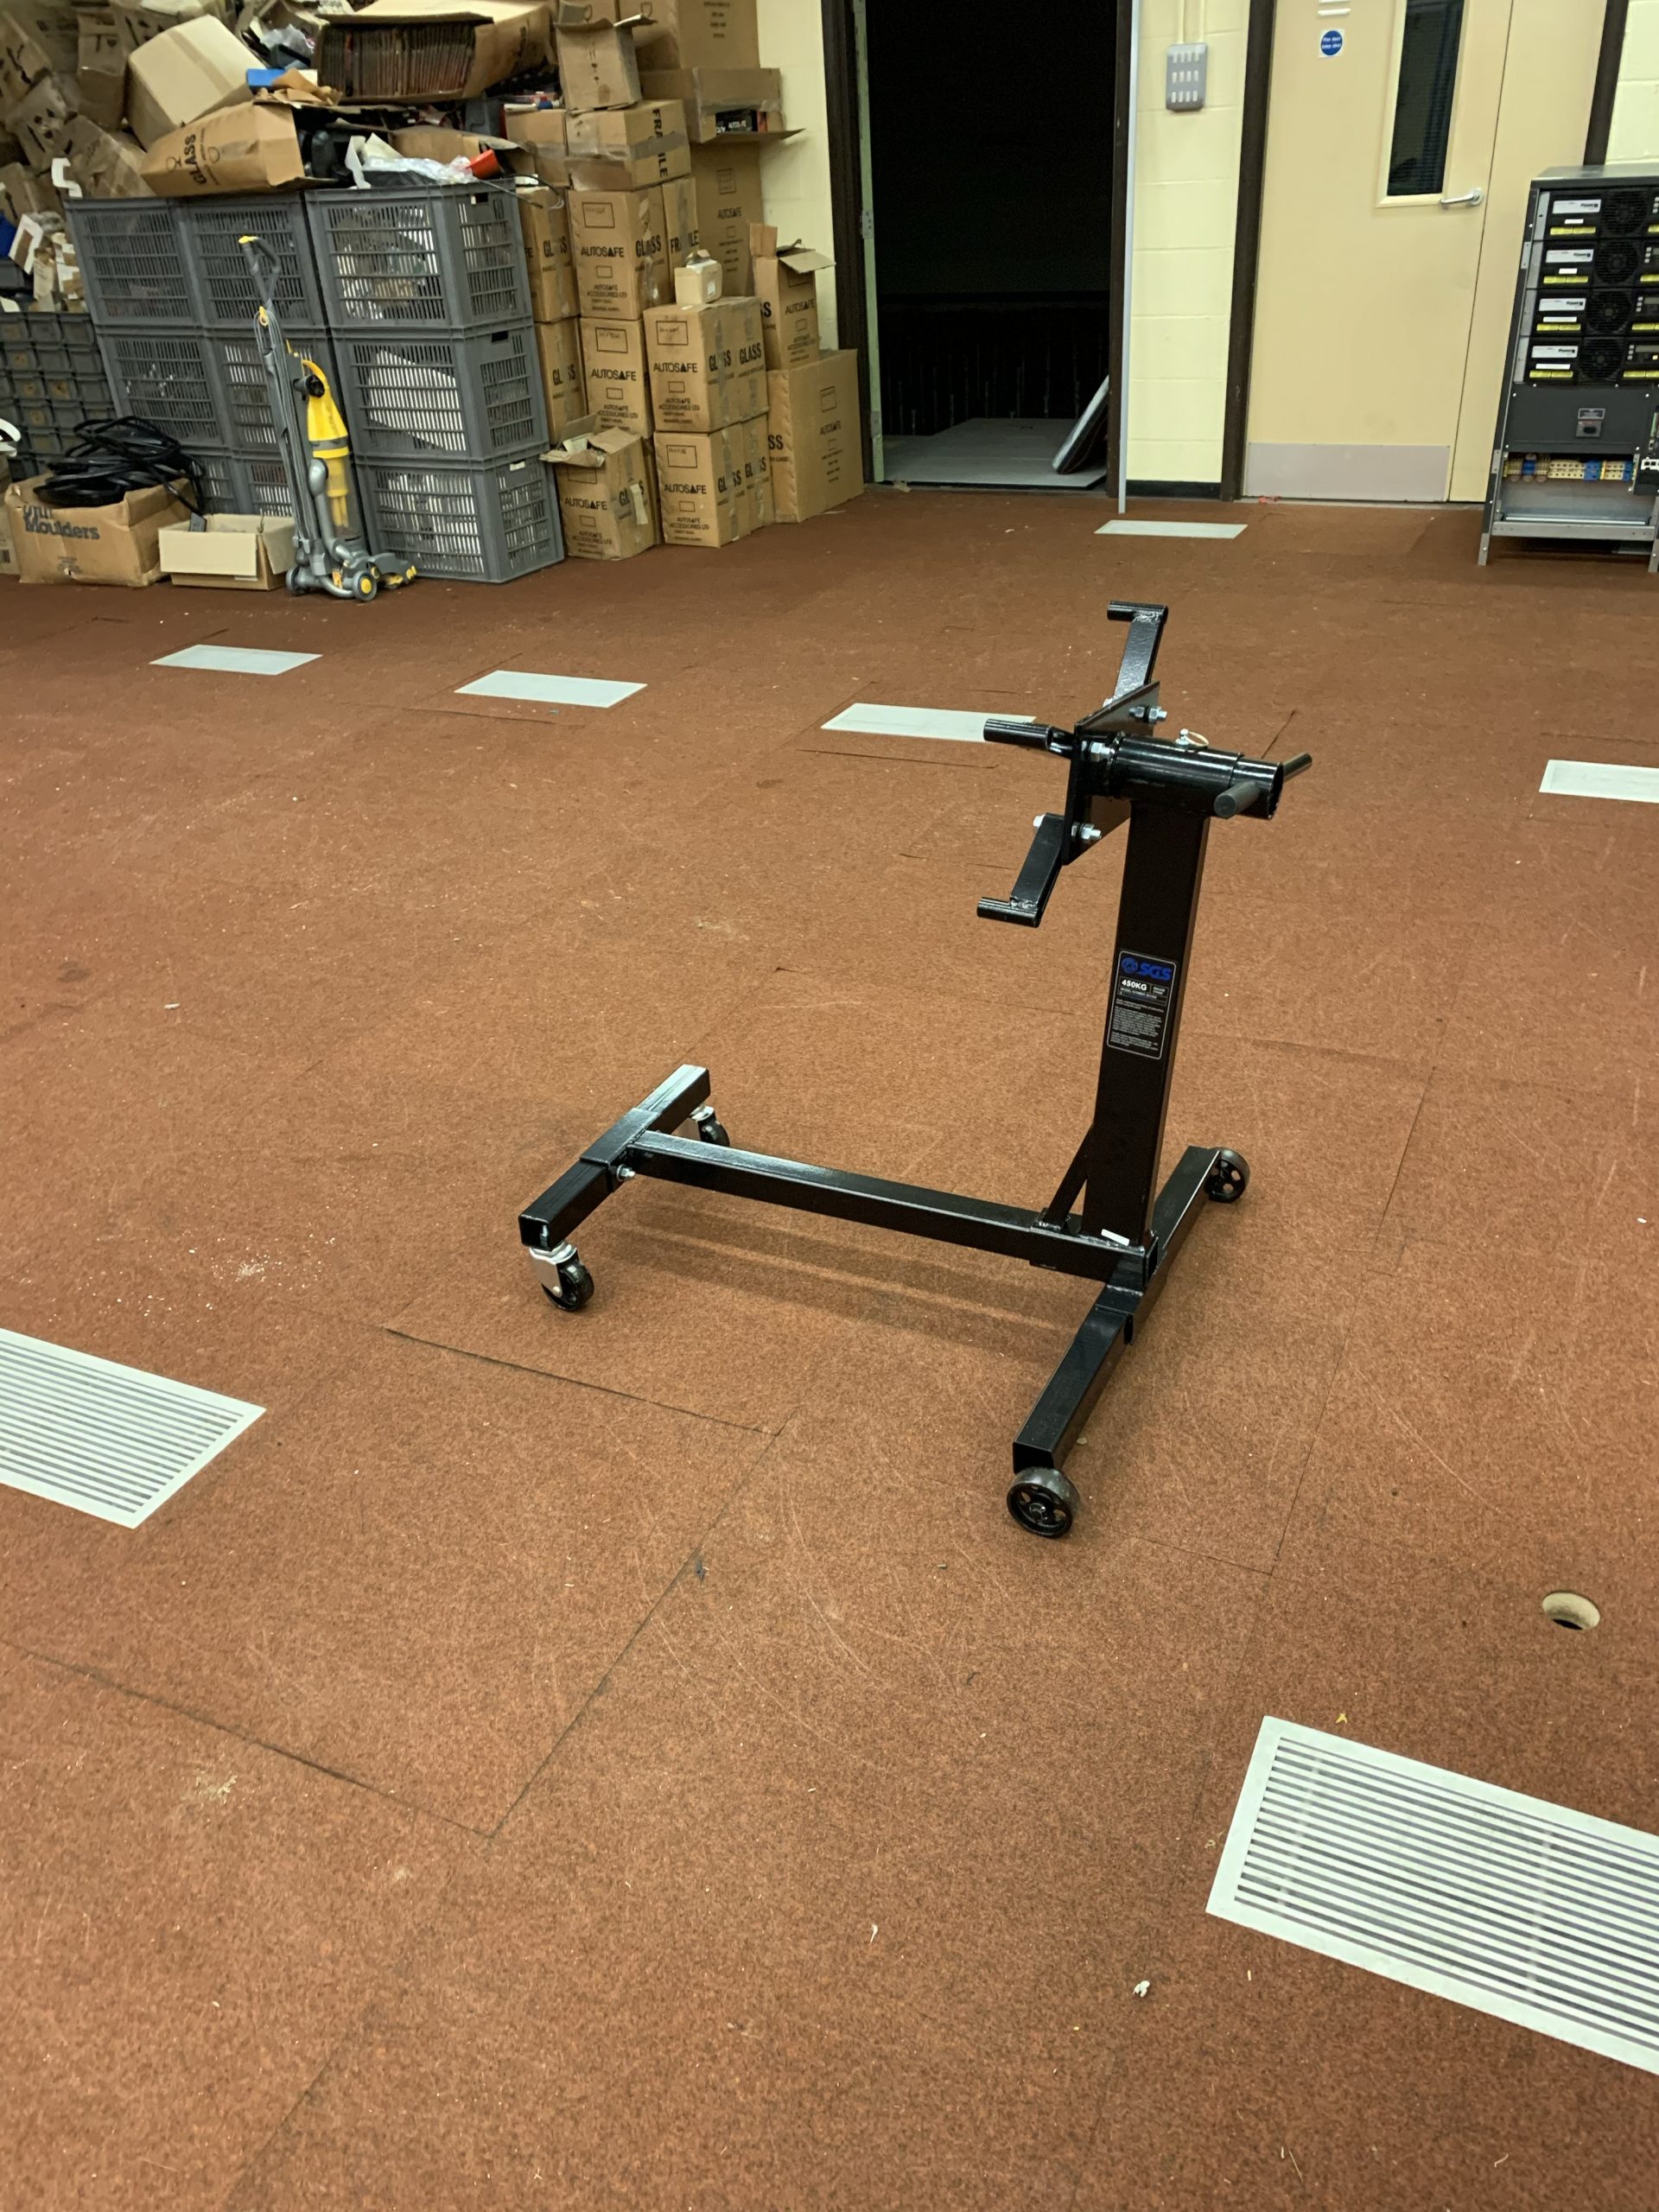
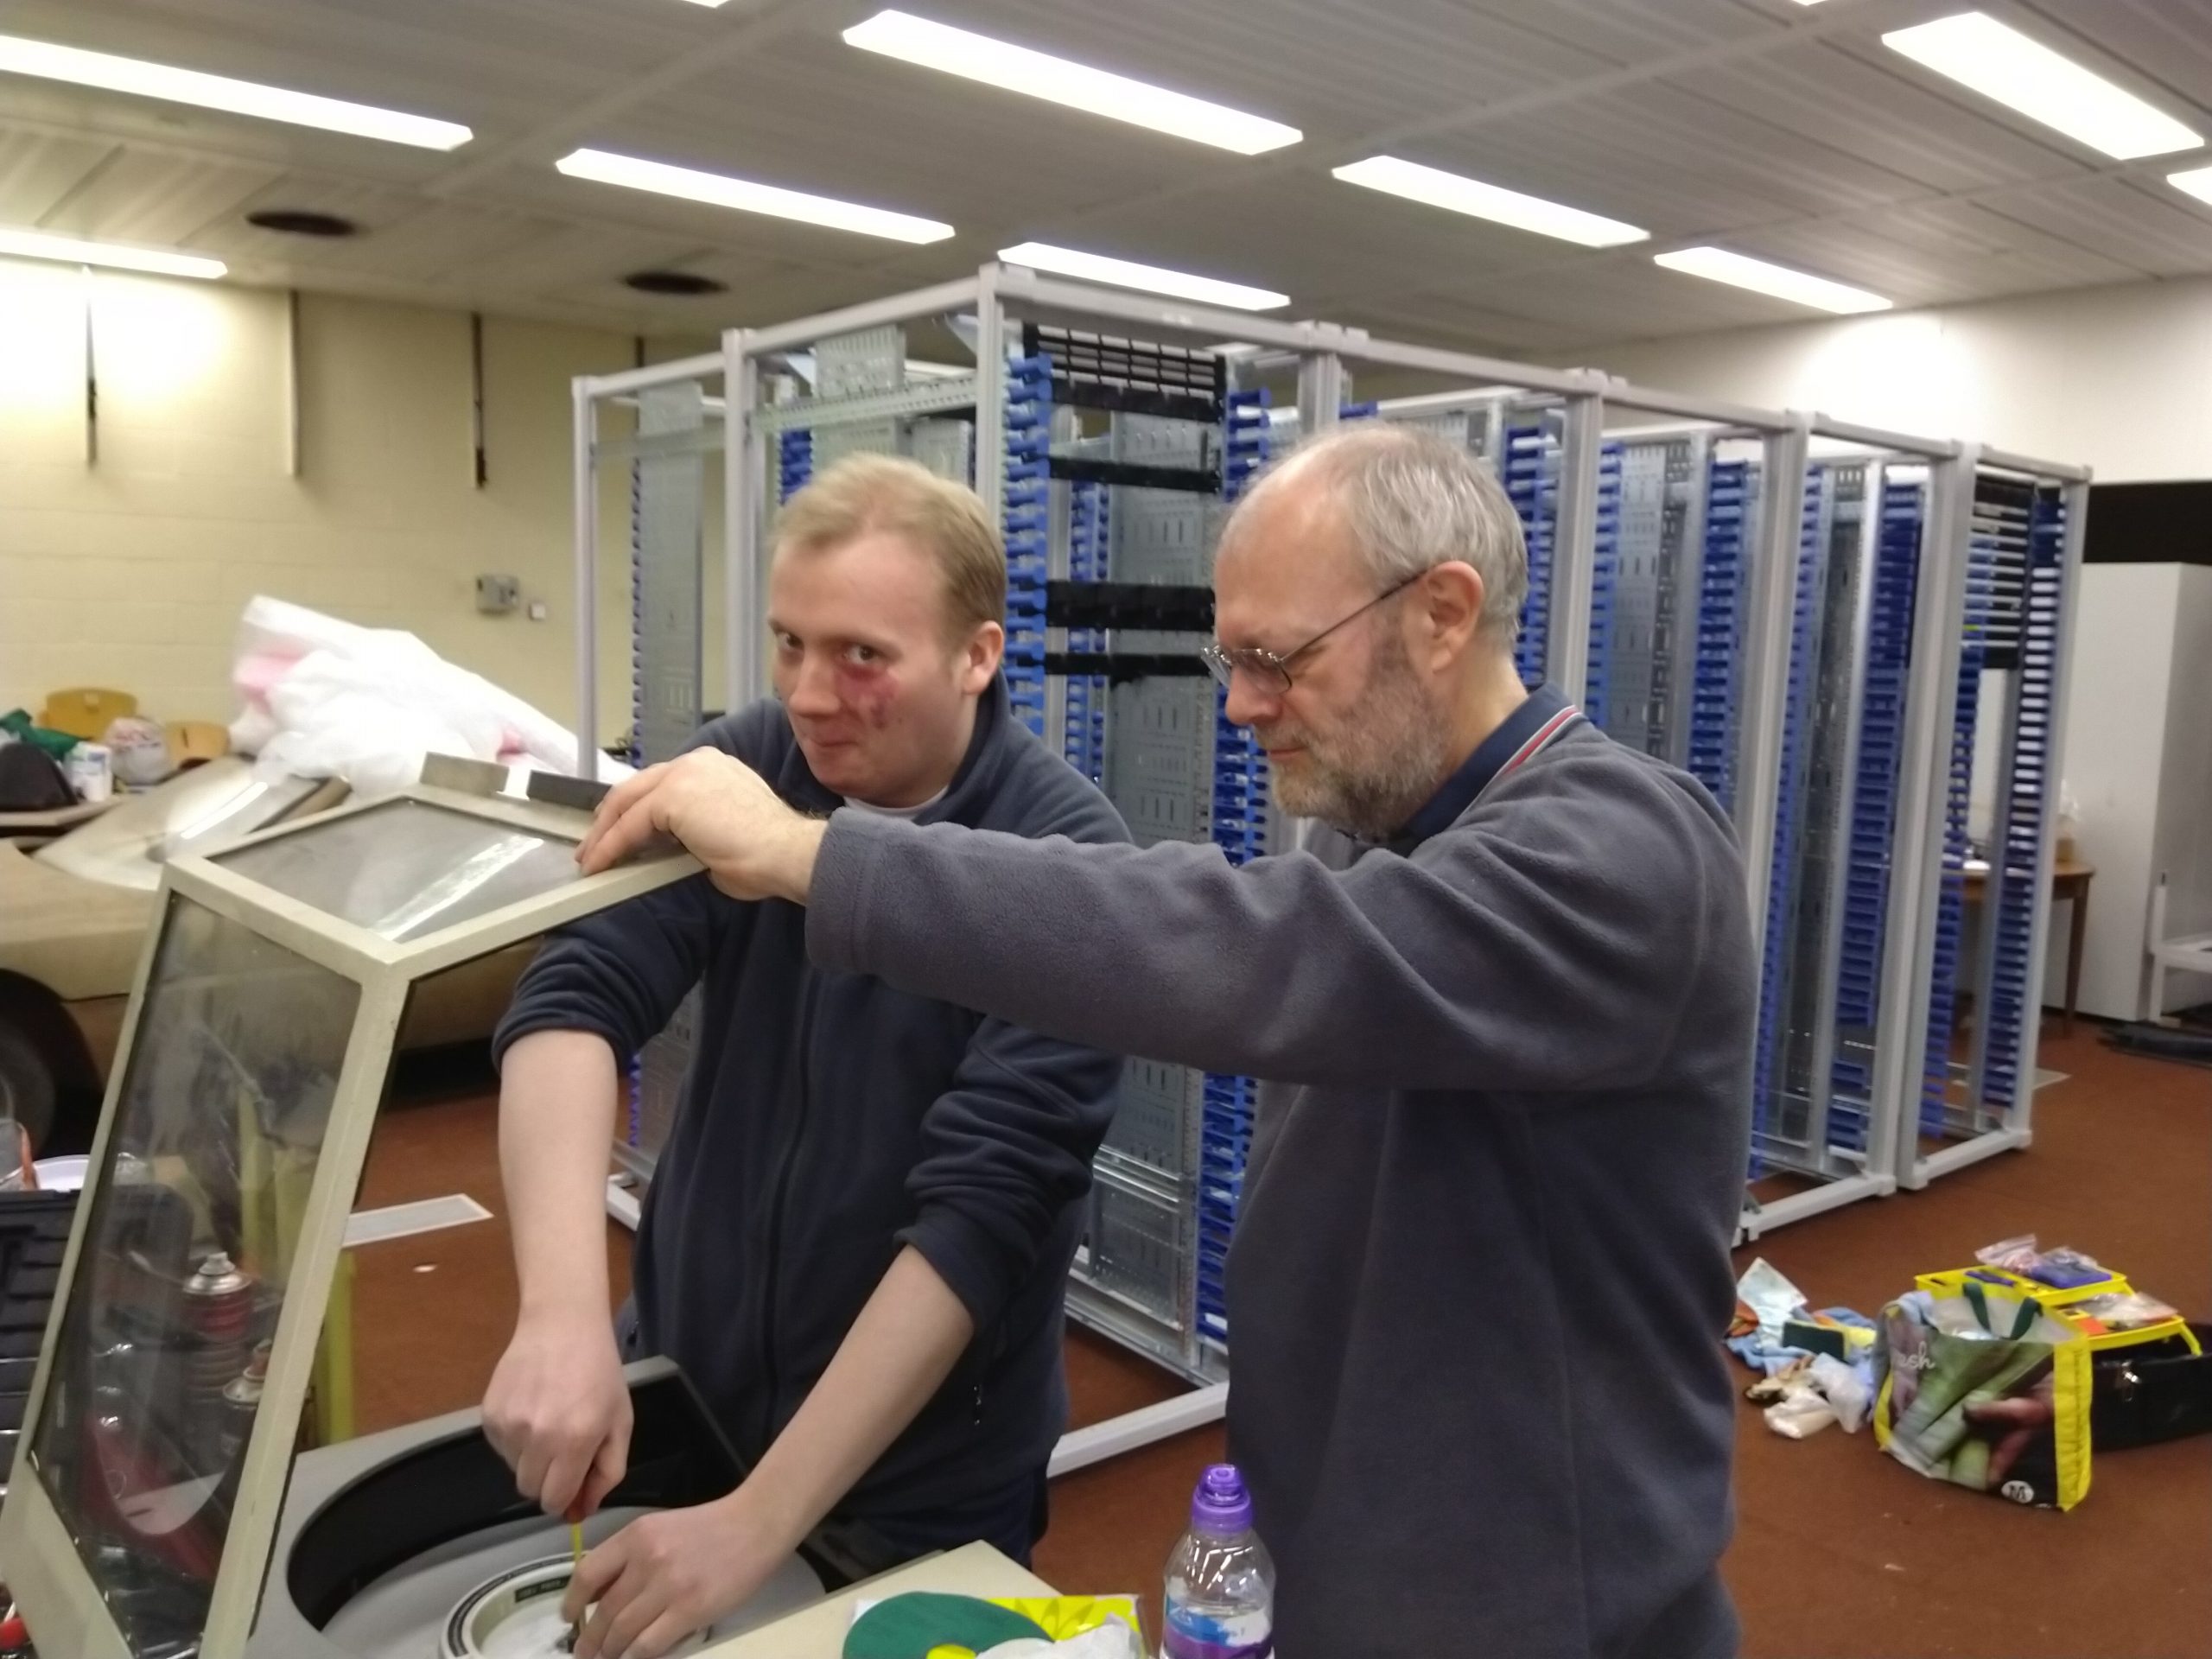
Whilst Peter was cleaning the cables, I found an Engine stand I’d dropped off here a while ago in it’s box, so I enlisted Chris to assist me with assembling that. It’ll be the new home of a BMW M50B25 I’ve got kicking around that’ll get forged and turbo charged at some point in the future:

After that was all done, we turned out attention to the two disk drives. Now, you may remember from previous posts that both of the hard disk drives have disks stuck in them. We’ve tried brute force, and we’ve tried taking the drives apart around them to get to the spindles to release them, all without any success. Having the disks stuck in the drives was proving to be a real pain, particularly as one of them is labeled as a system disk and that sounds rather important to say the least!
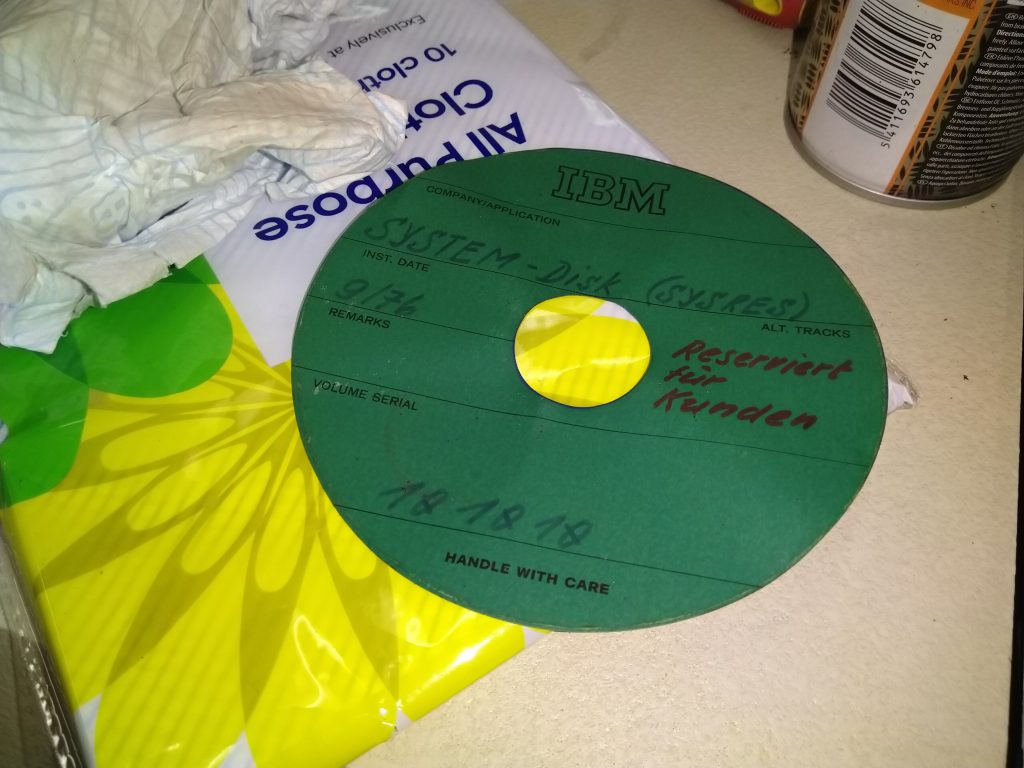
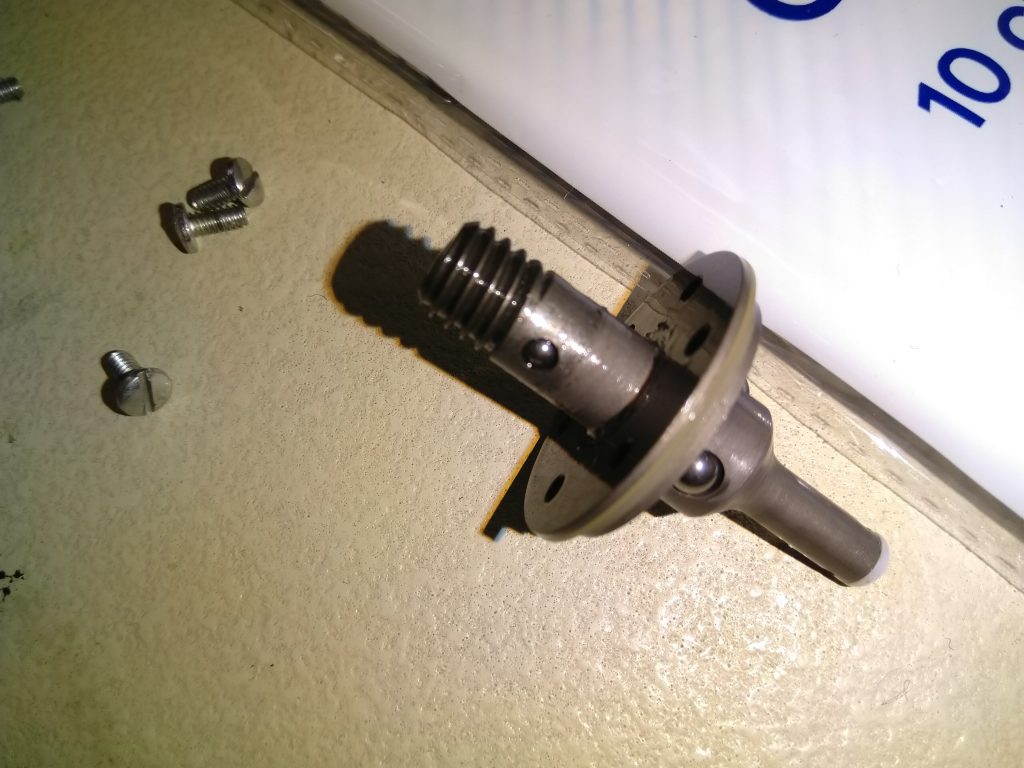
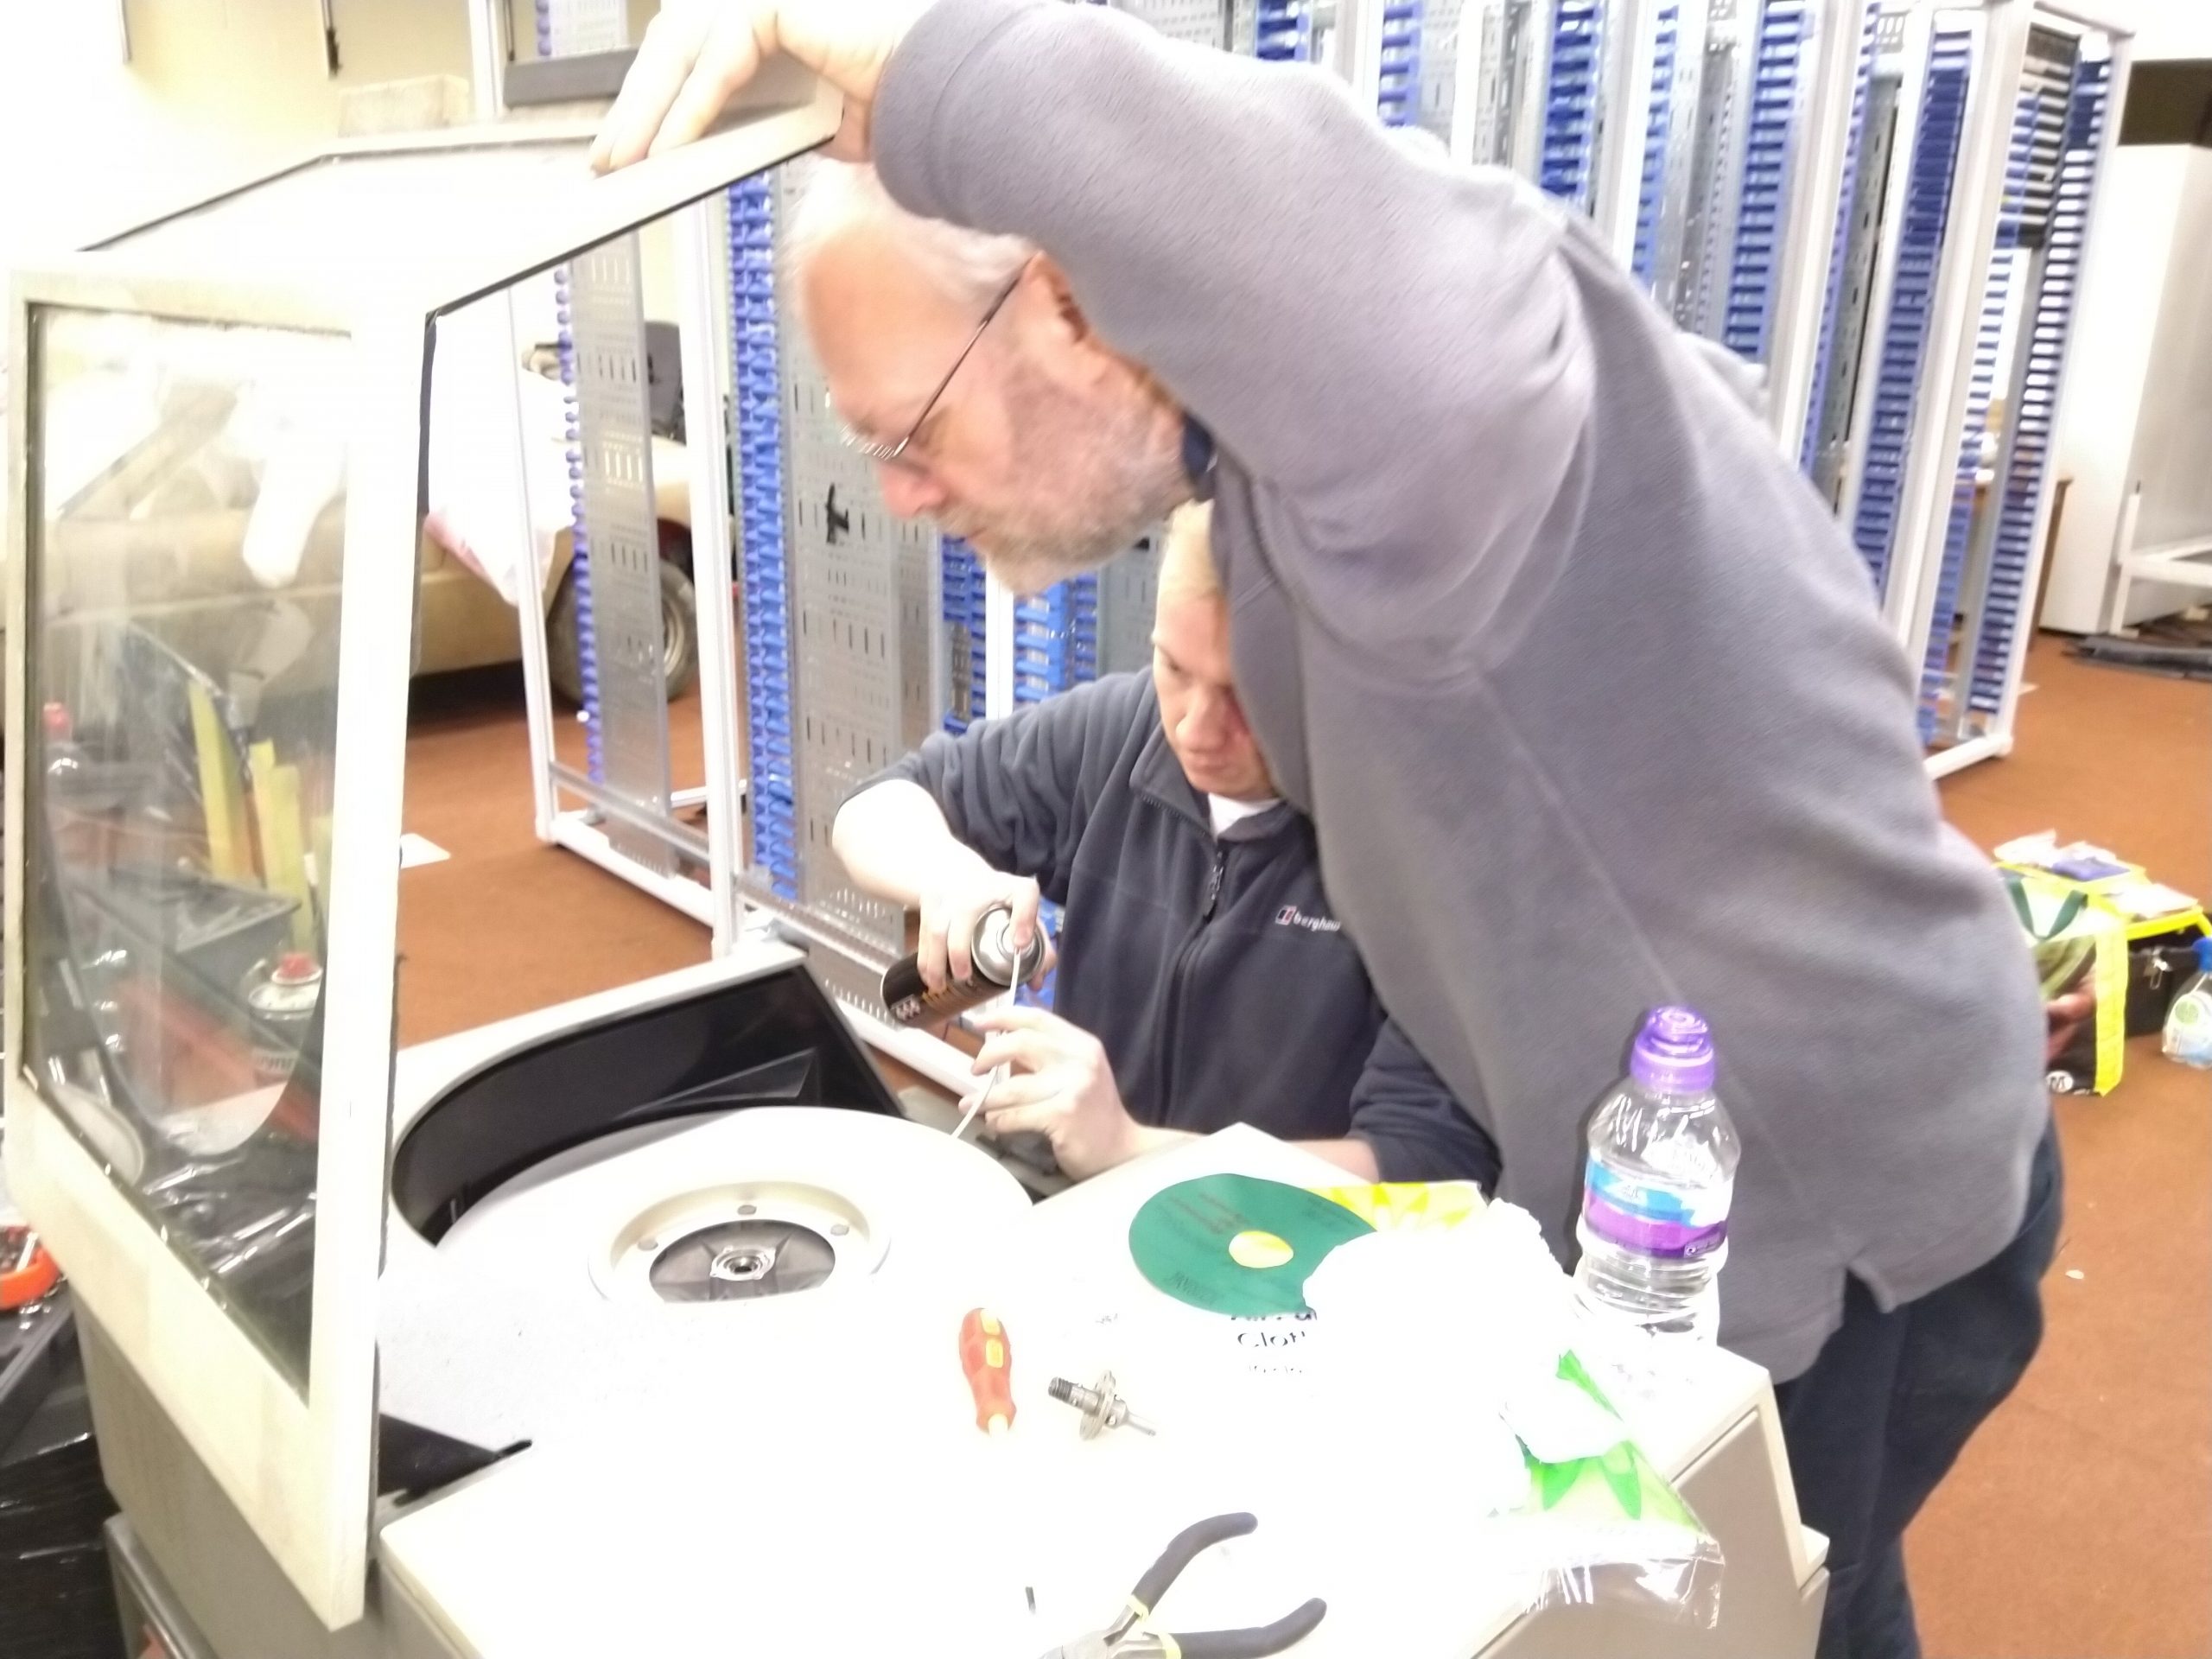
On the drive with the system disk in it, we could get the spindle to unscrew, but we couldn’t get a pack handle on anymore because the locking balls were stuck in the out position. We initially tried squirting some PlusGas releasing fluid down the centre of the disk through the holes in the locking spindle to try and release the disk from the centre. This didn’t seem to have much effect. Upon a closer look at the disk structure, we thought that maybe the centre was hollowing and that there were air holes in the centre. This was confirmed when I found a disk in the pile of disks that was unlabelled and looked unimportant, and decided to experiment by removing the plastic top. It turns out that removing the plastic top provides access to remove the spindle lock and release mechanism which lets you see the centre locking mechanism. We also confirmed that on the bottom of the disk is an air filter, and the inside is indeed hollow. So not knowing where the disk was binding, and not even really knowing what the drive spindle looked like, we decided to try and get some PlusGas release fluid into the centre. We started by removing the plastic top of the disk:

Adam looking guilty! 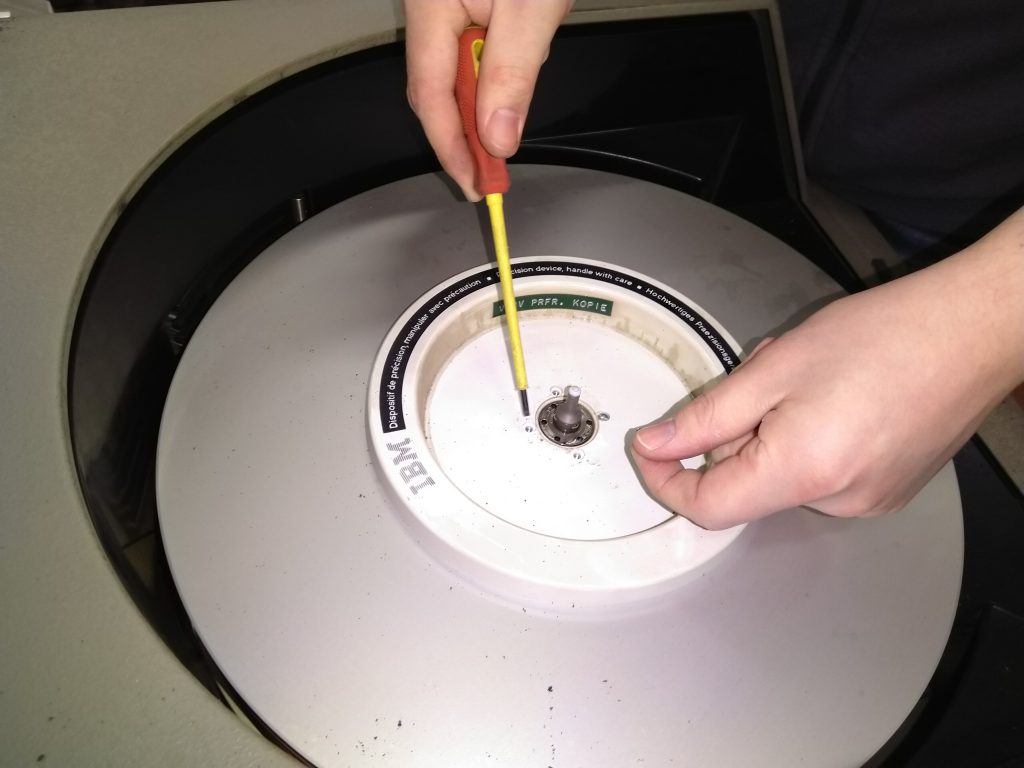
I then found some old Telephone cable lying around, cut a small length off, pulled the wiring out of one end and used it to make a long straw to go into the centre of the disk:
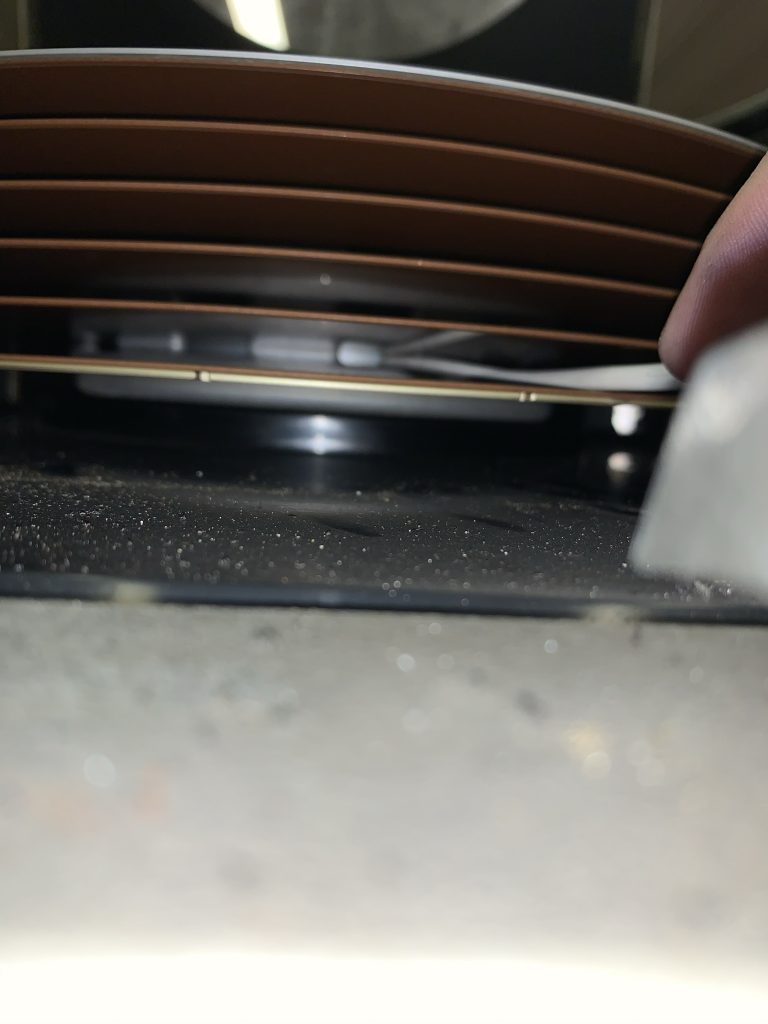
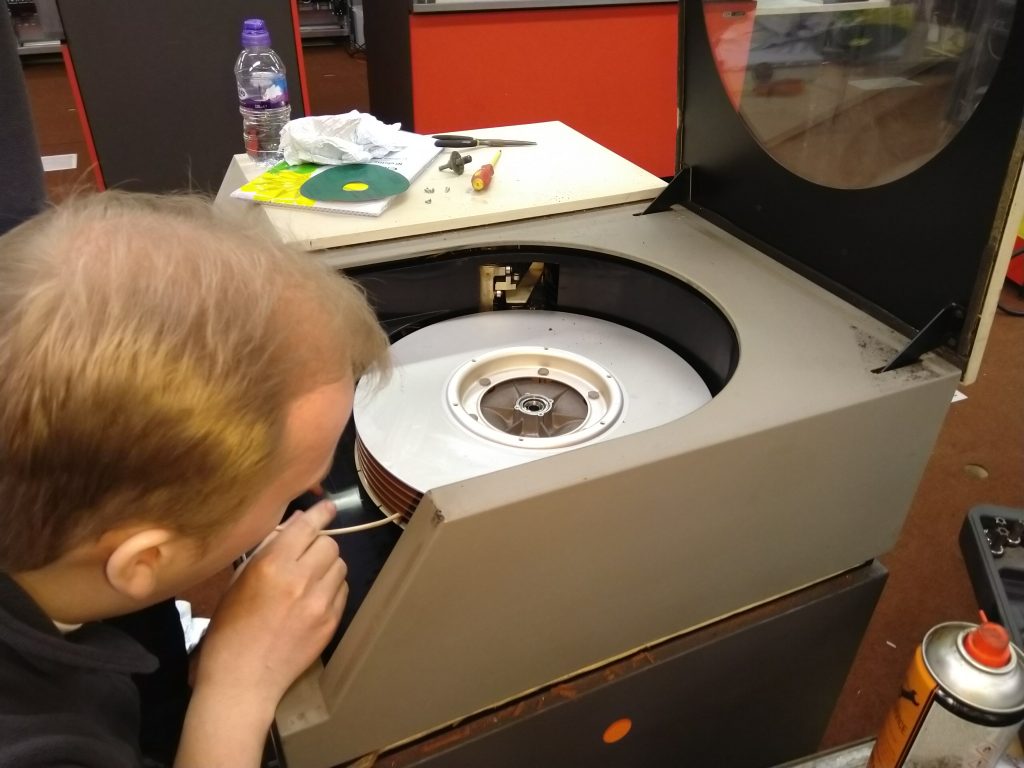
Having dumped quite a bit of PlusGas in, I managed to get a long, thin screwdriver under the centre hub of the disk and apply some light pressure; low and behold the disk popped off!

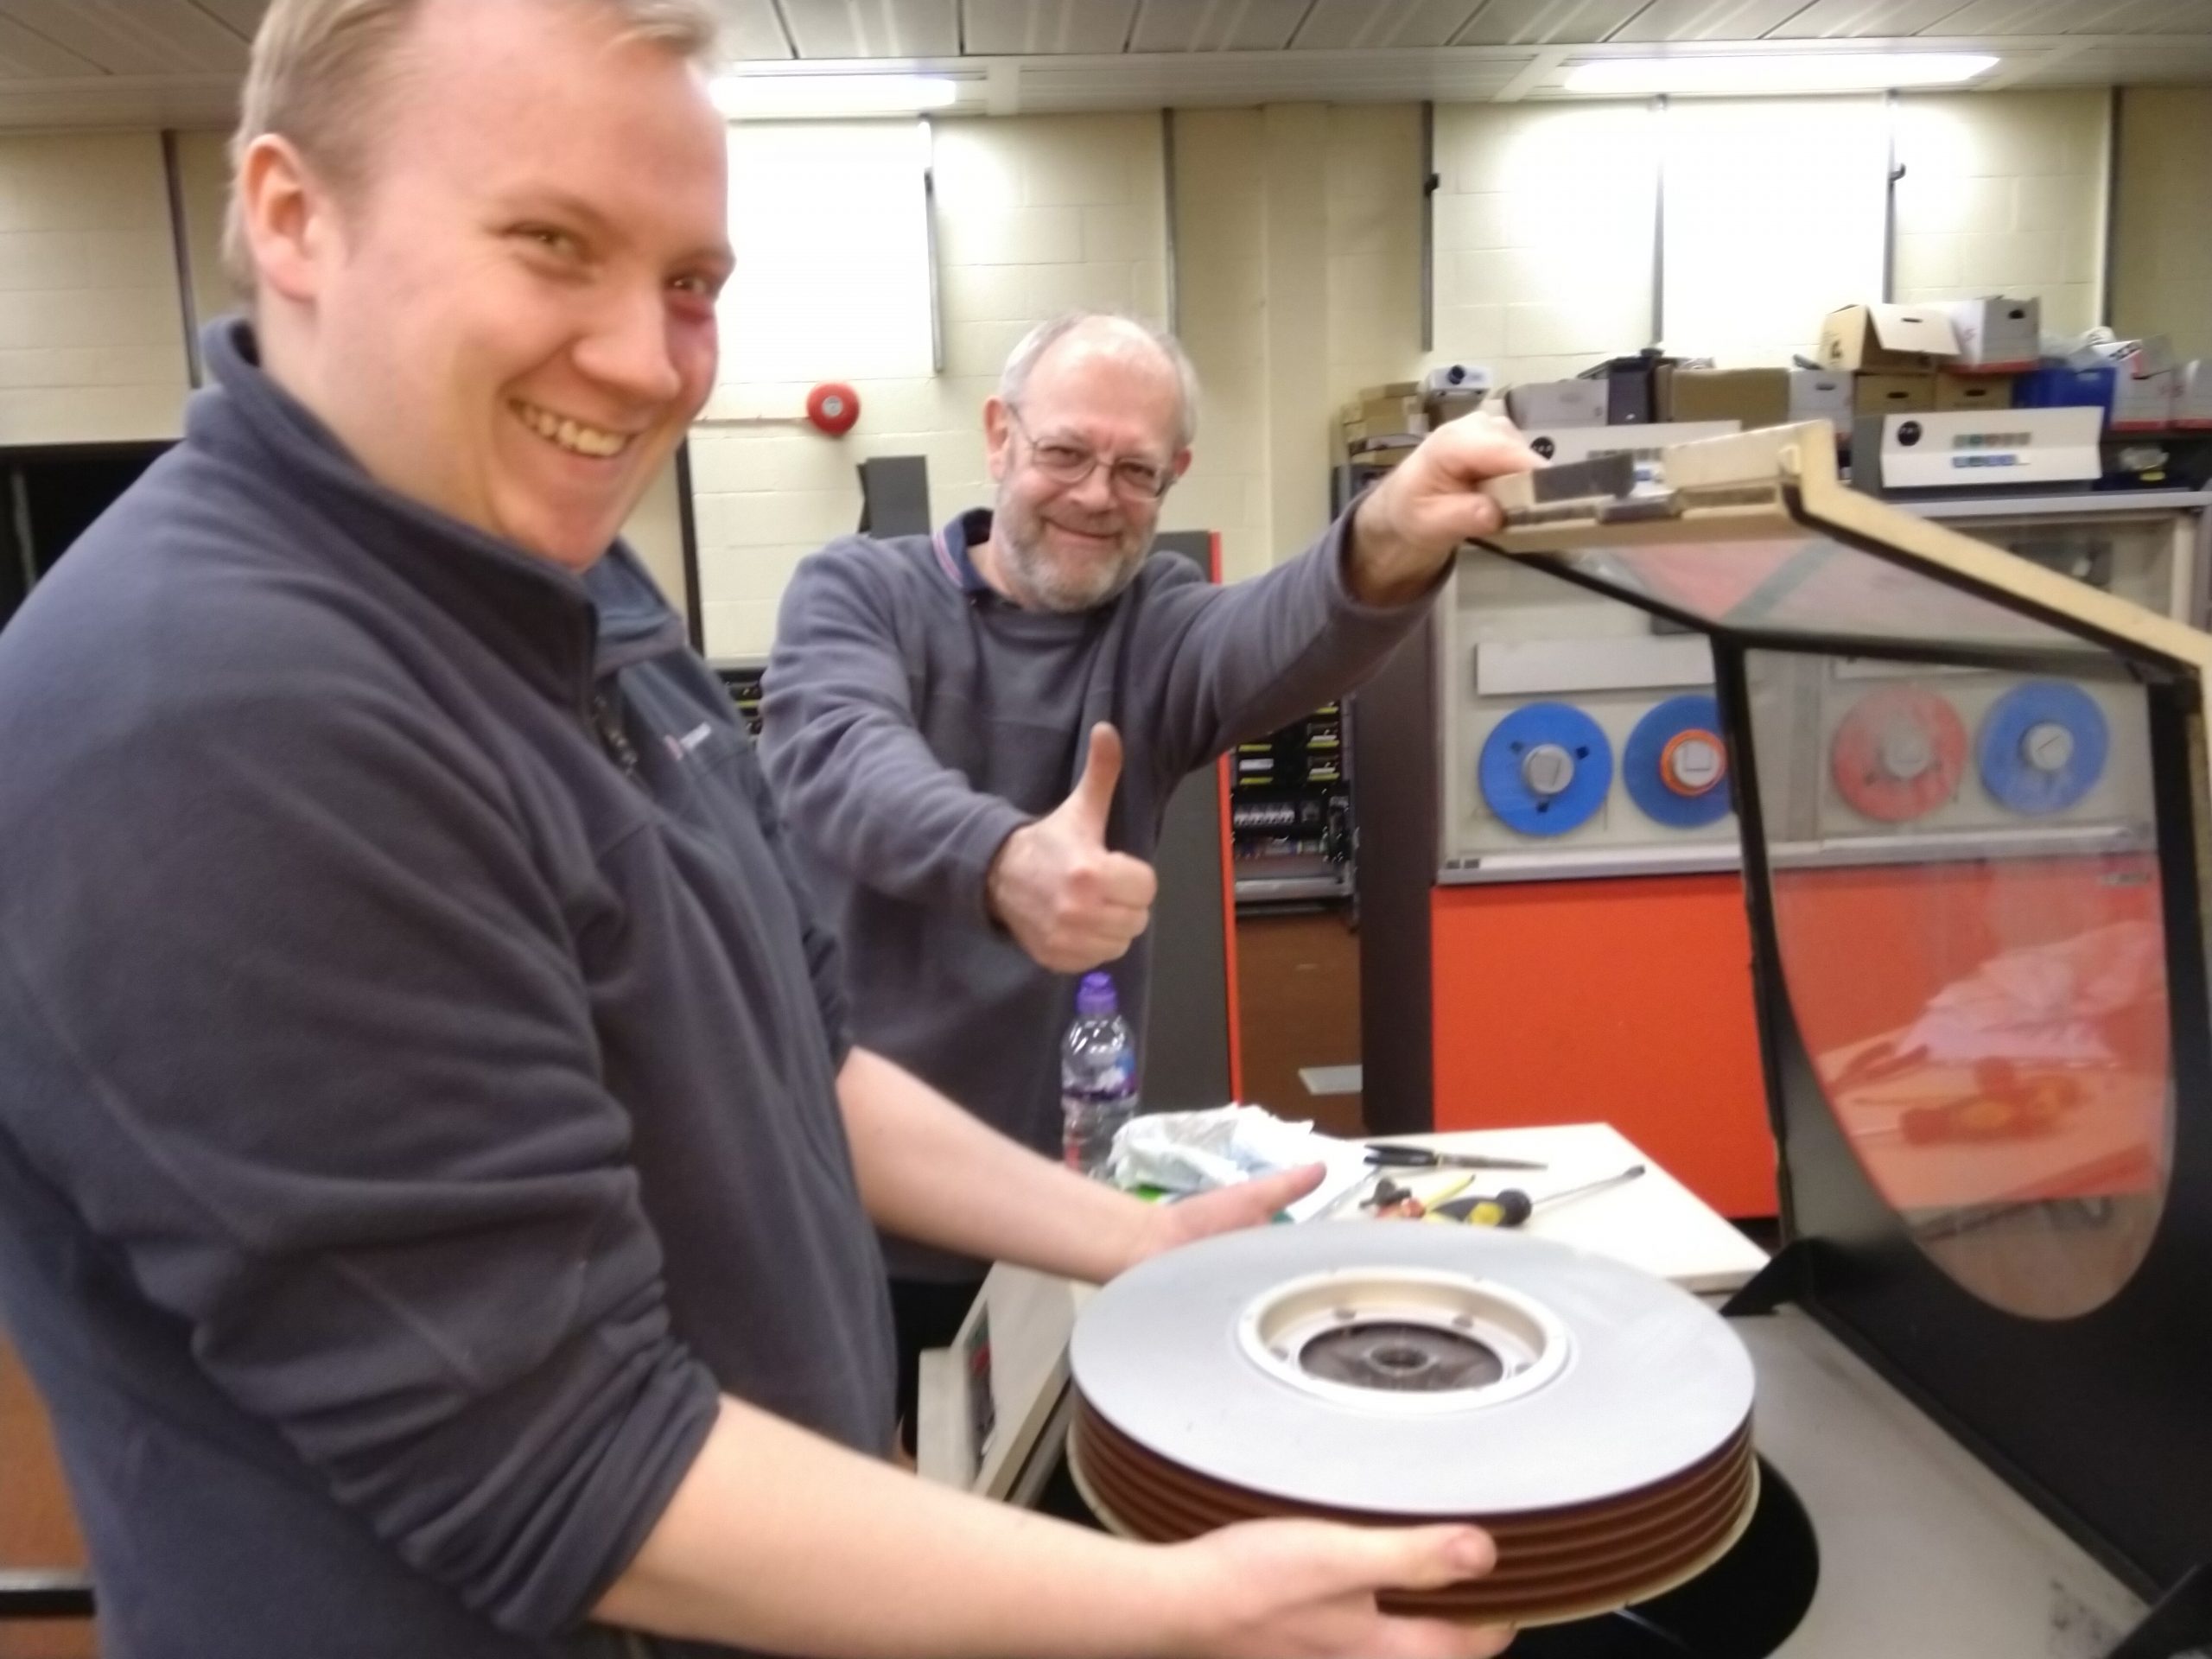
Adam and Peter looking pleased with the removed disk 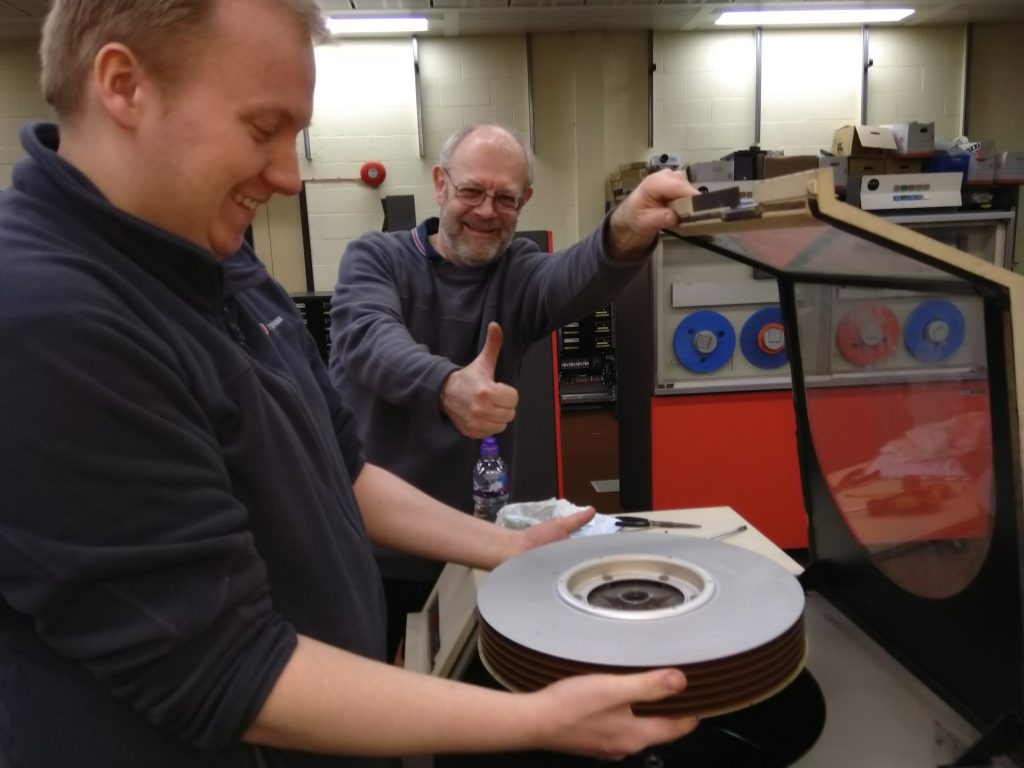
Adam and Peter looking pleased with the removed disk 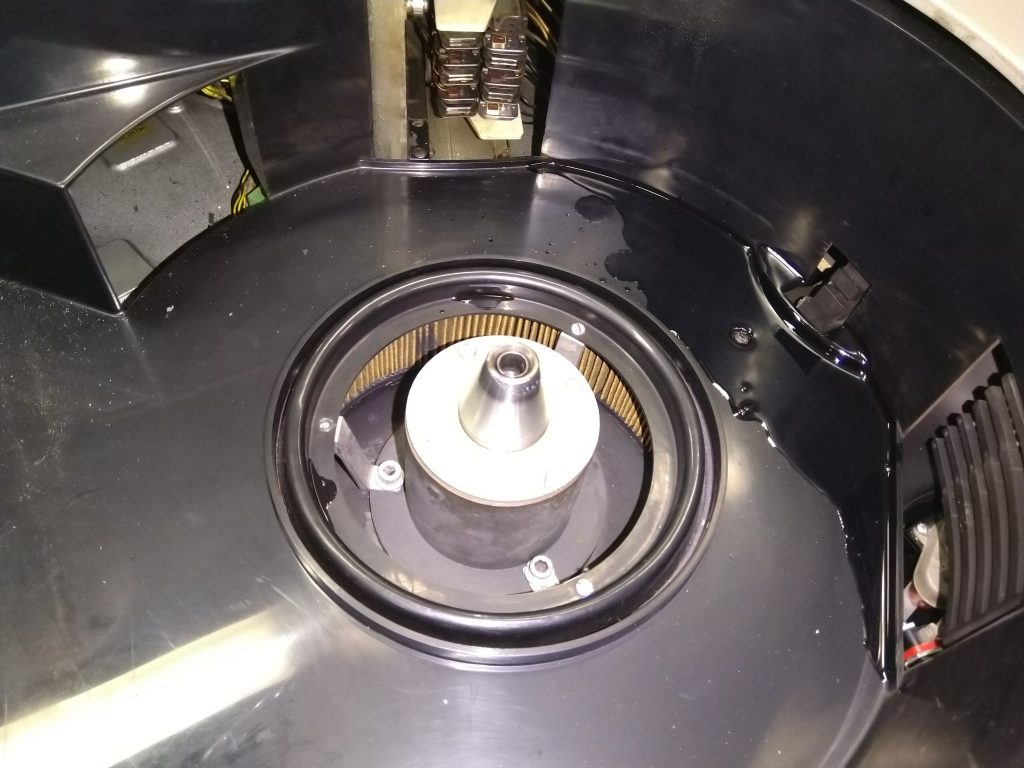
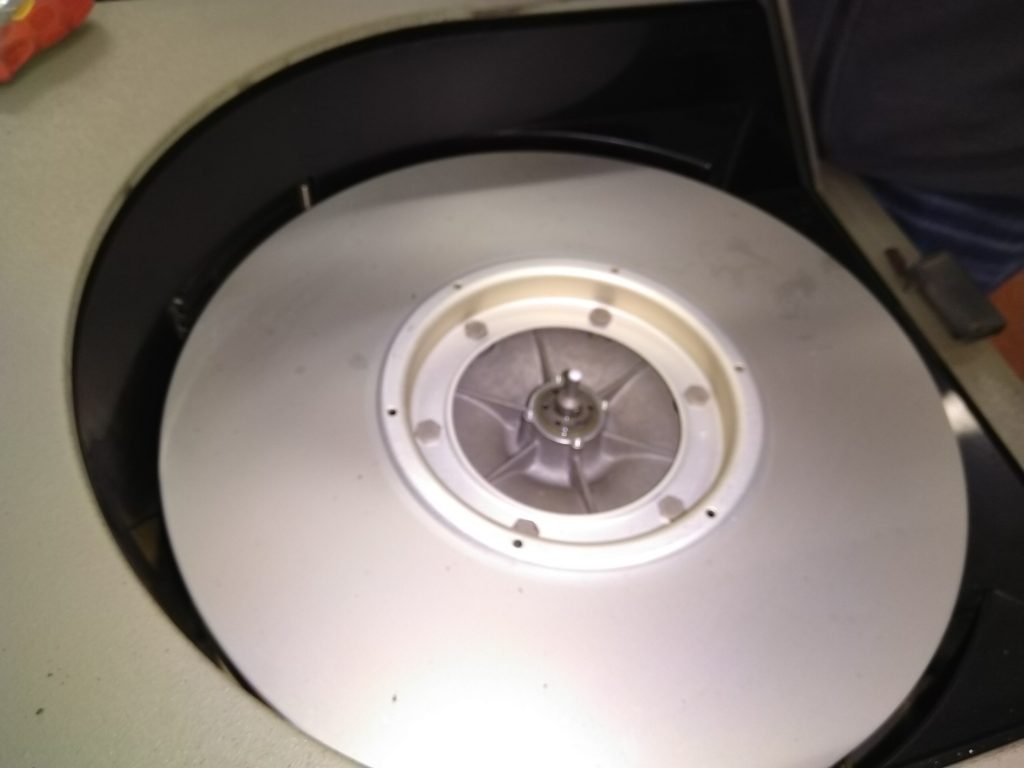
Our first look at the removed spindle, along with a small puddle of PlusGas! 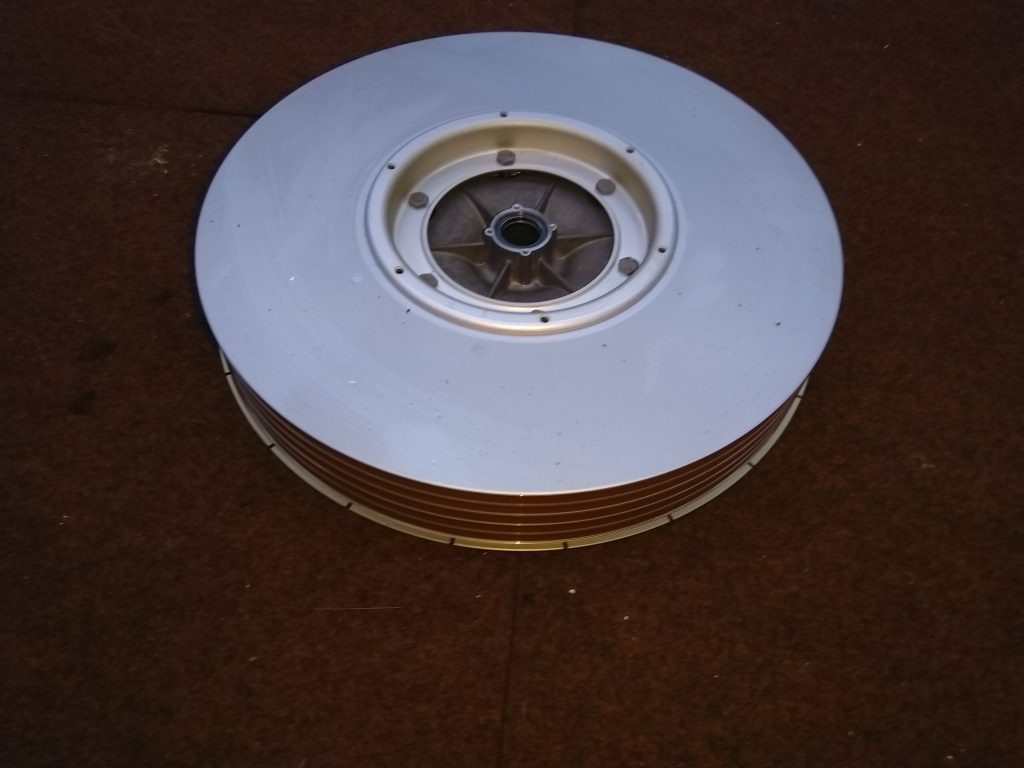
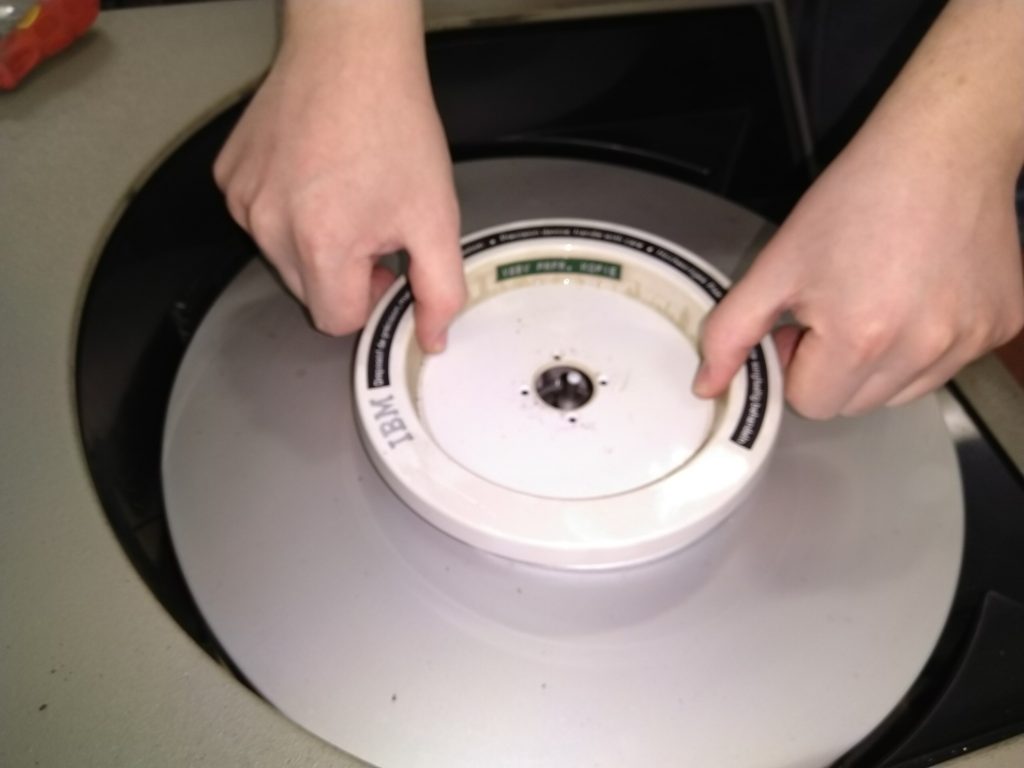
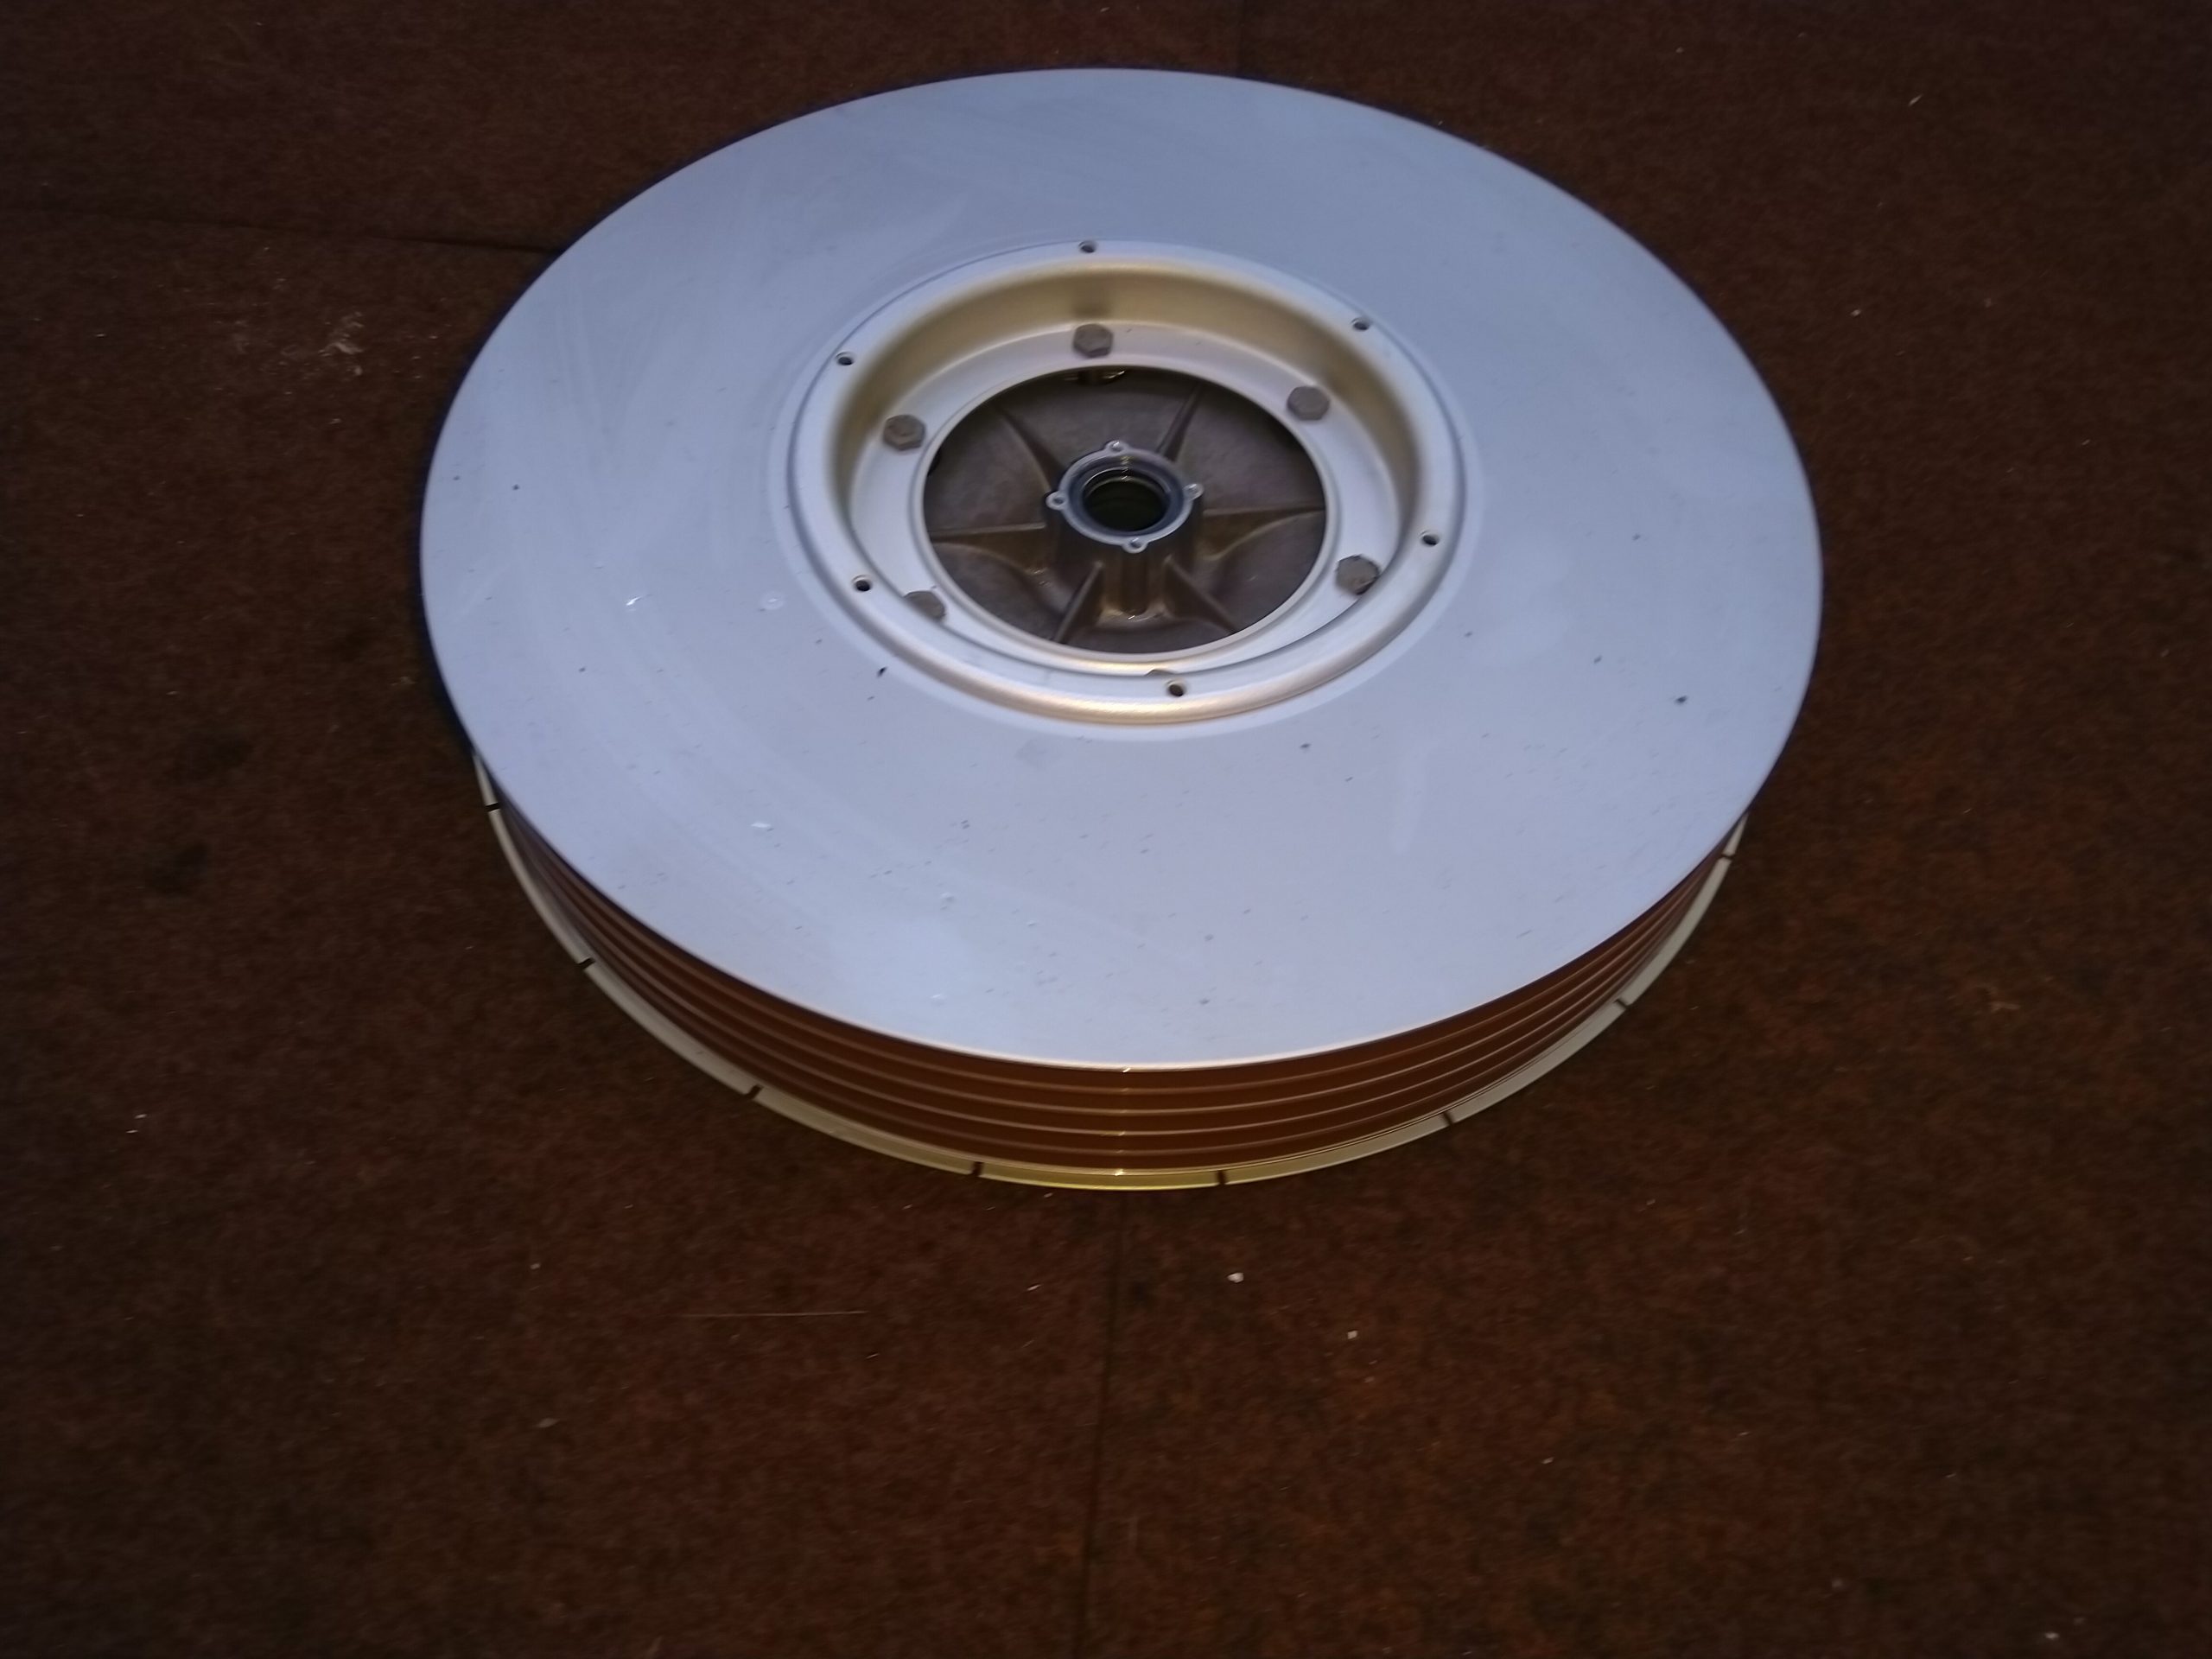
The removed disk 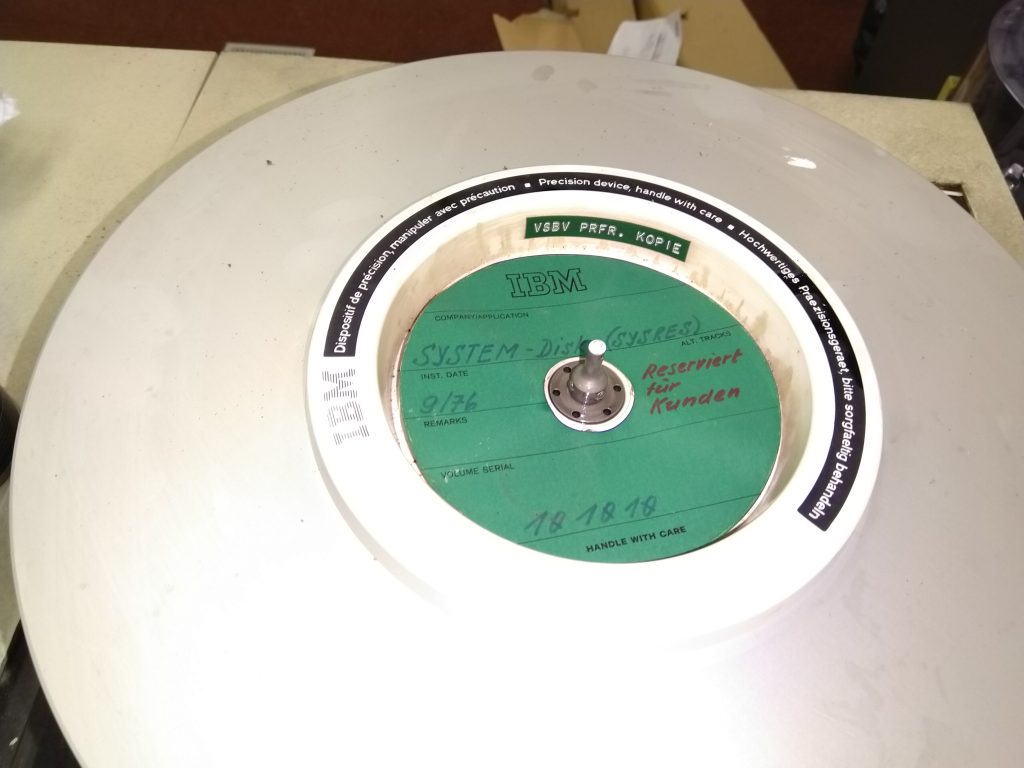
Top re-assembled 
An empty drive!


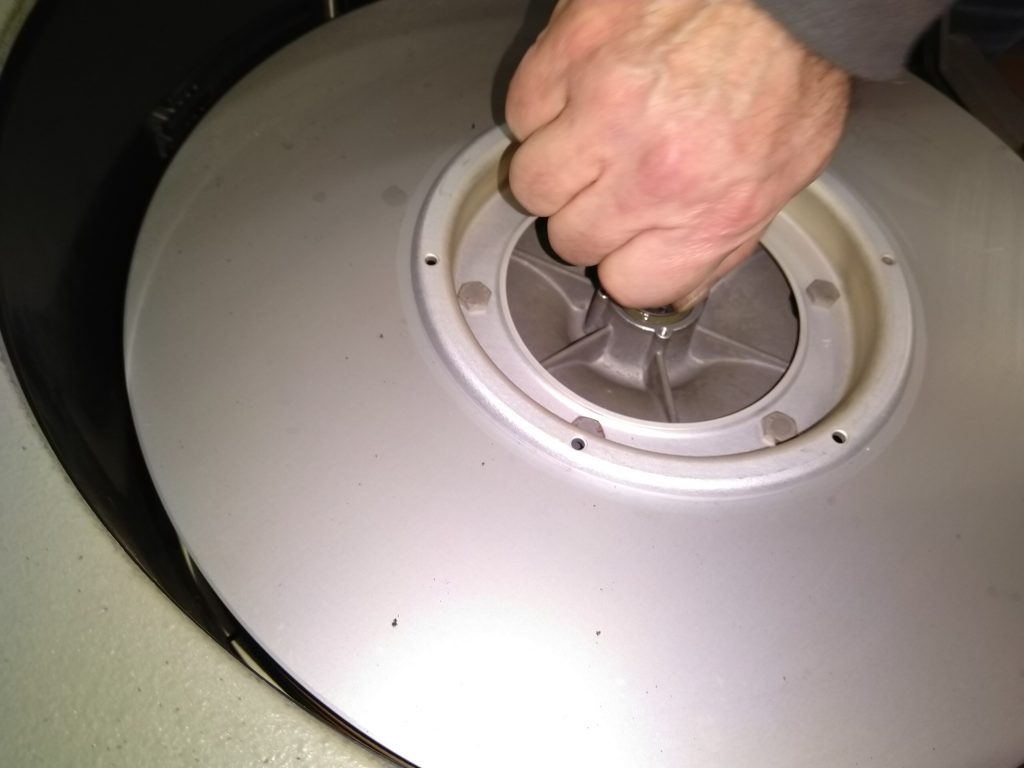
Okay so one down, one to go! The next drive was a bit trickier as the disk spindle top wouldn’t unscrew because the thread was completely seized. The locking mechanism was also broken on this disk and so we figured it was okay to sacrifice the top, particularly as we now know we can swap them, as such after dumping a load of PlusGas down the spindle and waiting a bit, I put some heavy duty water pump pliers on it and after a few goes got the thread to loosen off. With the spindle removed, the disk just happily popped out of the drive! With both disks successfully removed, we can now begin cleaning and inspecting the condition of the disk drives. It’s also a major worry off of our plates!
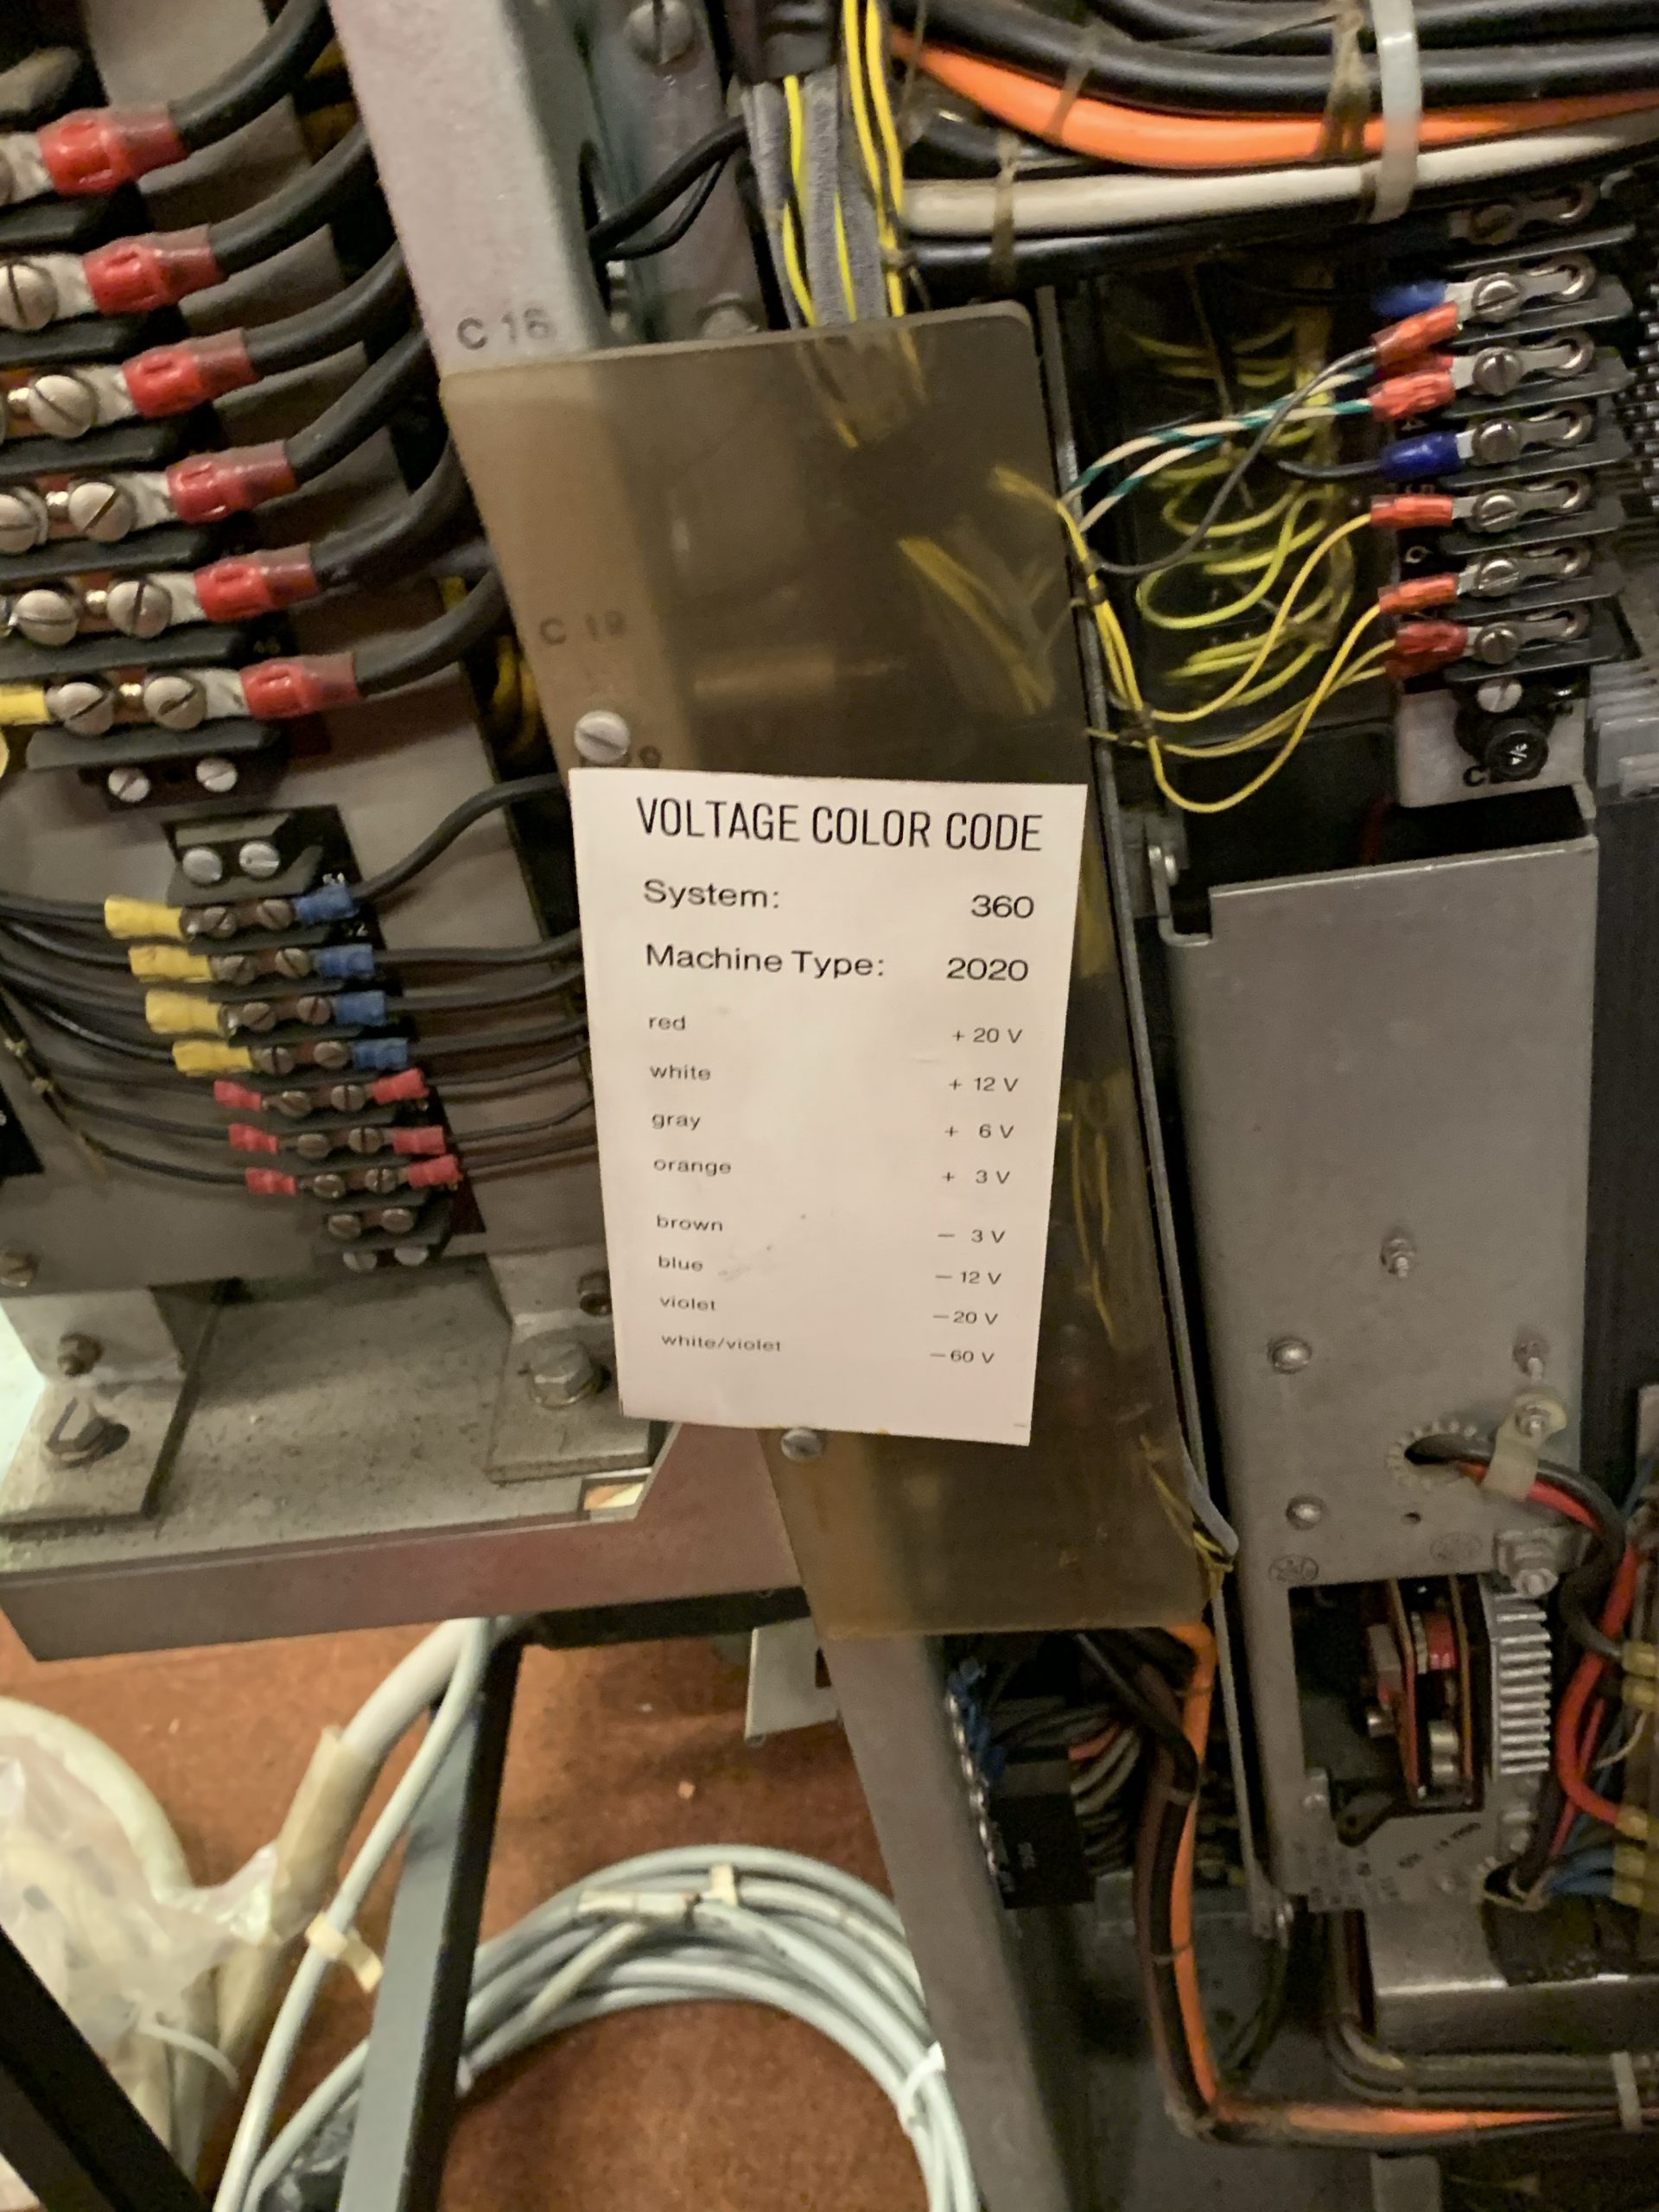
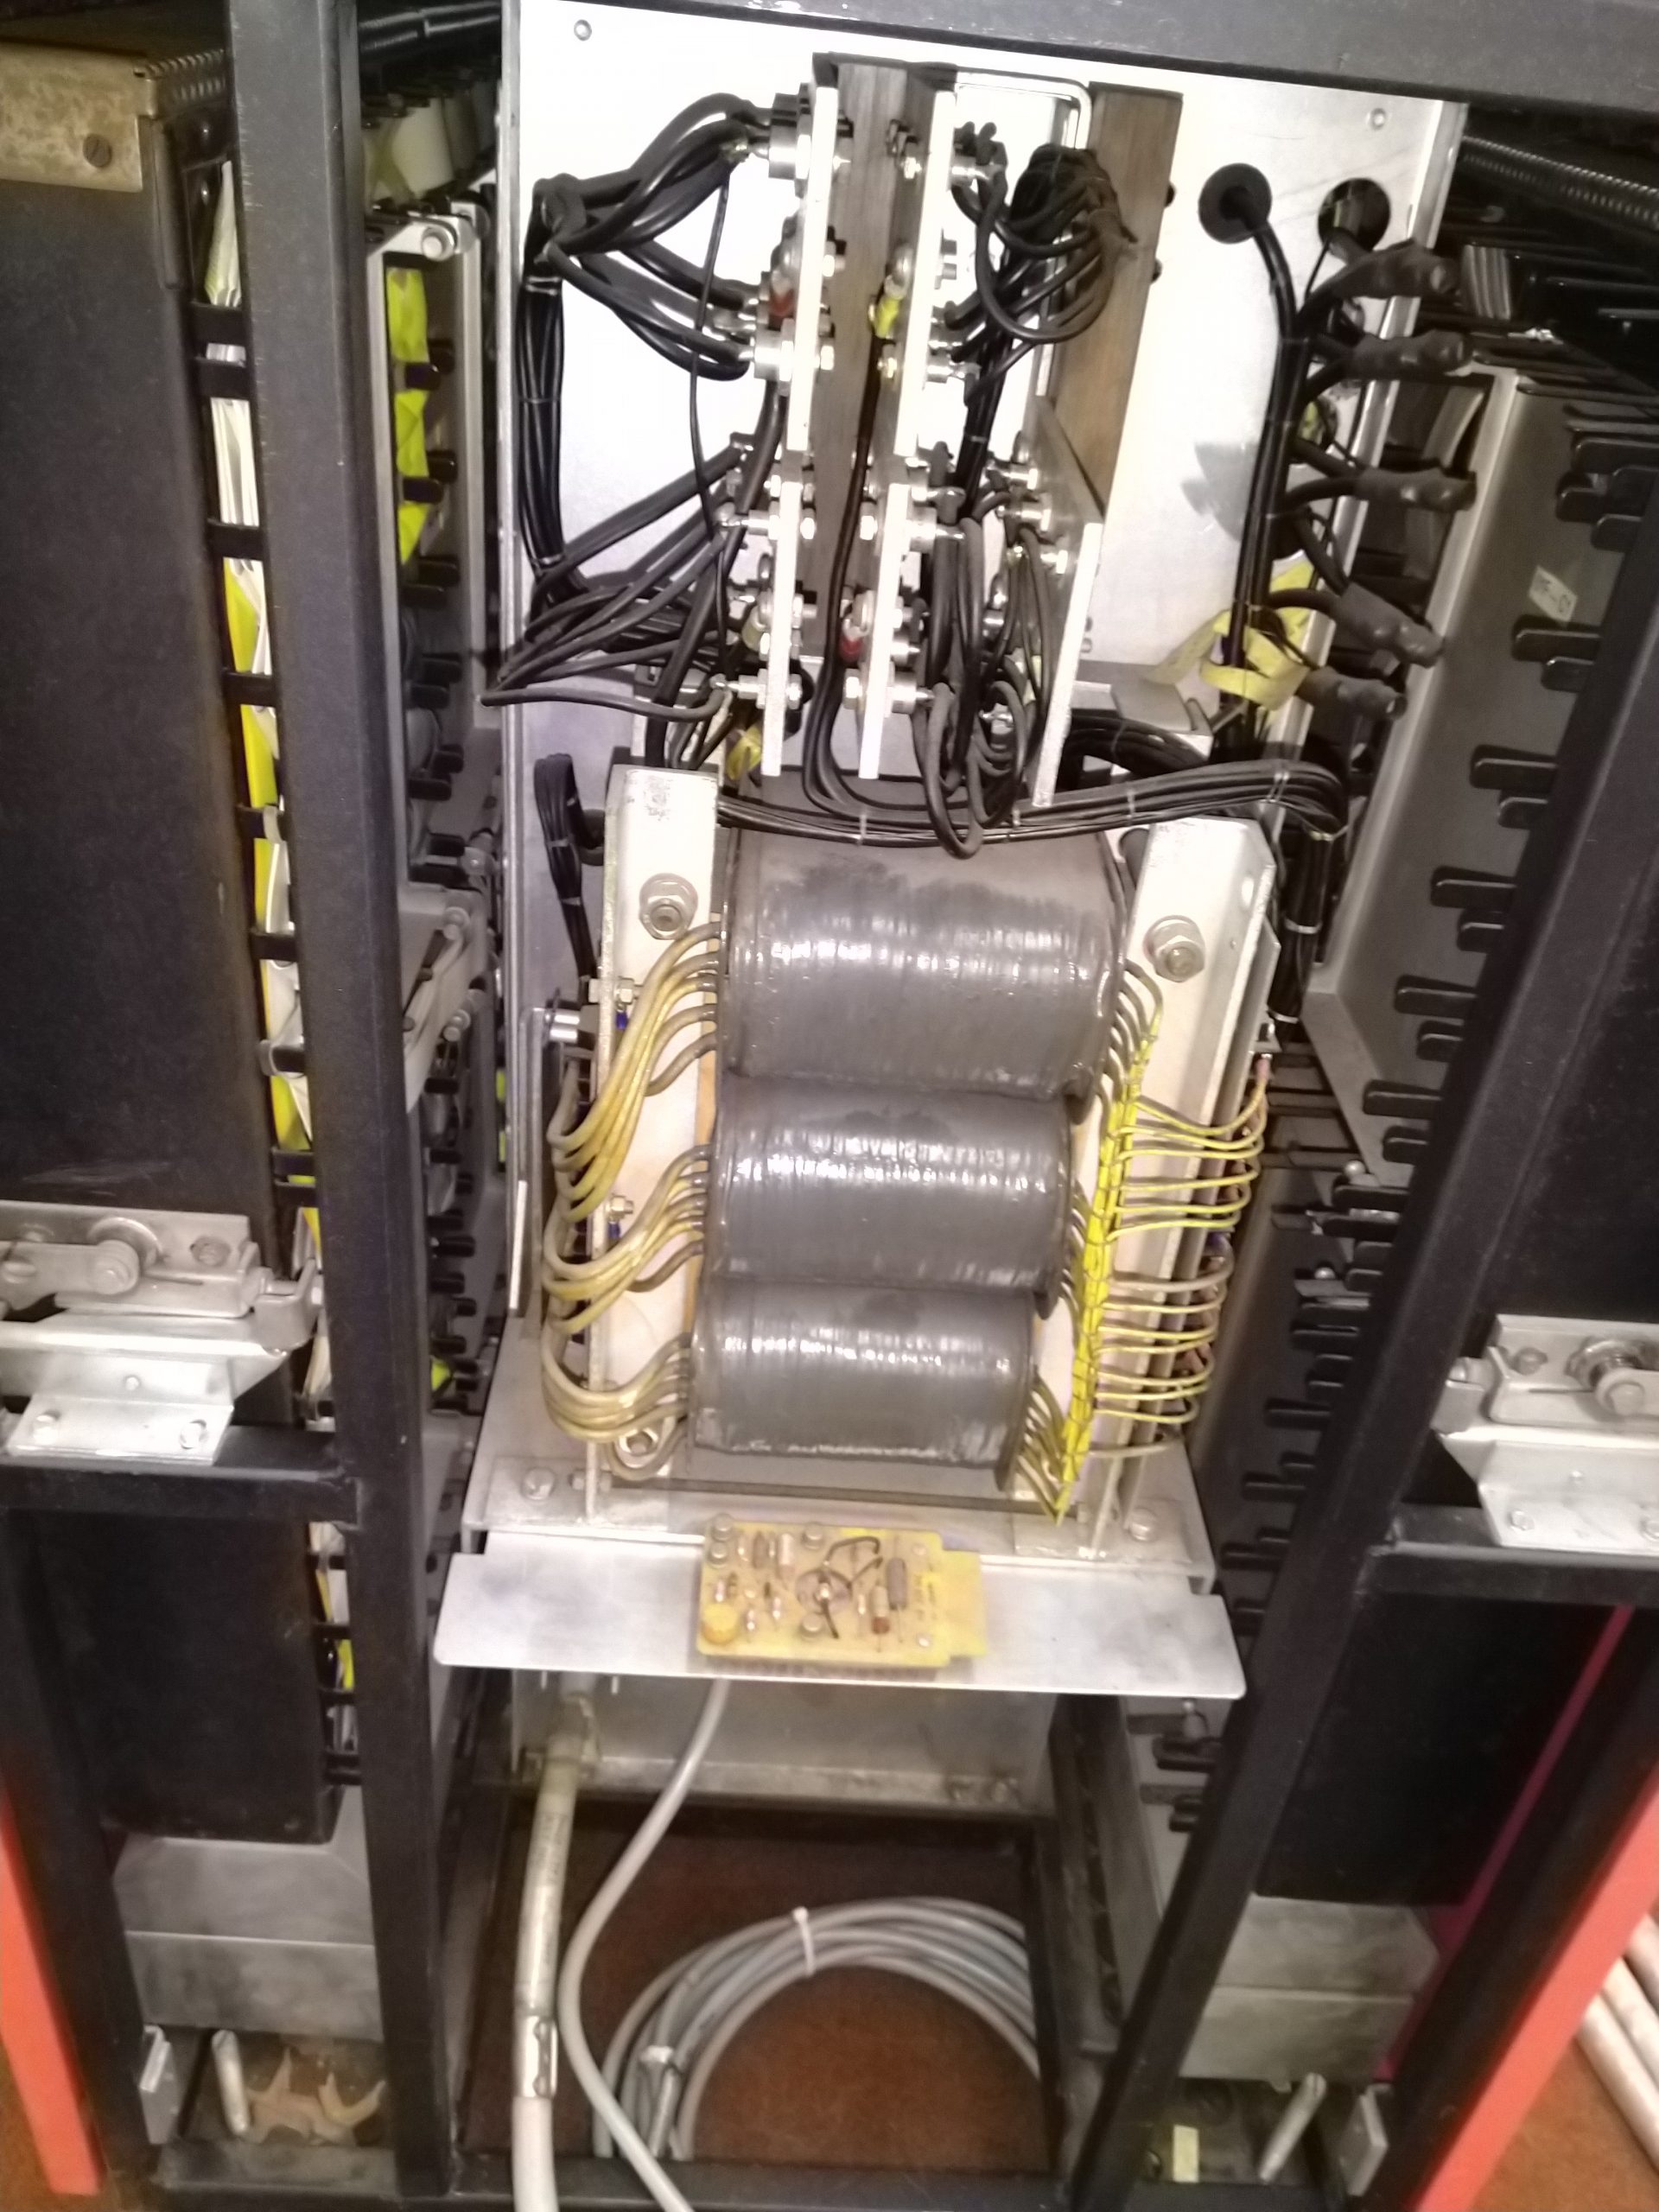
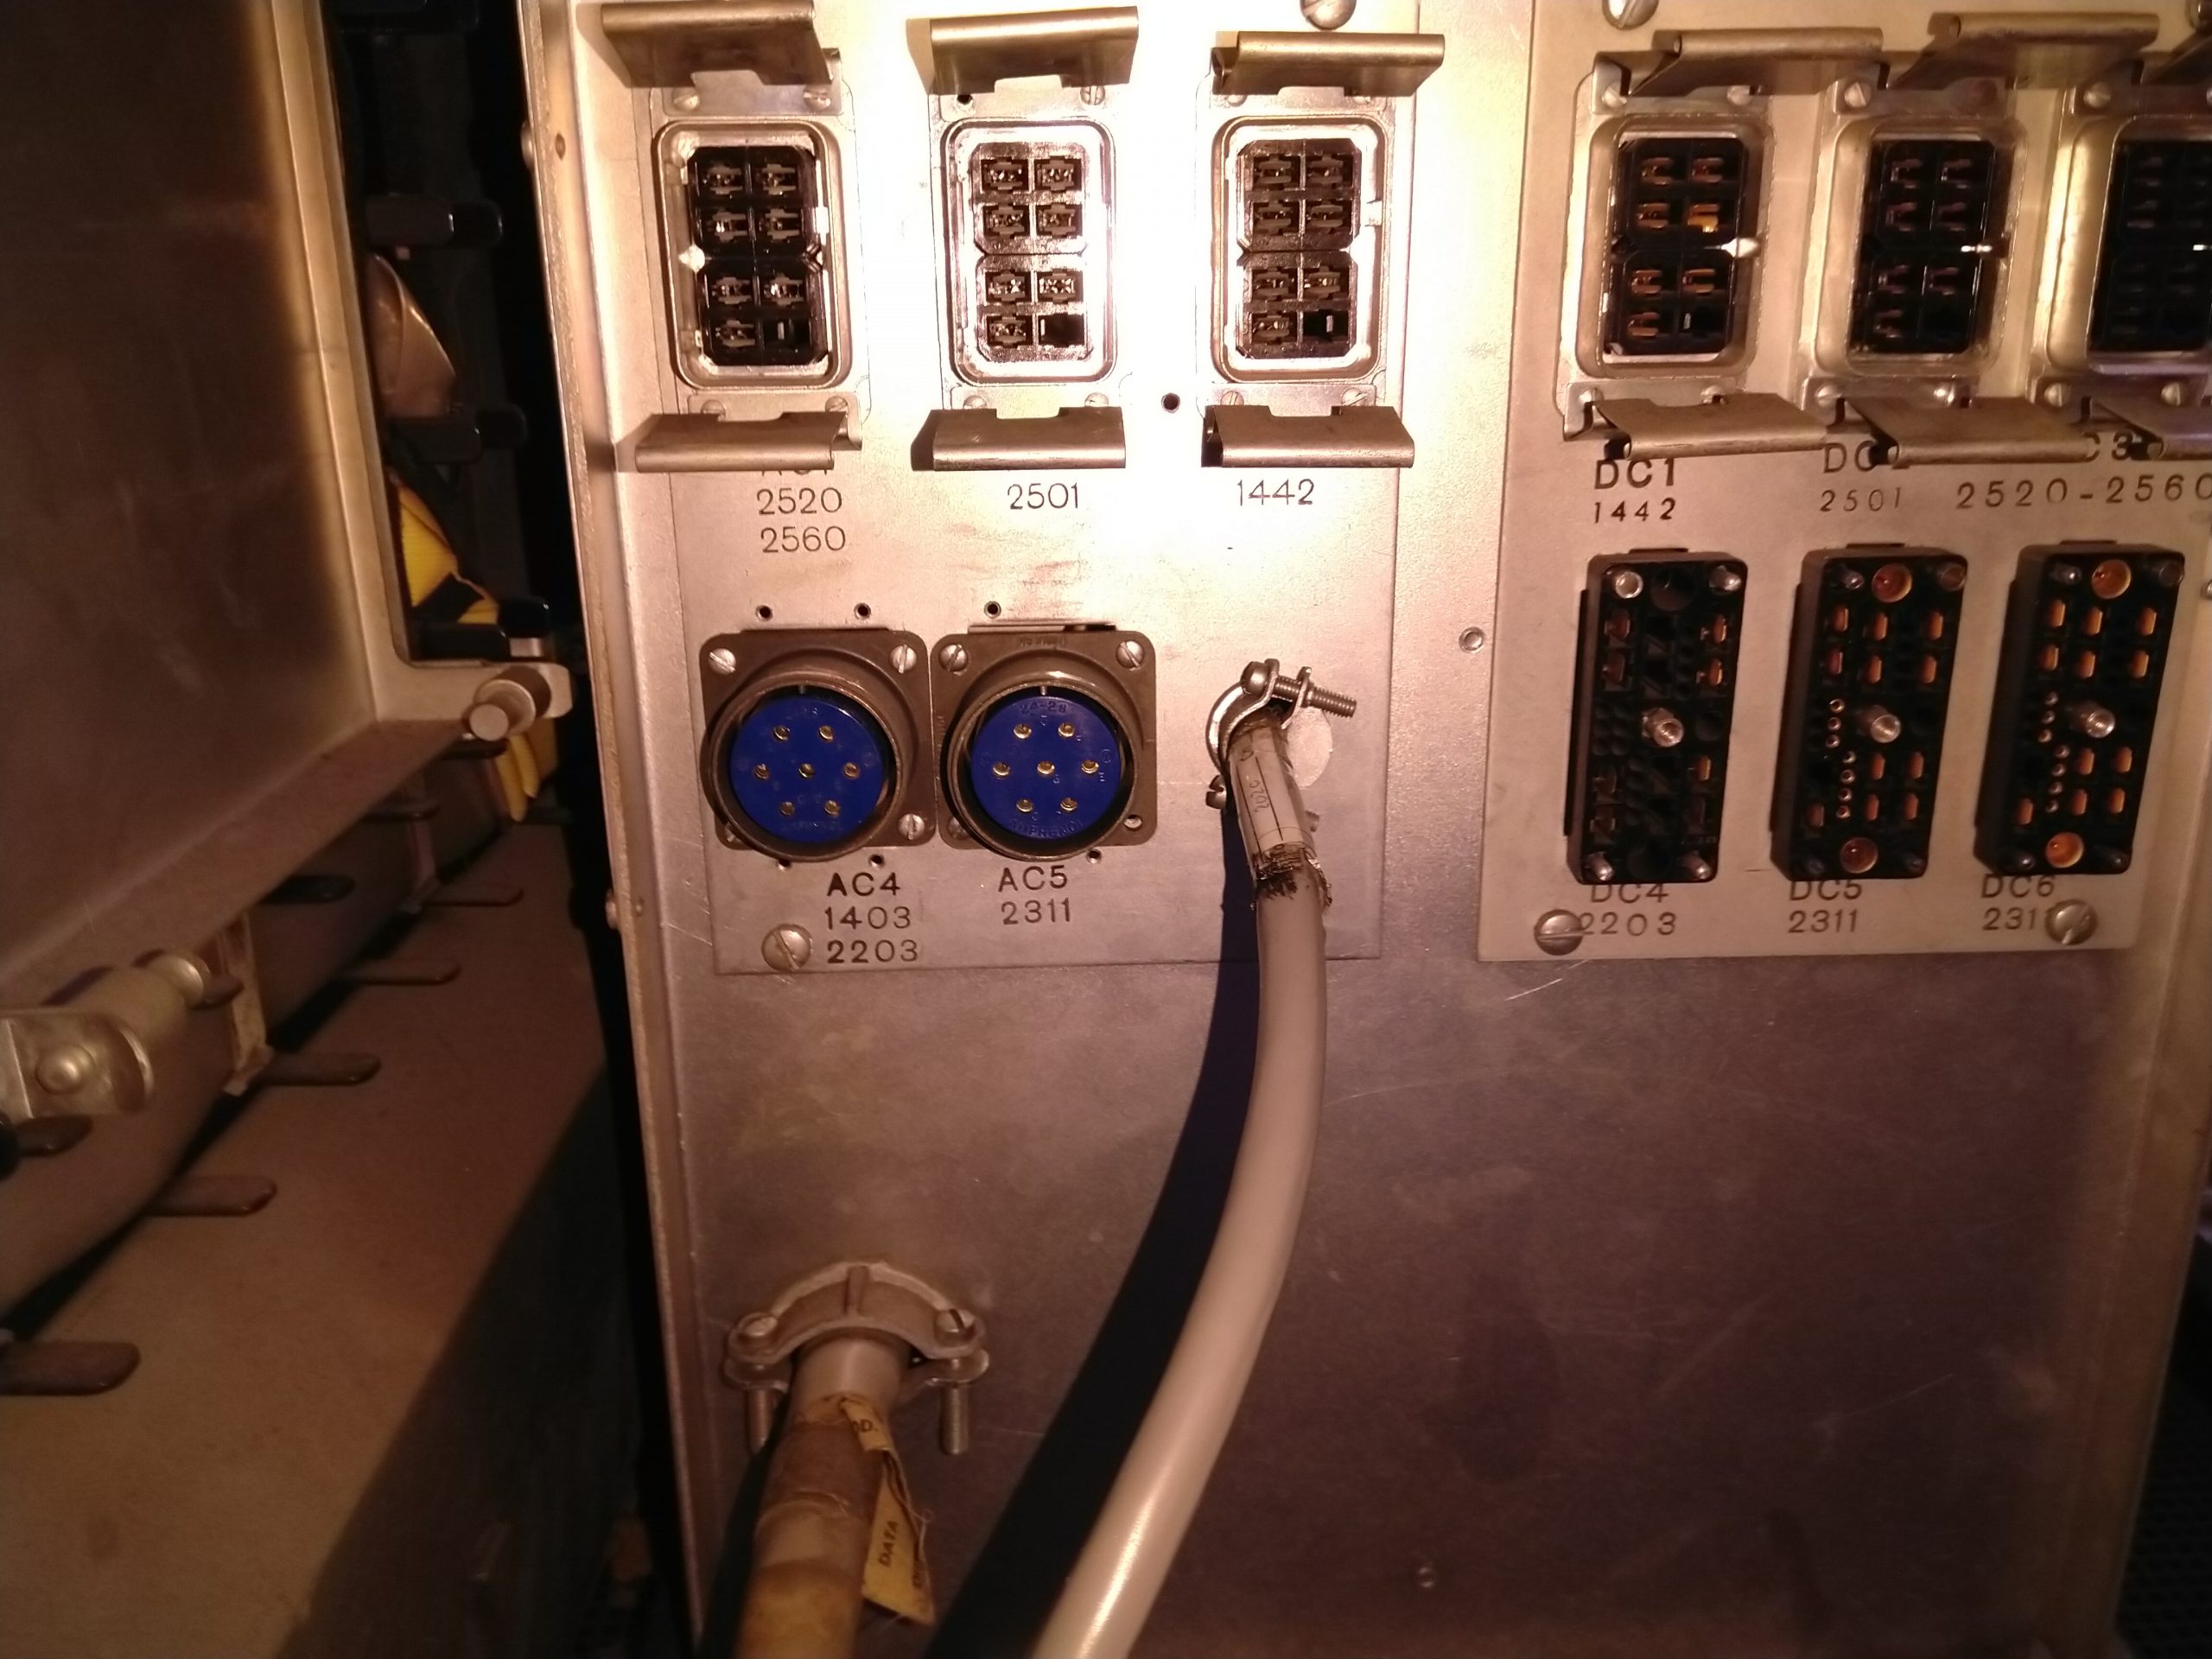
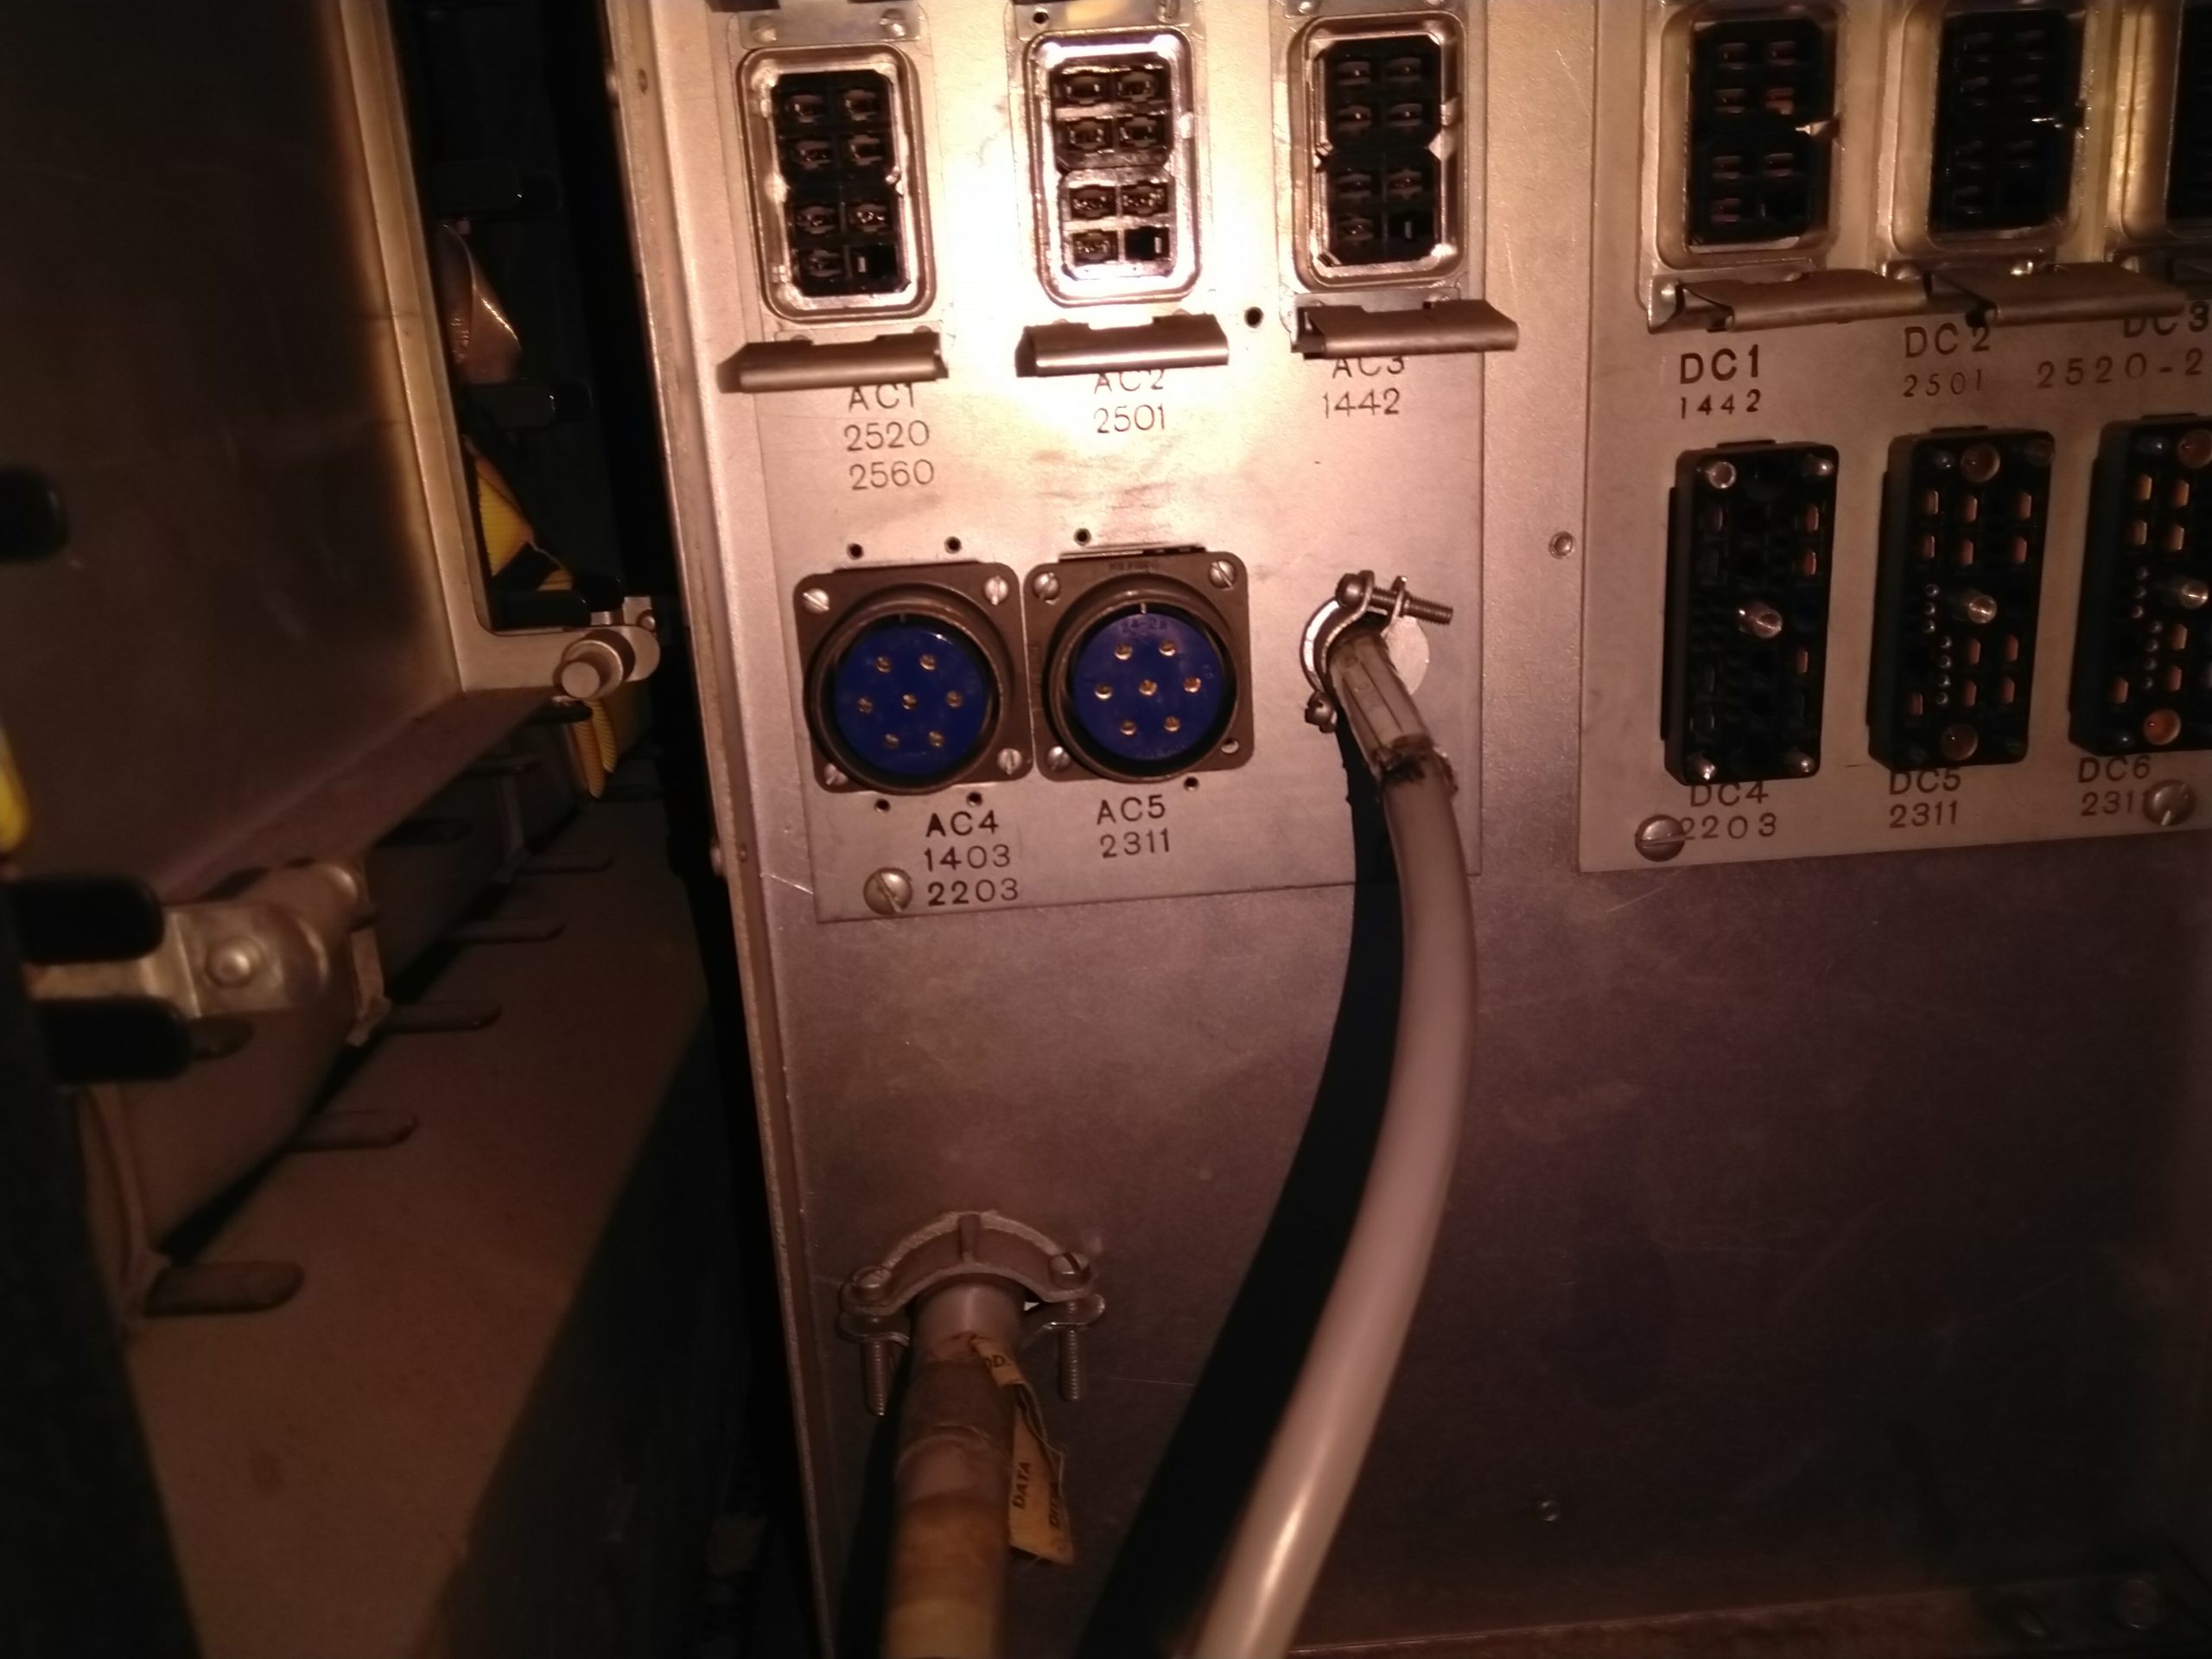
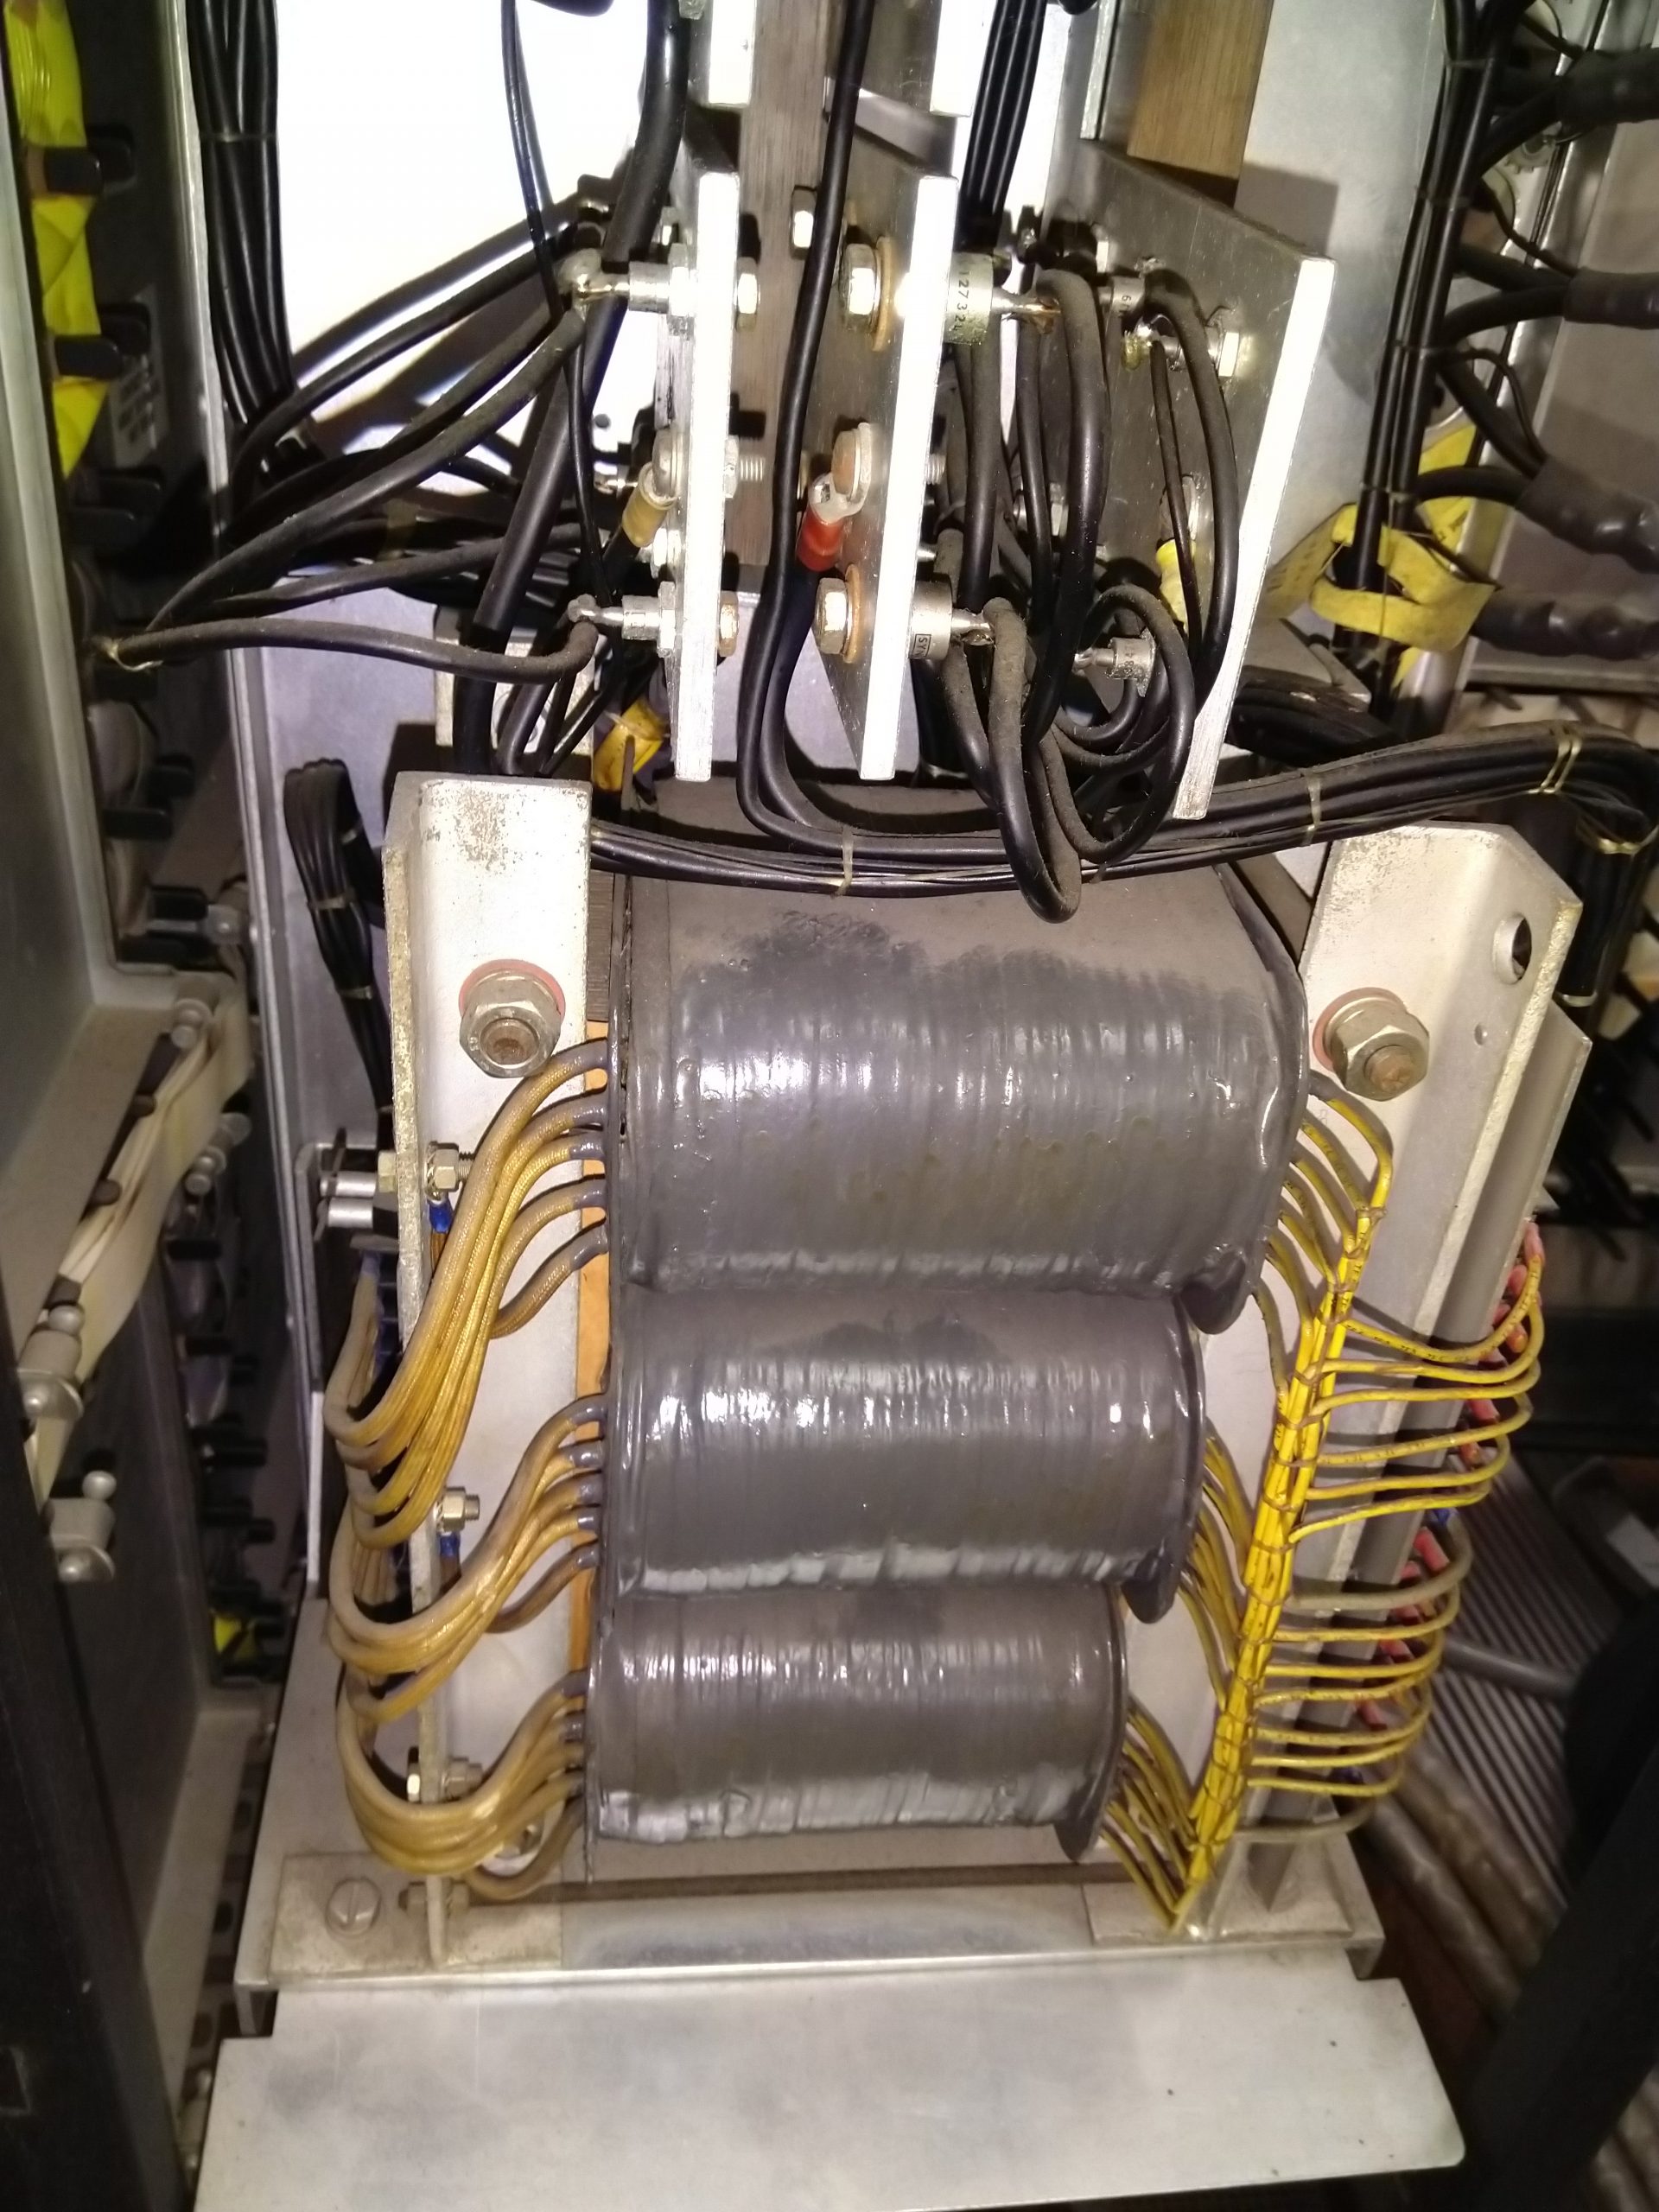
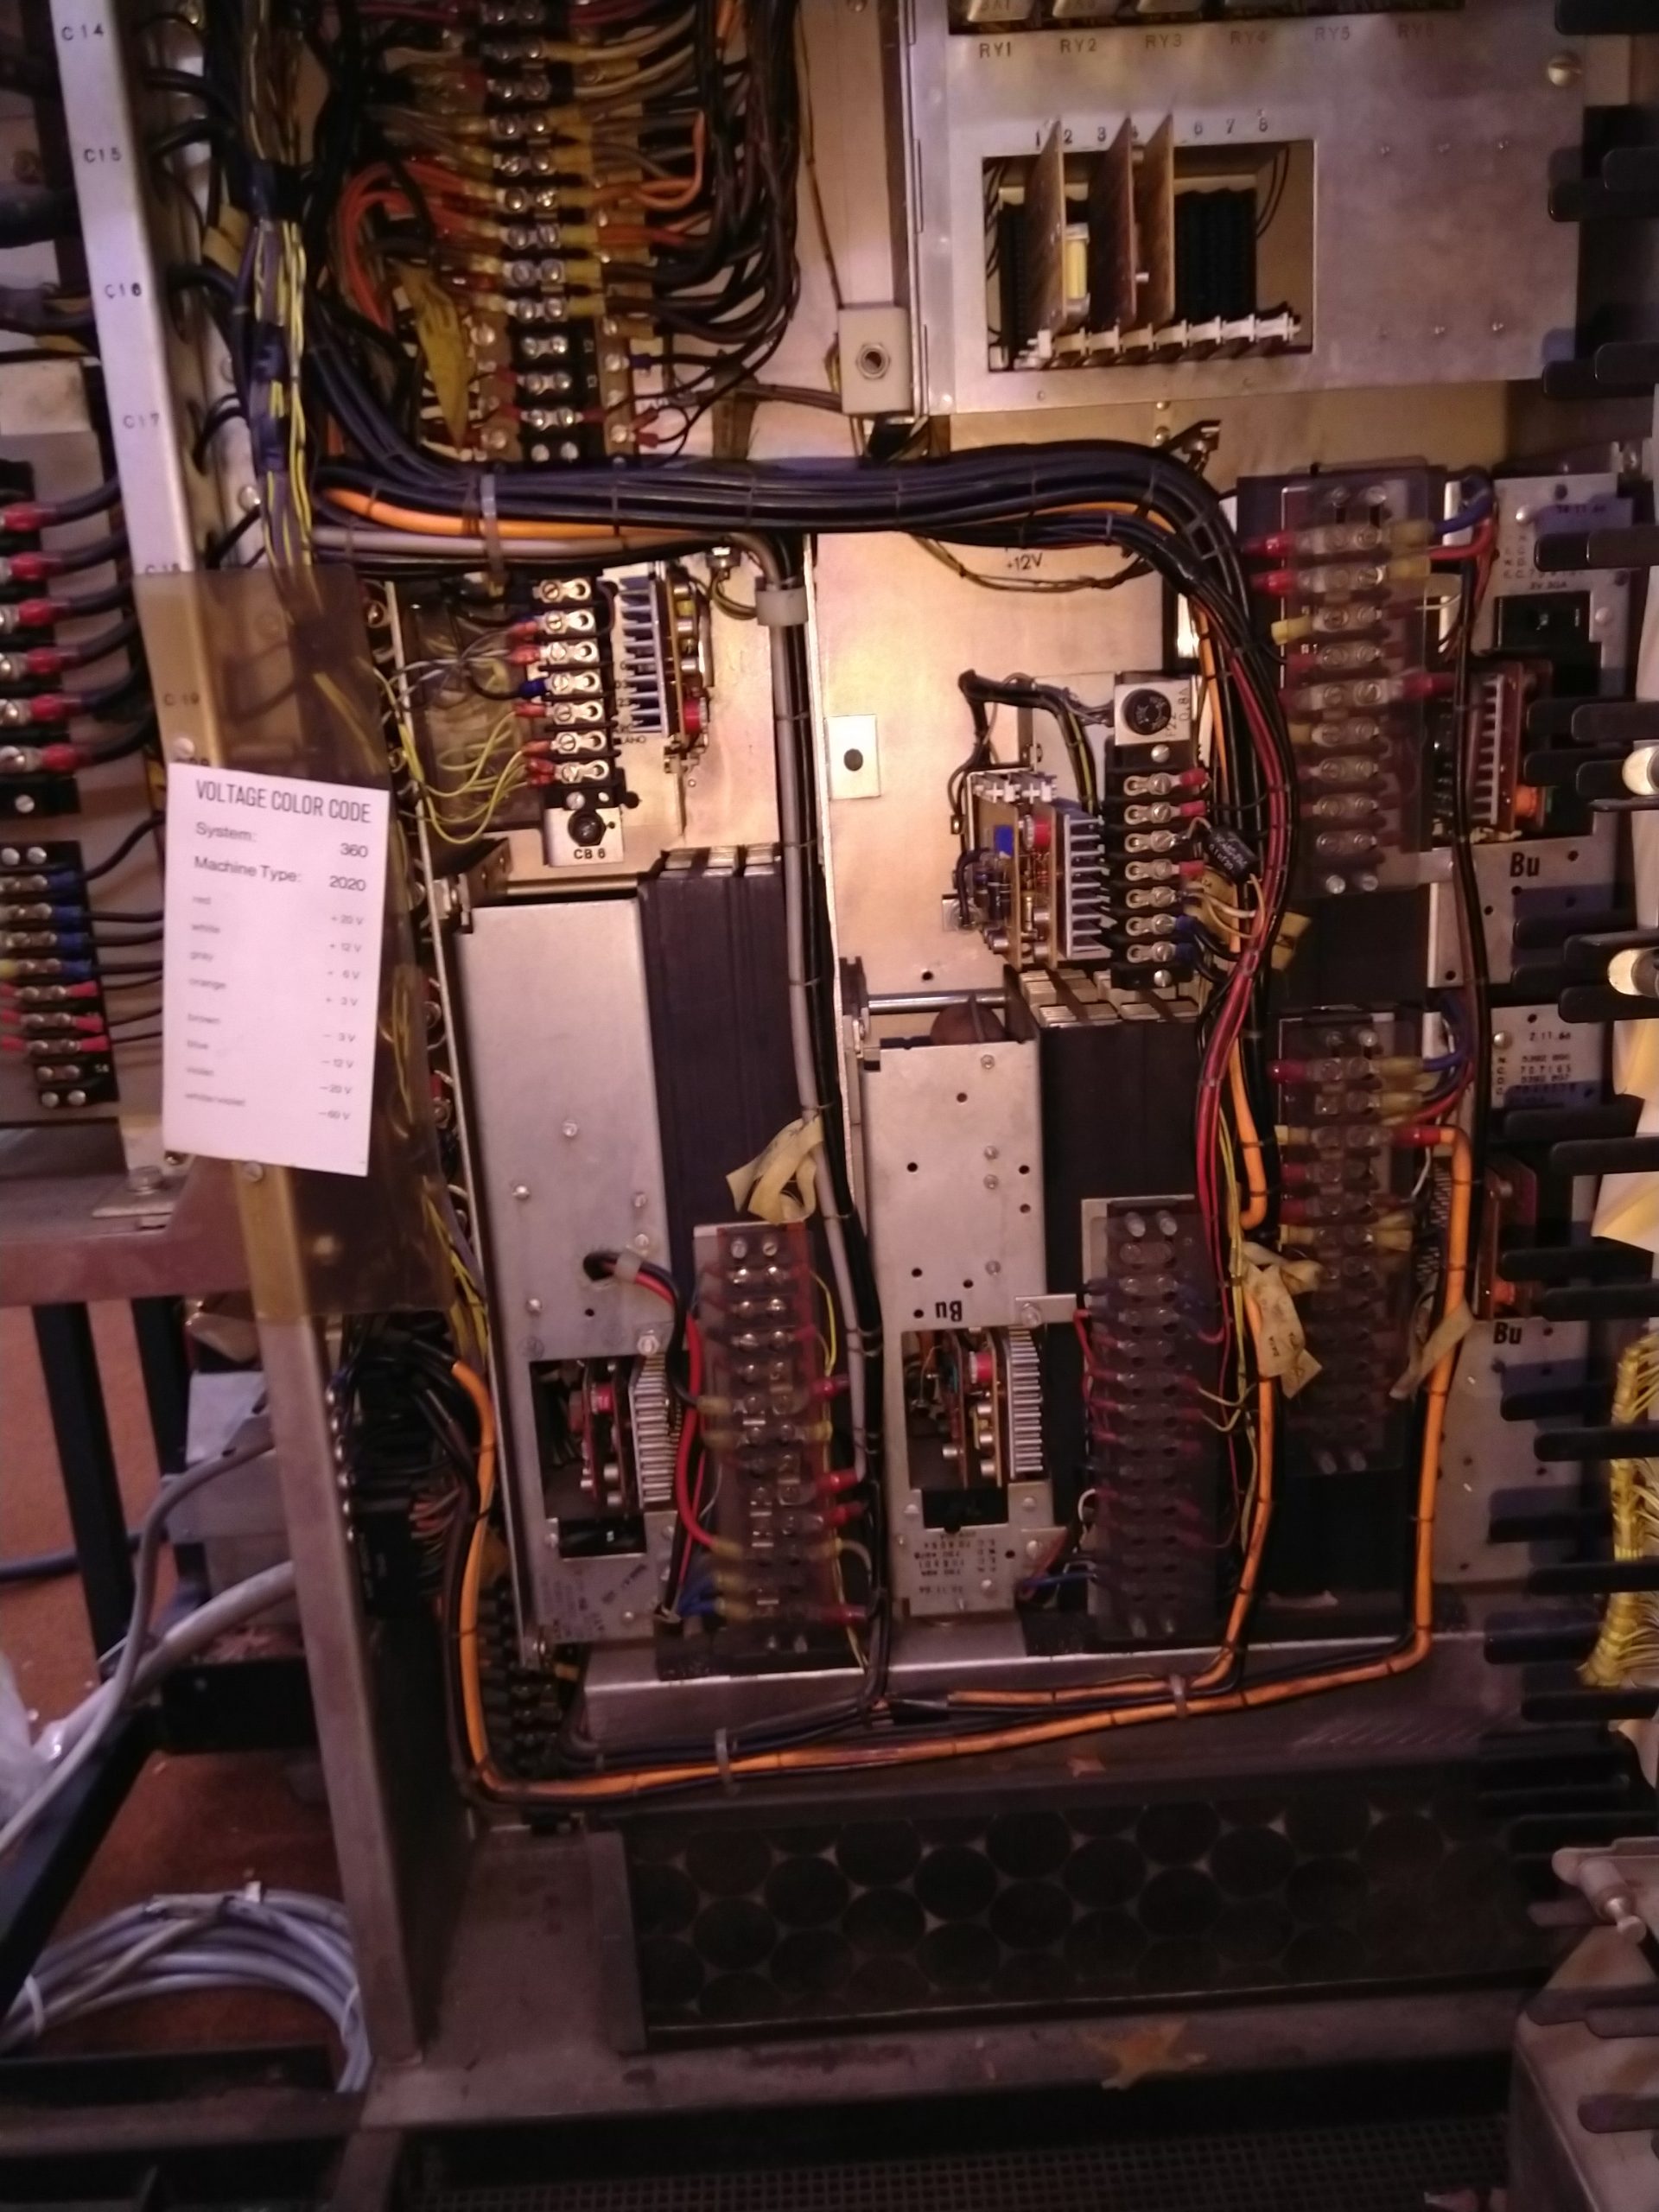
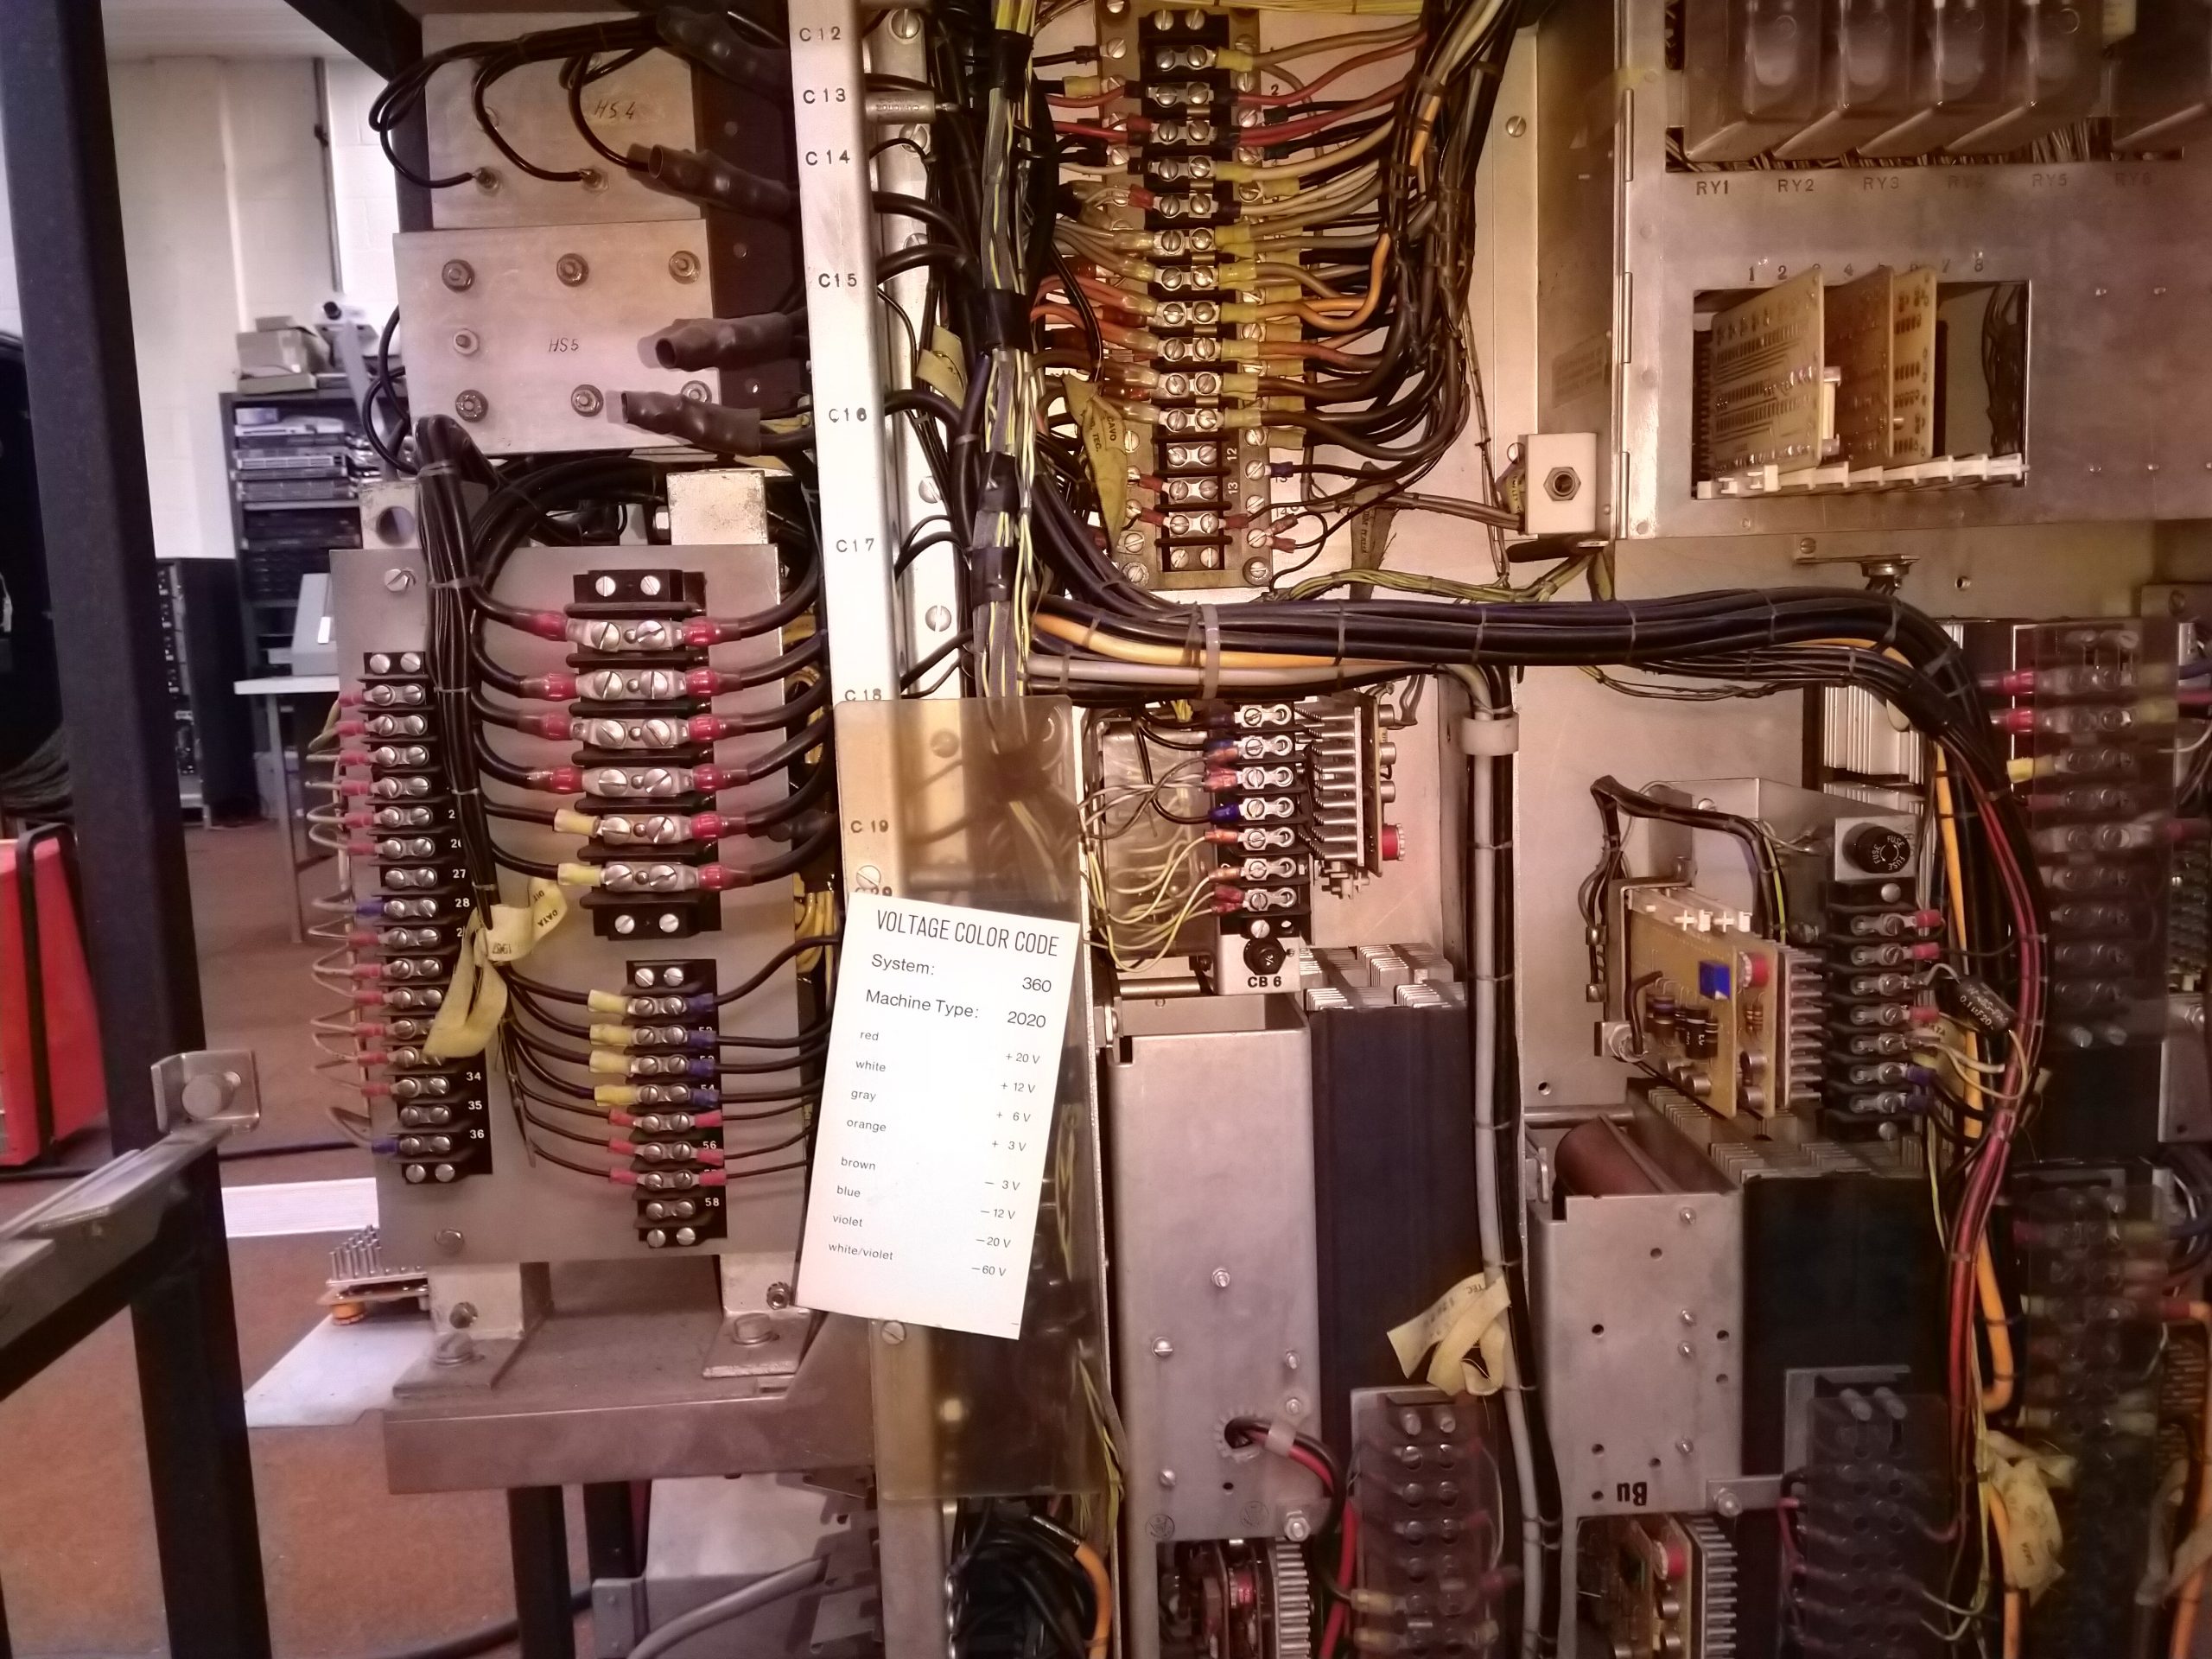
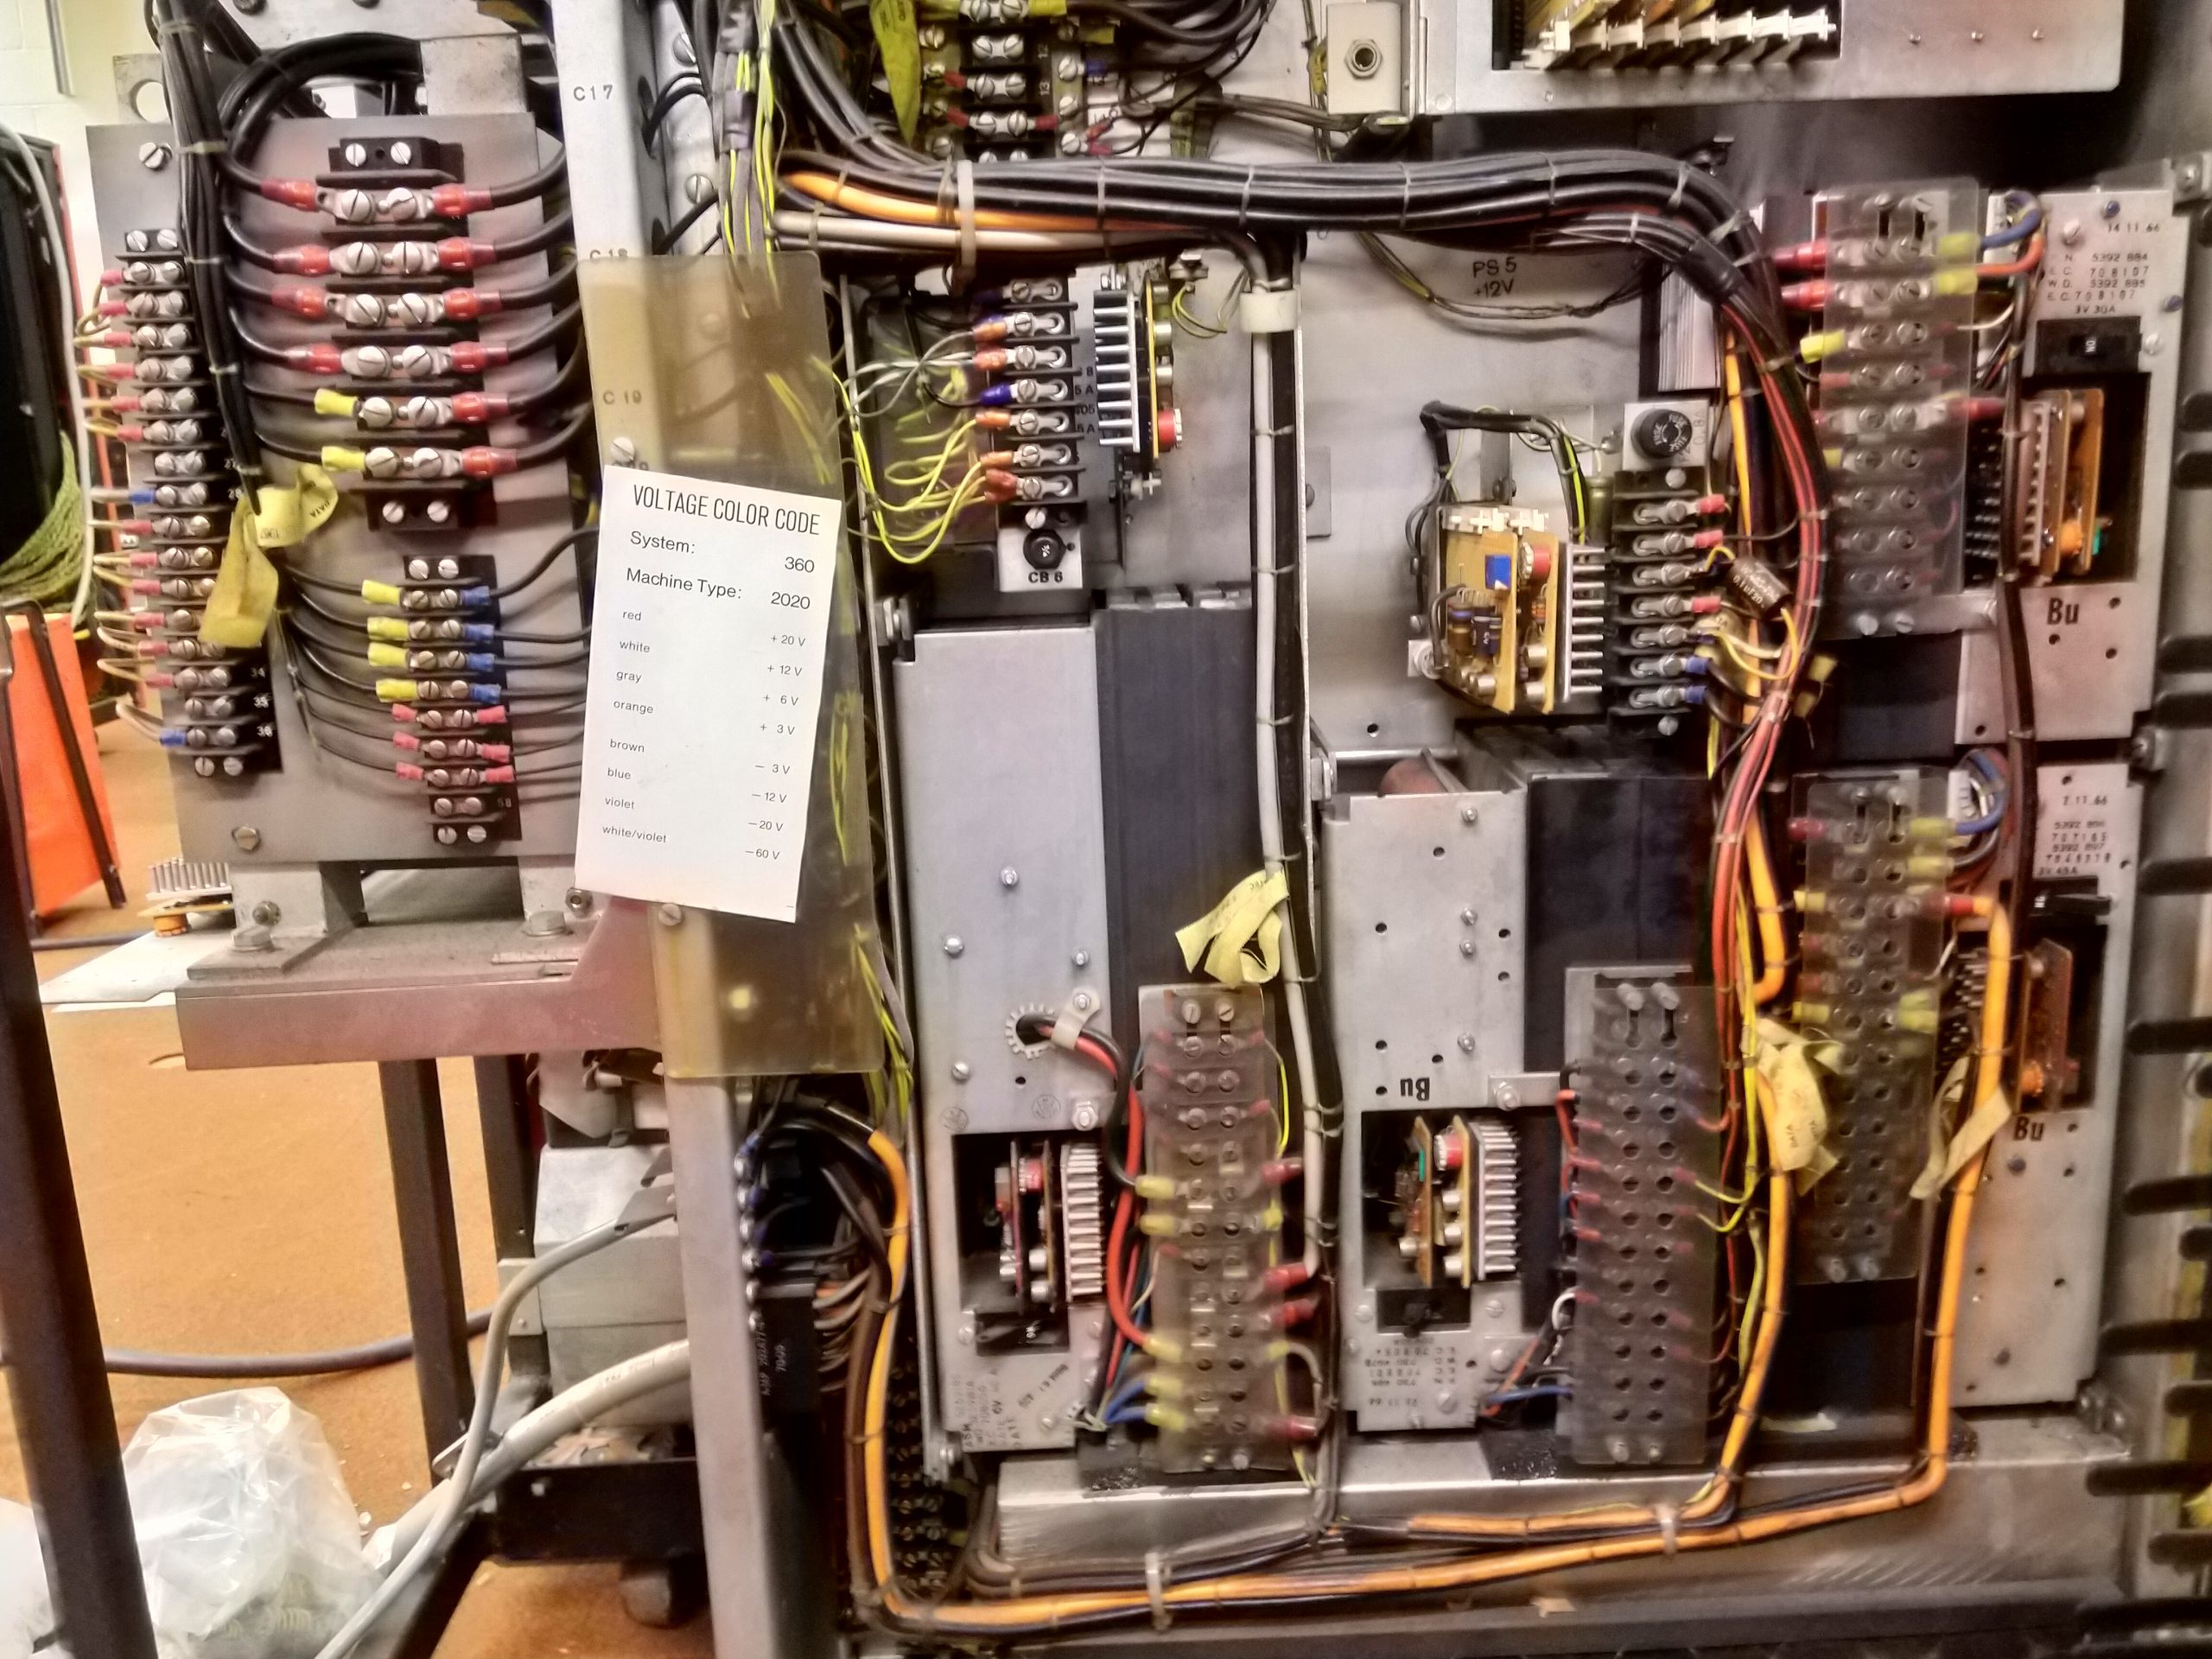
The last thing we did was to start taking a cursory look at the power supply units in the red CPU. I think I’ve mentioned before here, but most of the power to the peripheral devices comes from the CPU PSU’s, and of course it uses a 3 phase input. Now, nobody on the team thus far is really a Power supply engineer, and I for one certainly don’t have enough experience of 3 phase linear power supplies to even begin thinking about taking this on, so we’re on the hunt for a power supply engineer who knows their stuff! All the supplies are going to need re-capping and thorough bench testing before they’re used, but luckily they are incredibly well documented in the manuals which of course any prospective engineer will have access to. If this tickles your fancy, or you know somebody who might be interested in helping us out, please contact us as soon as possible!

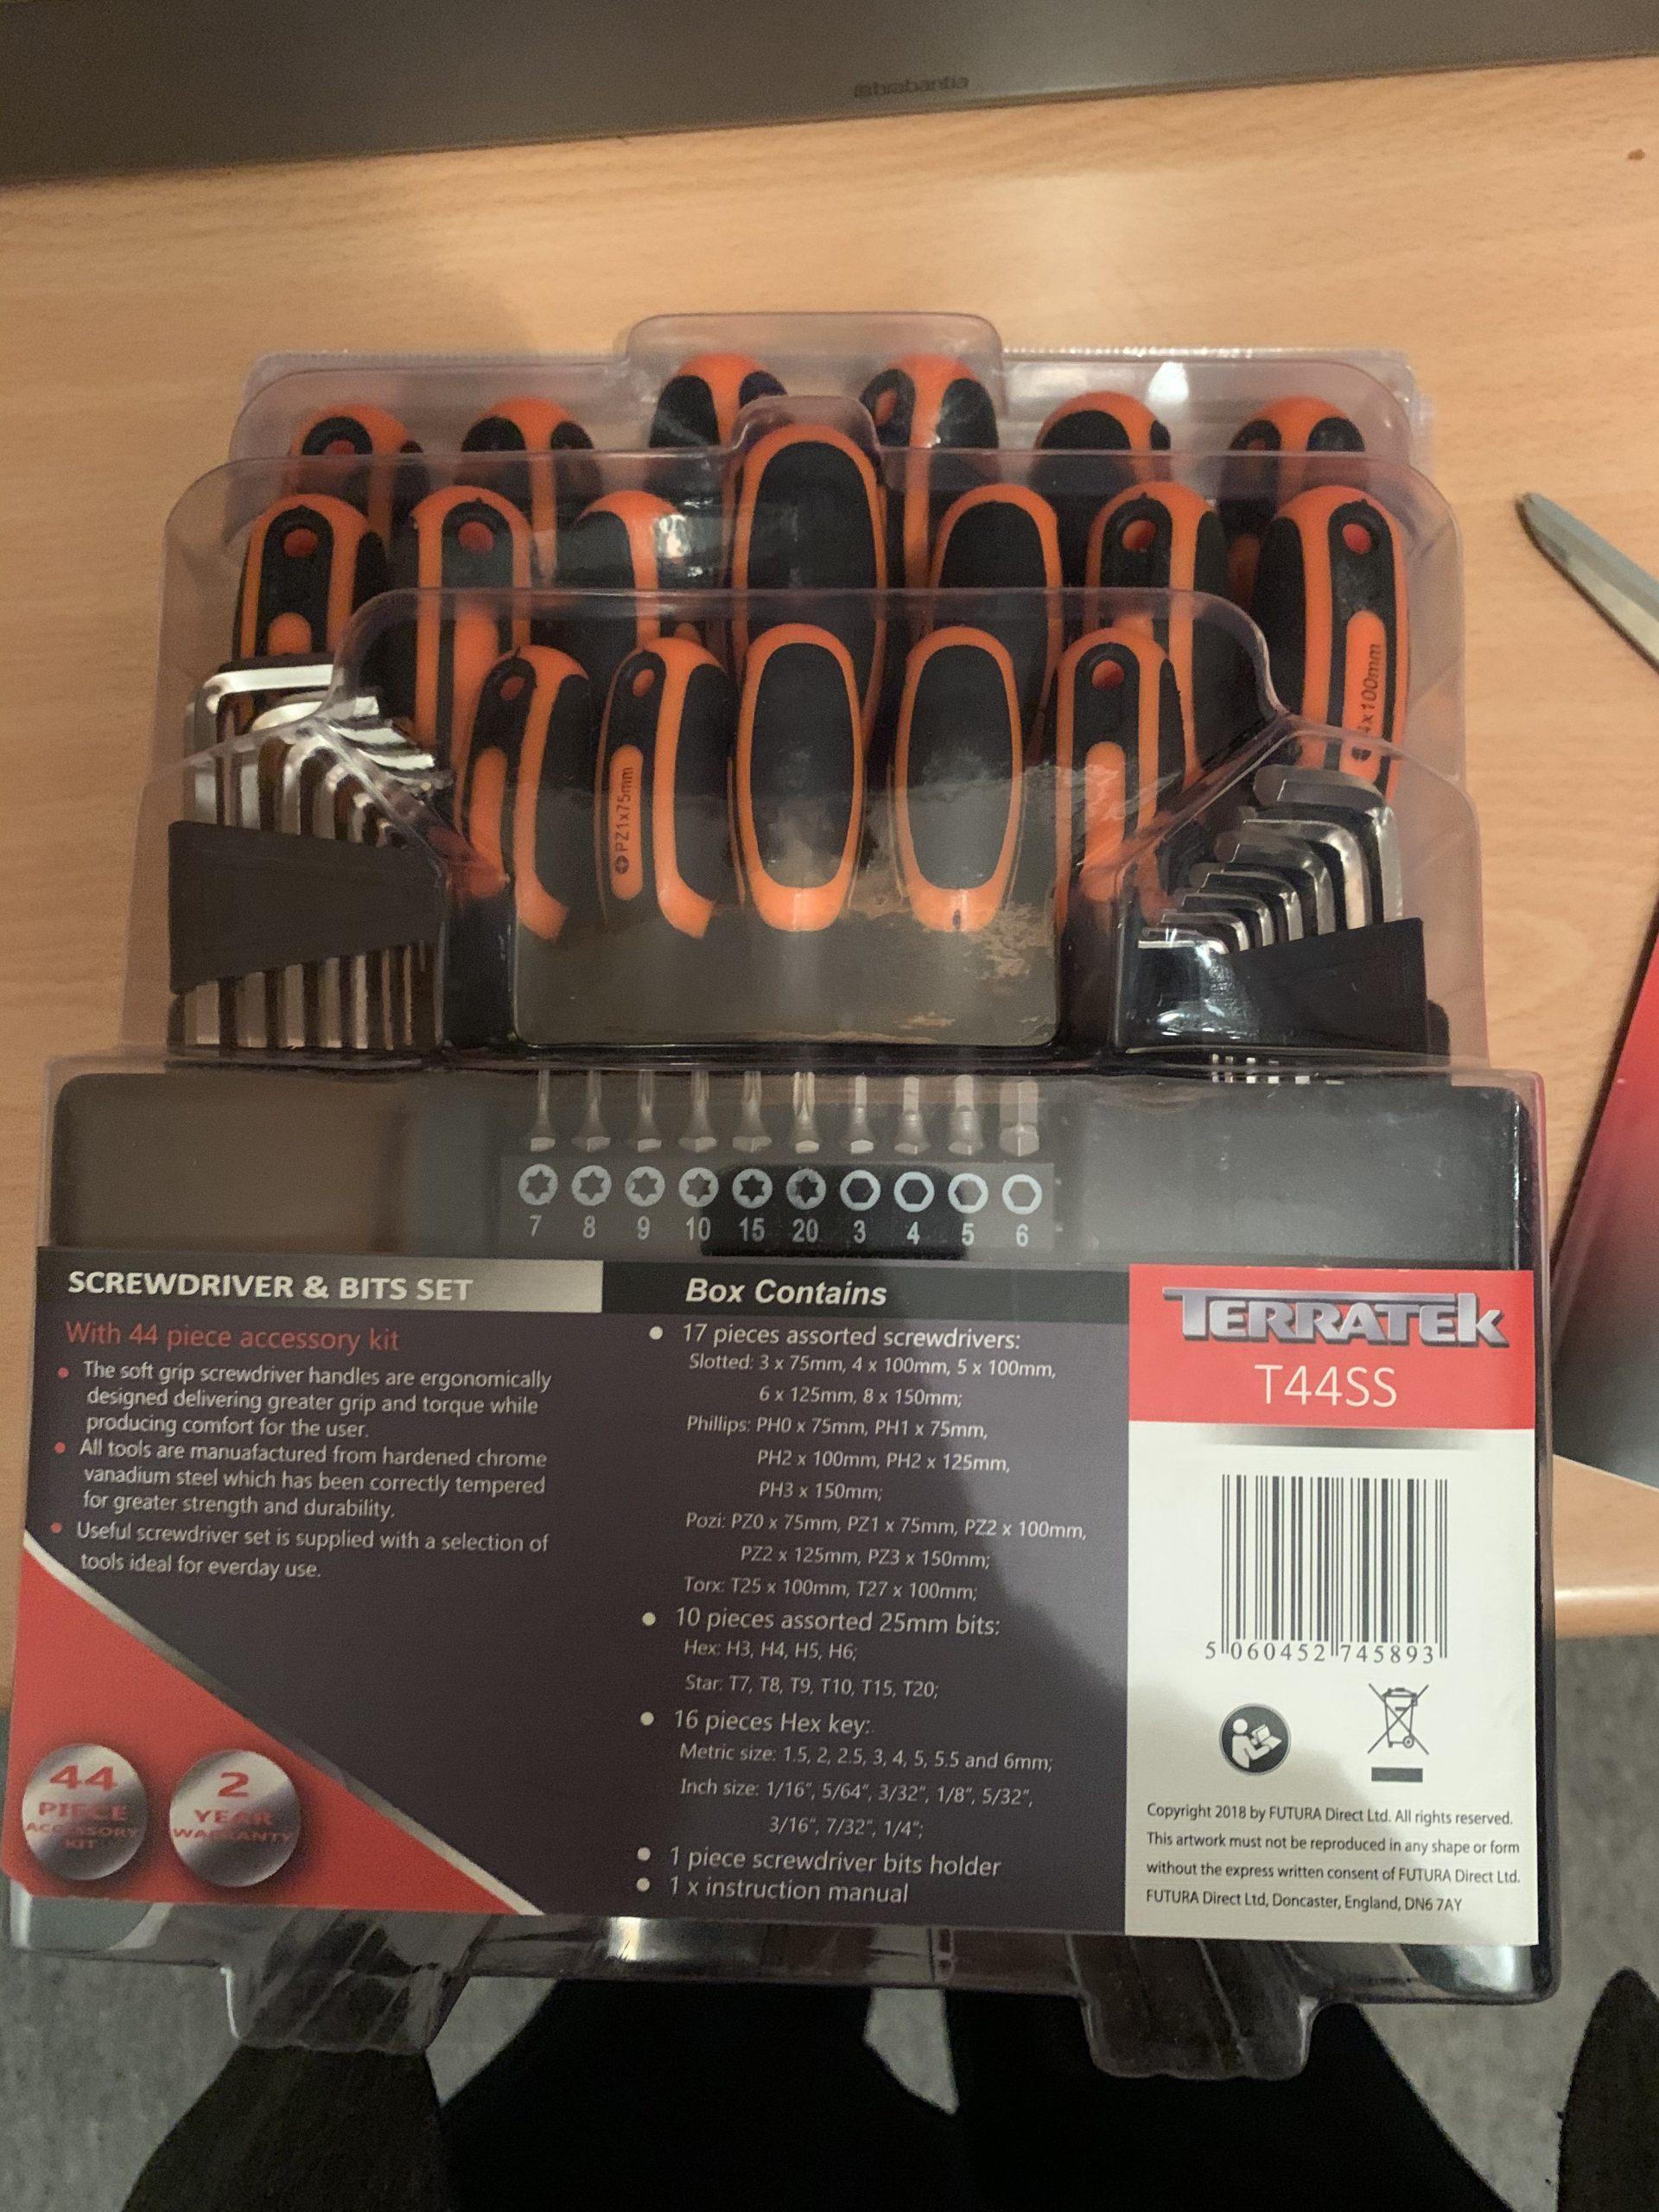
One last thing I wanted to say on this post, is a big thanks to David Gander. In early December a mystery packaged arrived addressed to me, and it turns out it was a set of tools off of our Amazon Wish List! It was very kind of David to send these over to us, and we’re really glad he’s enjoying the blog, so a big thanks to David and we hope you enjoy the ongoing work we document here!

So, until next time!